# ccharts-test-buttton
> # 前言 最近菜鸟整个前端在推物料中心,发现上面的组件全部是StoryBook + react jsx 的写法, 想着推下 TS 的组件写法, 就整理了这篇 组件开发文章 StoryBook + Typescript + Tslint(tslint-config-ali) 。
Latest version **0.0.4** (published 2019-08-11) · MIT license · 0 weekly downloads
## Install
```sh
npm install ccharts-test-buttton
pnpm add ccharts-test-buttton
yarn add ccharts-test-buttton
bun add ccharts-test-buttton
```
## Health
**Score 20/100 (F)** — status: abandoned.
Positive: has types; no vulnerabilities.
Warnings: low downloads; no esm support; pre 1.0.
Negative: abandoned; low maintenance score.
## Facts
| | |
|---|---|
| Version | 0.0.4 |
| Published | 2019-08-11 |
| First published | 2019-08-11 |
| Weekly downloads | 0 |
| License | MIT |
| TypeScript types | bundled |
| Module format | CommonJS |
| Dependencies | 0 |
| Unpacked size | 13.2 KB |
| Known vulnerabilities | 0 |
| Install scripts | no |
| Maintainers | test_zy |
## Links
- npm: https://www.npmjs.com/package/ccharts-test-buttton
- npm.io page: https://npm.io/package/ccharts-test-buttton
## Recent versions
- 0.0.4 (latest) — 2019-08-11
- 0.0.3 — 2019-08-11
- 0.0.2 — 2019-08-11
- 0.0.1 — 2019-08-11
## README
# 组件(库) 之 ButtonDemo
# 前言
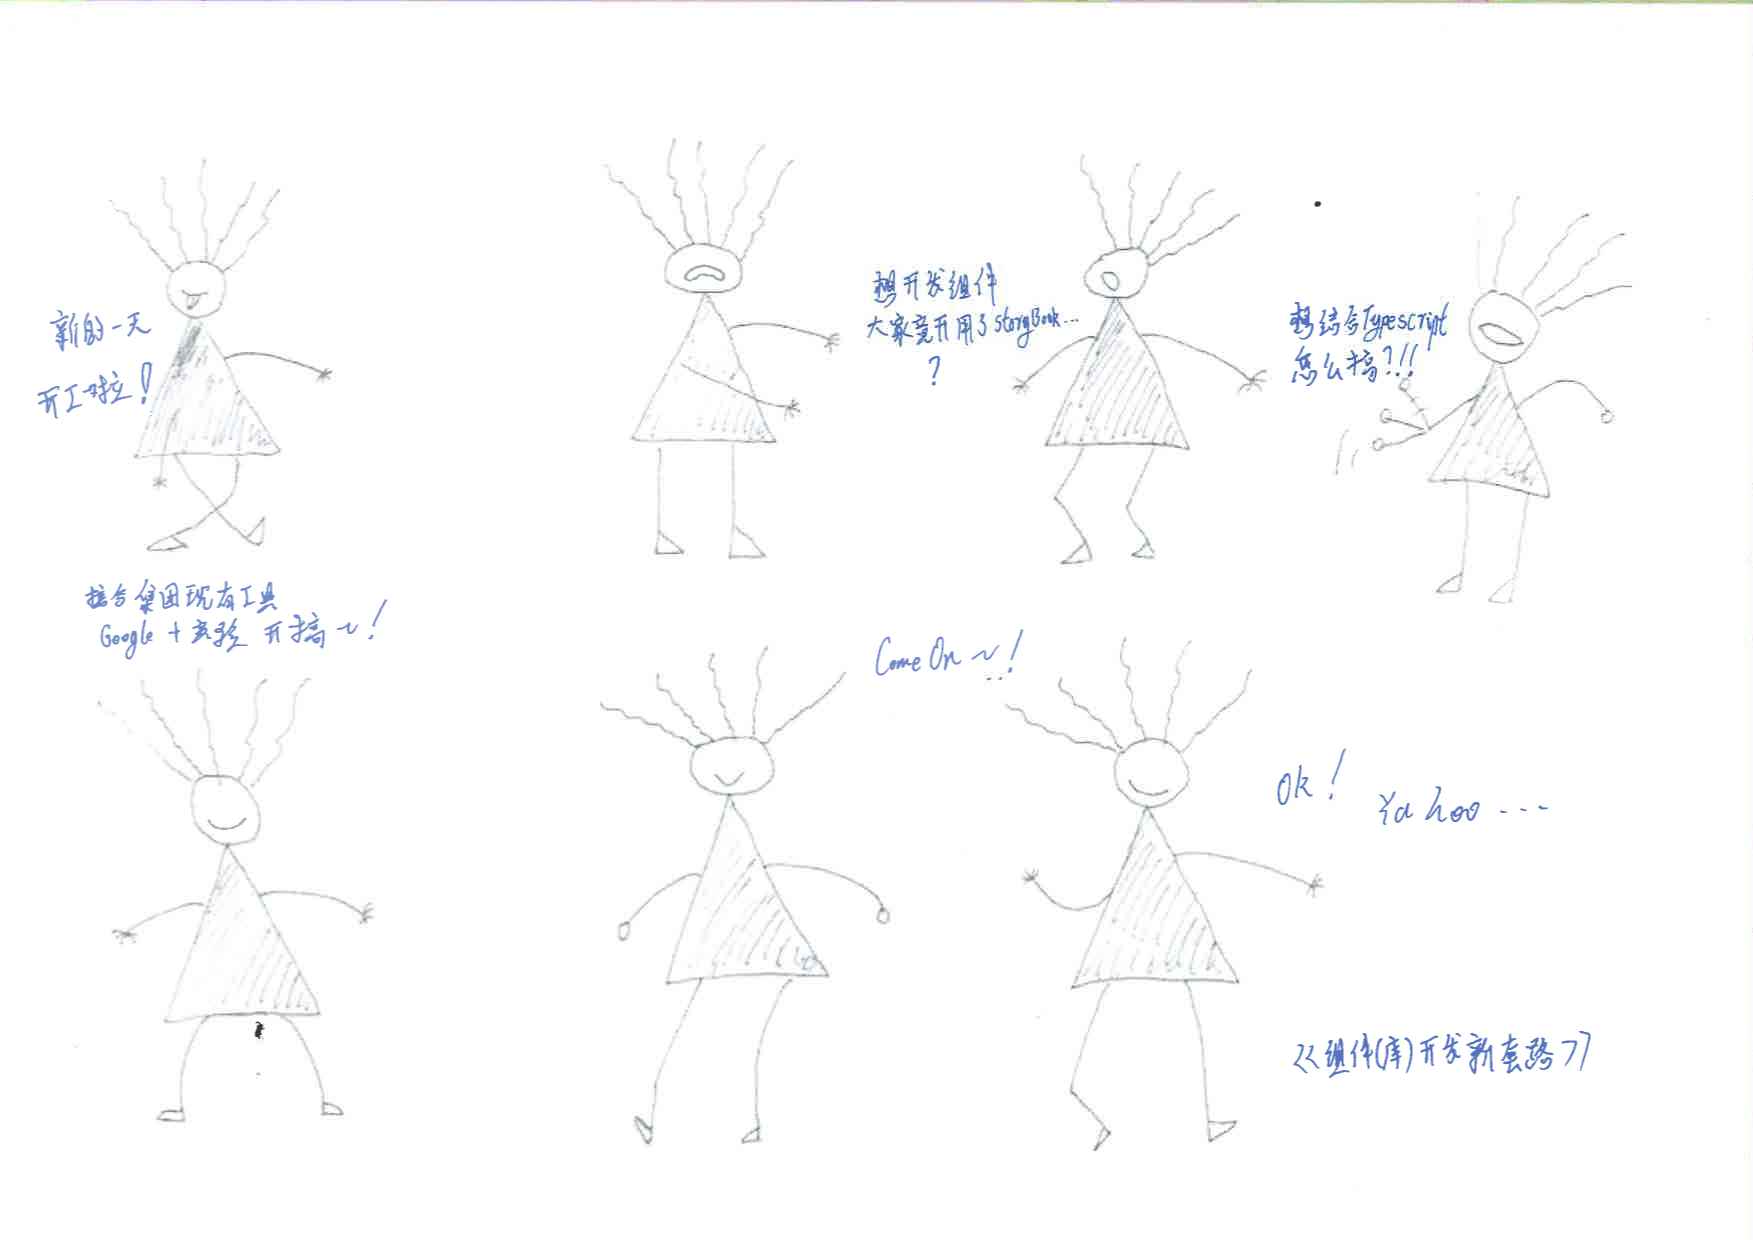
最近菜鸟整个前端在推物料中心,发现上面的组件全部是StoryBook + react jsx 的写法, 想着推下 TS 的组件写法, 就整理了这篇 组件开发文章 StoryBook + Typescript + Tslint(tslint-config-ali) 。
> 图说
# 简介
## StoryBook
[StoryBook](https://github.com/storybooks/storybook) : 在你的应用程序之外运行。这允许您单独开发UI组件,这可以提高组件重用,可测试性和开发速度。您可以快速构建,而无需担心特定于应用程序的依赖项。
## TS
[TypeScript](https://www.tslang.cn/index.html): 老生常谈, js 超级, 拥有可选的强类型定义, 类型可以让你方便快捷的进行类型检查、定义软件组件之间的接口和洞察现有JavaScript库的属性和方法, 在集团不包含蚂蚁金服的已有 990 个 TS 库;
## TSLint (tslint-config-ali)
[TSLint](https://palantir.github.io/tslint/): 是一种可扩展的静态分析工具,可检查TypeScript代码的可读性,可维护性和功能性错误。它在现代编辑器和构建系统中得到广泛支持,可以使用您自己的lint规则,配置和格式化程序进行自定义。
[tslint-config-ali](https://npm.alibaba-inc.com/package/@ali/tslint-config-ali): 是集团 TS 规约配套 TSLint 规则和扩展包, 已经融入到[喜码](https://xima.alibaba-inc.com/guides#/guide/10/cover)中,会作为检测、修复工具辅助集团内部的 TS 开发。
# 方法步骤
### 一、初始化Story
#### 1. 初始化项目 test-comp
```bash
mkdir test-comp
cd test-comp
yarn init -y
yarn add -D @storybook/react @storybook/addon-info @storybook/addon-knobs storybook-addon-jsx @types/react babel-core typescript awesome-typescript-loader react-docgen-typescript-webpack-plugin jest "@types/jest" ts-jest
yarn add react react-dom
mkdir .storybook src
touch .storybook/config.js .storybook/addons.js .storybook/welcomeStory.js utils.js
```
#### 2. 在 package.json 中增加 启动 story 脚本
```json
{
"scripts": {
"storybook": "start-storybook -p 6001 -c .storybook"
}
}
```
#### 3. 配置 storybook/config.js
```javascript
import { configure } from '@storybook/react';
import { setAddon, addDecorator } from '@storybook/react';
import JSXAddon from 'storybook-addon-jsx';
import { withKnobs, select } from '@storybook/addon-knobs/react';
addDecorator(withKnobs);
setAddon(JSXAddon);
// automatically import all files ending in *.stories.js
const req = require.context('../src', true, /.stories.js$/);
function loadStories() {
require('./welcomeStory');
req.keys().forEach(filename => req(filename));
}
configure(loadStories, module);
```
#### 4. 配置 .storybook/addons.js
> [addons](https://storybook.js.org/addons/introduction/) 说明
```javascript
import '@storybook/addon-knobs/register';
import 'storybook-addon-jsx/register';
```
#### 5. 写 Style 工具类 utils.js
```javascript
import { withInfo } from '@storybook/addon-info';
const wInfoStyle = {
header: {
h1: {
marginRight: '20px',
fontSize: '25px',
display: 'inline'
},
body: {
paddingTop: 0,
paddingBottom: 0
},
h2: {
display: 'inline',
color: '#999'
}
},
infoBody: {
backgroundColor: '#eee',
padding: '0px 5px',
lineHeight: '2'
}
};
export const wInfo = text =>
withInfo({ inline: true, source: false, styles: wInfoStyle, text: text });
```
#### 6. 写Story 欢迎页 .storybook·/welcomeStory.js
```javascript
import React from 'react';
import { storiesOf } from '@storybook/react';
import { wInfo } from '../utils';
storiesOf('Welcome', module).addWithJSX(
'to your new Storybook🎊',
wInfo(`
### Notes
Hello world!:
### Usage
~~~js
This is an example component
~~~
### To use this Storybook
Explore the panels on the left.
`)(() => This is an example component
)
);
```
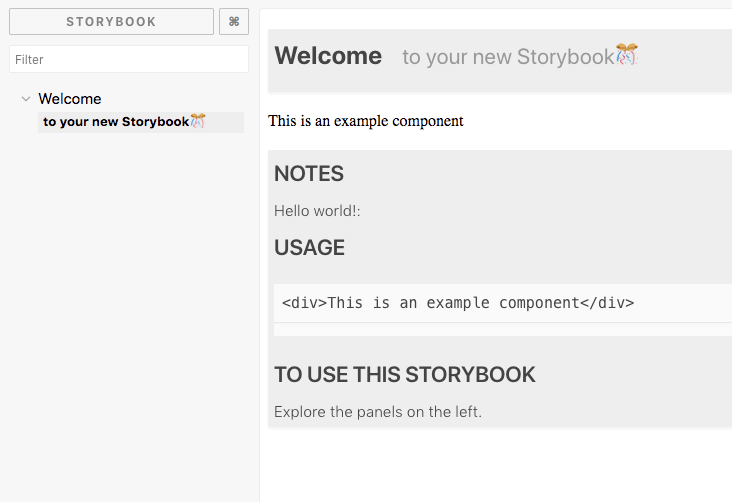
#### 7. 试运行 Story : npm run storybook
### 二、引入TypeScript
#### 1. 创建 ts 组件空文件
```bash
mkdir src/Button
touch src/Button/Button.tsx src/Button/Button.css src/Button/Button.stories.js
```
#### 2. 写 ts 组件内容: src/Button/Button.tsx
```typescript
import * as React from 'react';
import './Button.scss';
export interface Props {
/** this dictates what the button will say */
label: string;
/** this dictates what the button will do */
onClick: () => void;
/**
* Disables onclick
*
* @default false
**/
disabled?: boolean;
testA?: boolean;
}
const noop = () => {}; // tslint:disable-line
const Button = (props: Props) => {
const { label, onClick, disabled = false } = props;
const disabledclass = disabled ? 'Button_disabled' : '';
return (
{label}
);
};
export { Button };
```
###
#### 3. 写 scss 组件样式: src/Button/Button.scss
```css
.Button span {
margin: auto;
font-size: 16px;
font-weight: bold;
text-align: center;
color: #fff;
text-transform: uppercase;
}
.Button {
padding: 0px 20px;
height: 49px;
border-radius: 2px;
border: 2px solid var(--ui-bkgd, #3d5567);
display: inline-flex;
background-color: var(--ui-bkgd, #3d5567);
}
.Button:hover:not(.Button_disabled) {
cursor: pointer;
}
.Button_disabled {
--ui-bkgd: rgba(61, 85, 103, 0.3);
}
```
#### 4. 组件接入 story 文档: src/Button/Button.stories.js
```javascript
import React from 'react';
import { storiesOf } from '@storybook/react';
import { Button } from './Button';
import { wInfo } from '../../utils';
import { text, boolean } from '@storybook/addon-knobs/react';
storiesOf('Components/Button', module).addWithJSX(
'basic Button',
wInfo(`
### Notes
This is a button
### Usage
~~~js