@brightspace-ui-labs/role-selector v3.0.1
d2l-labs-role-selector
Note: this is a "labs" component. While functional, these tasks are prerequisites to promotion to BrightspaceUI "official" status:
- Design organization buy-in
- design.d2l entry
- Architectural sign-off
- Continuous integration
- Cross-browser testing
- Unit tests (if applicable)
- Accessibility tests
- Visual diff tests
- Localization with Serge (if applicable)
- Demo page
- README documentation
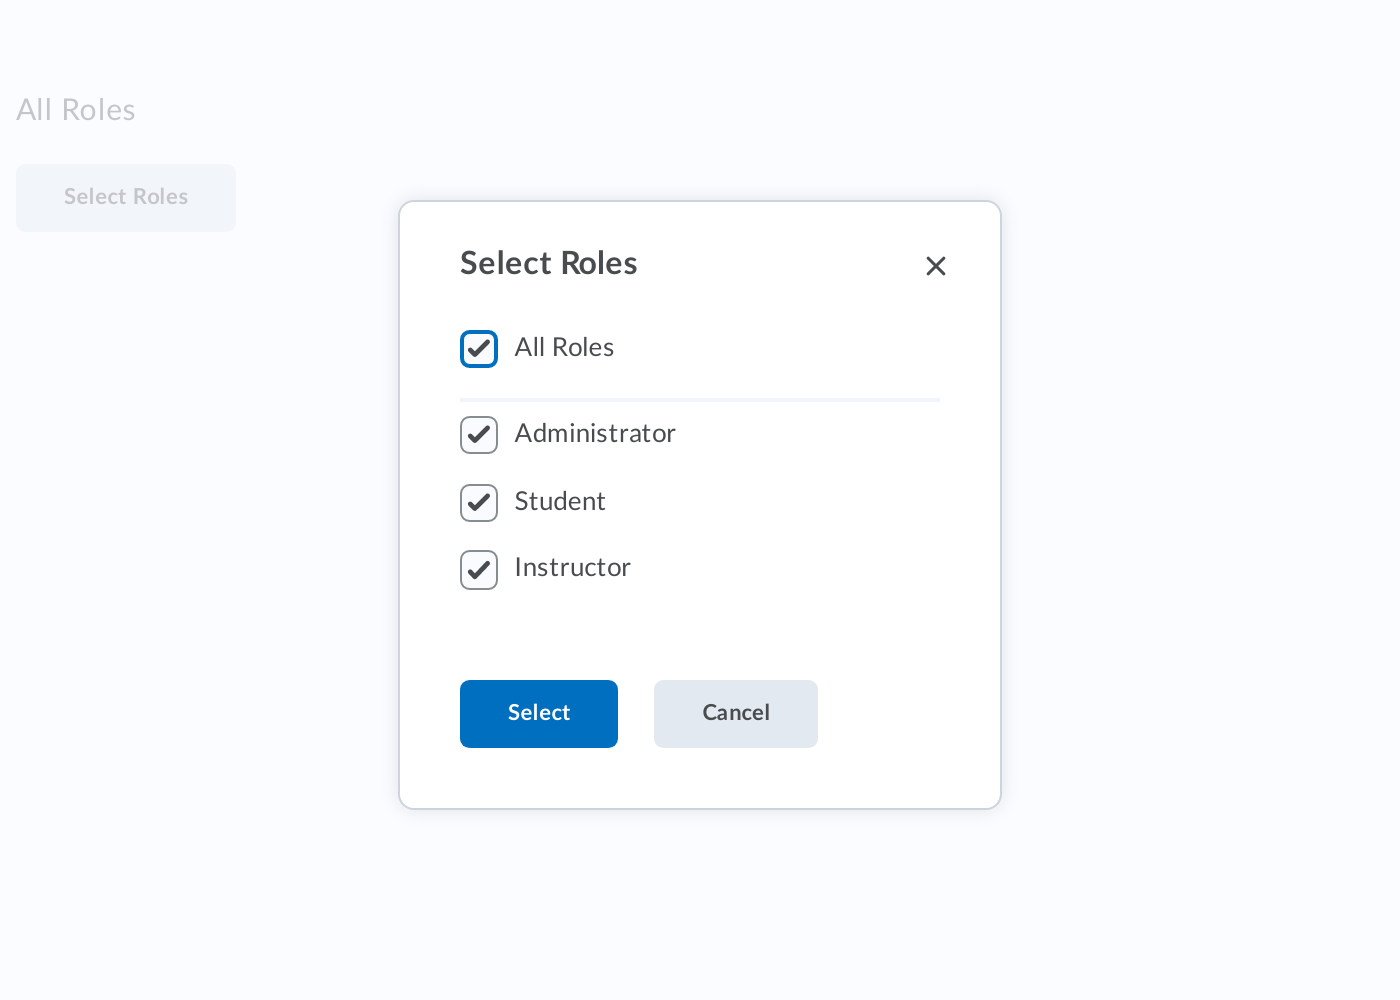
Select roles from a dialog with role items

Installation
To install from NPM:
npm install @brightspace-ui-labs/role-selectorUsage
Include the webcomponents.js polyfill loader (for browsers who don't natively support web components), then include necessary components:
<head>
	<script type="module">
		import '/node_modules/@brightspace-ui-labs/role-selector/role-selector.js';
		import '/node_modules/@brightspace-ui-labs/role-selector/role-item.js';
	</script>
</head>
Add the component to your page
Basic Usage
<d2l-labs-role-selector>
	<d2l-labs-role-item item-id="1" display-name="Role1"></d2l-labs-role-item>
	<d2l-labs-role-item item-id="2" display-name="Role2"></d2l-labs-role-item>
	<d2l-labs-role-item item-id="3" display-name="Role3"></d2l-labs-role-item>
	...
</d2l-labs-role-selector>
Events
d2l-labs-role-selected: fired on clicking Select button in the dialog.
Accessibility:
To make your usage of d2l-labs-role-selector accessible, use the following properties when applicable:
| Attribute | Description |
|---|---|
Developing, Testing and Contributing
After cloning the repo, run npm install to install dependencies.
Running the demos
To start a @web/dev-server that hosts the demo page and tests:
npm startLinting
# eslint and lit-analyzer
npm run lint

# eslint only
npm run lint:eslint

# lit-analyzer only
npm run lint:lit
Testing
# lint, unit test and visual-diff test
npm test

# lint only
npm run lint

# unit tests only
npm run test:headless

# debug or run a subset of local unit tests
# then navigate to `http://localhost:9876/debug.html`
npm run test:headless:watch
Visual Diff Testing
This repo uses the @brightspace-ui/visual-diff utility to compare current snapshots against a set of golden snapshots stored in source control.
The golden snapshots in source control must be updated by the visual-diff GitHub Action. If a pull request results in visual differences, a draft pull request with the new goldens will automatically be opened against its branch.
To run the tests locally to help troubleshoot or develop new tests, first install these dependencies:
npm install @brightspace-ui/visual-diff@X mocha@Y puppeteer@Z --no-saveReplace X, Y and Z with the current versions the action is using.
Then run the tests:
# run visual-diff tests
npx mocha './test/**/*.visual-diff.js' -t 10000
# subset of visual-diff tests:
npx mocha './test/**/*.visual-diff.js' -t 10000 -g some-pattern
# update visual-diff goldens
npx mocha './test/**/*.visual-diff.js' -t 10000 --golden
Versioning and Releasing
This repo is configured to use semantic-release. Commits prefixed with fix: and feat: will trigger patch and minor releases when merged to main.
To learn how to create major releases and release from maintenance branches, refer to the semantic-release GitHub Action documentation.

