@danielcodex/asciidance v1.0.0
Asciidance
This project is inpired from parrot.live.
Basically i wanted to make any gifs to ascii and make it dance on terminal hence the name asciidance.
So The process of getting this result for any gifs is:
- you need a gif
- we have to extract frames from gifs
- at last we have to turn those frames to ascii
All of this will happen behind the secene when you use asciidance
Here is the quick example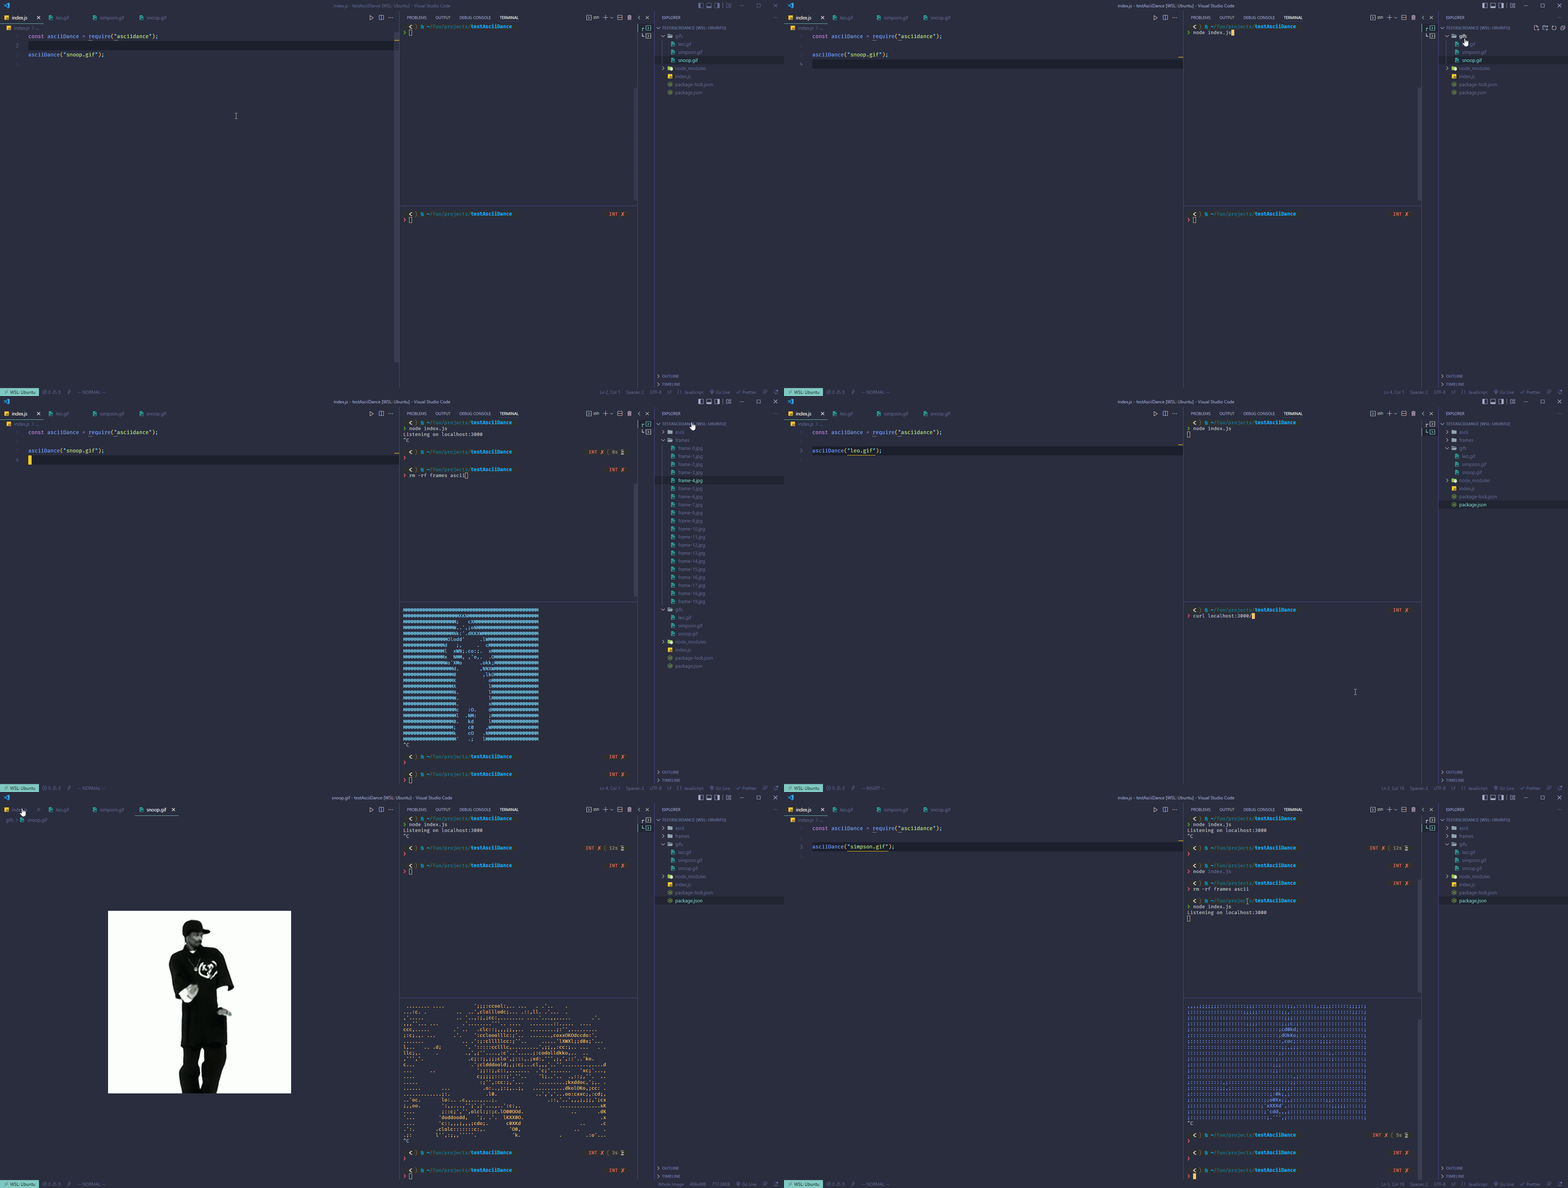
Install
npm install asciidanceBefore running examples
- You have to install
jp2aon your computer - You have to put your gifs on a
gifsfolder - Everytime you run the code again (as you can see in a quick example above) you have to delete both
asciiandframesfolder
Example
background
const asciidance = require("asciidance");

asciidance("snoopdog.gif", { bg: "light" });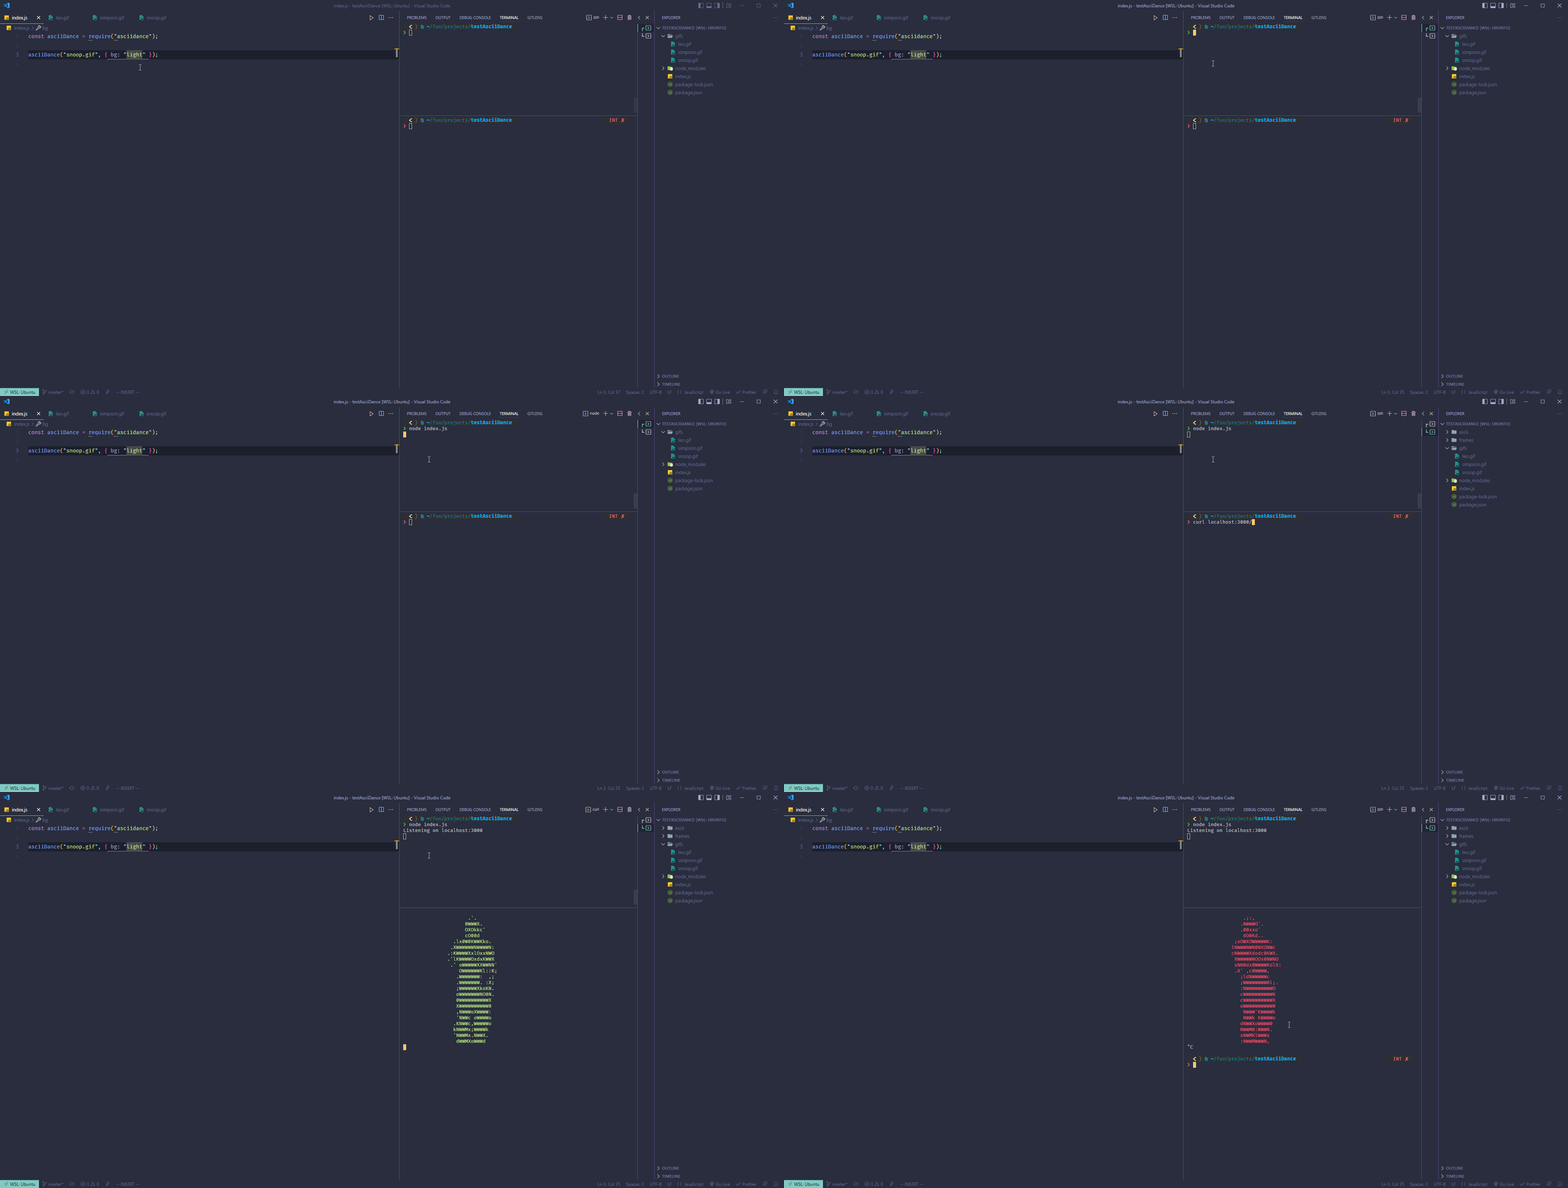
Custom characters
const asciidance = require("asciidance");

asciidance("snoopdog.gif", { chars: "!@#$%^&()_+" });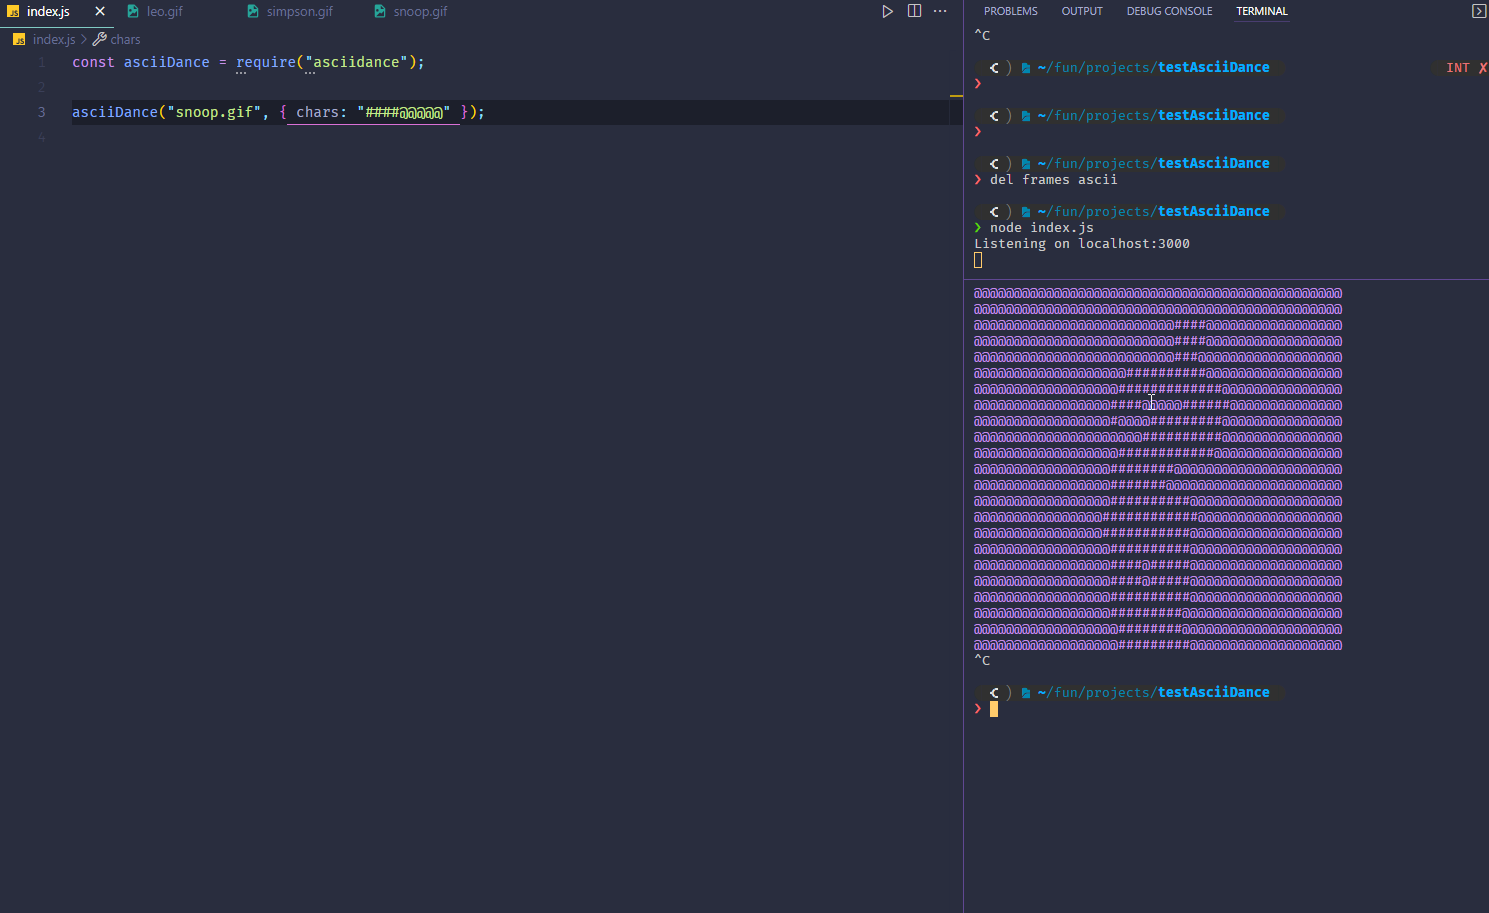
Border example
const asciidance = require("asciidance");

asciidance("snoopdog.gif", { border: "border" });
Flip-horizontal
const asciidance = require("asciidance");

asciidance("snoopdog.gif", { flipx: "flipx" });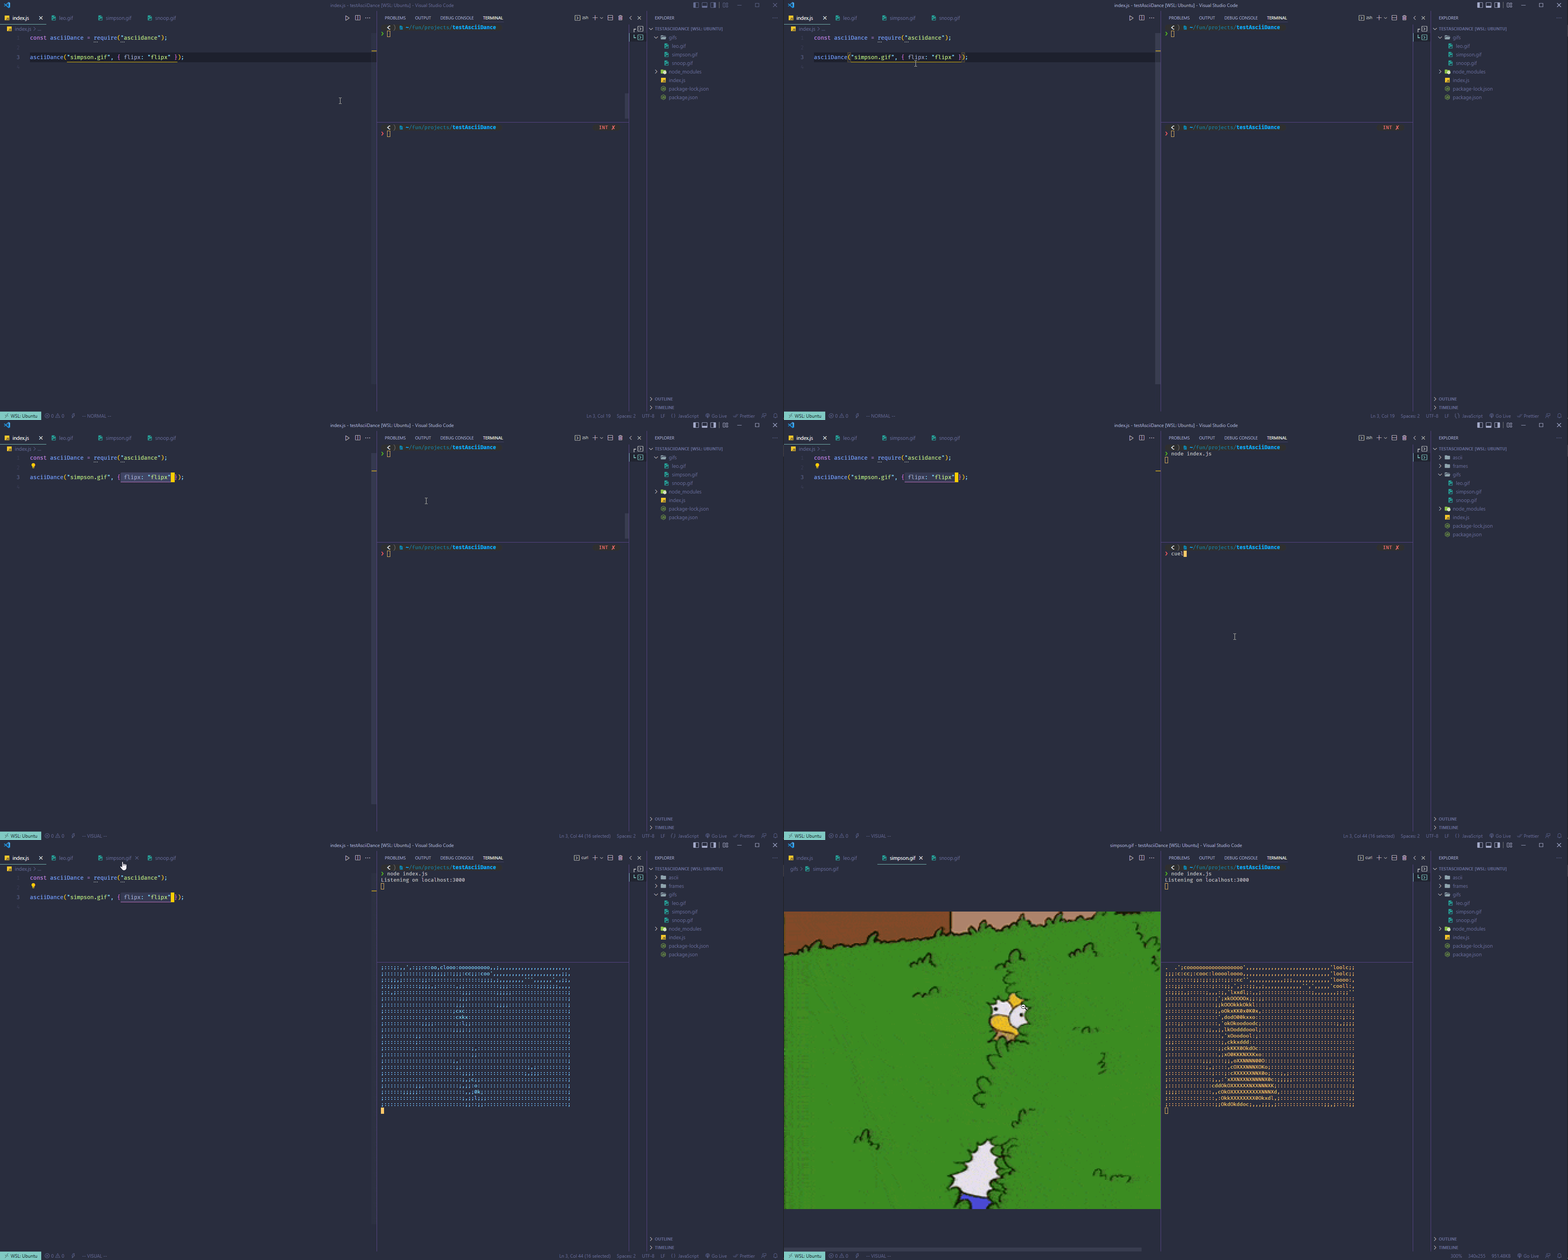
Flip-vertical
const asciidance = require("asciidance");

asciidance("snoopdog.gif", { flipy: "flipy" });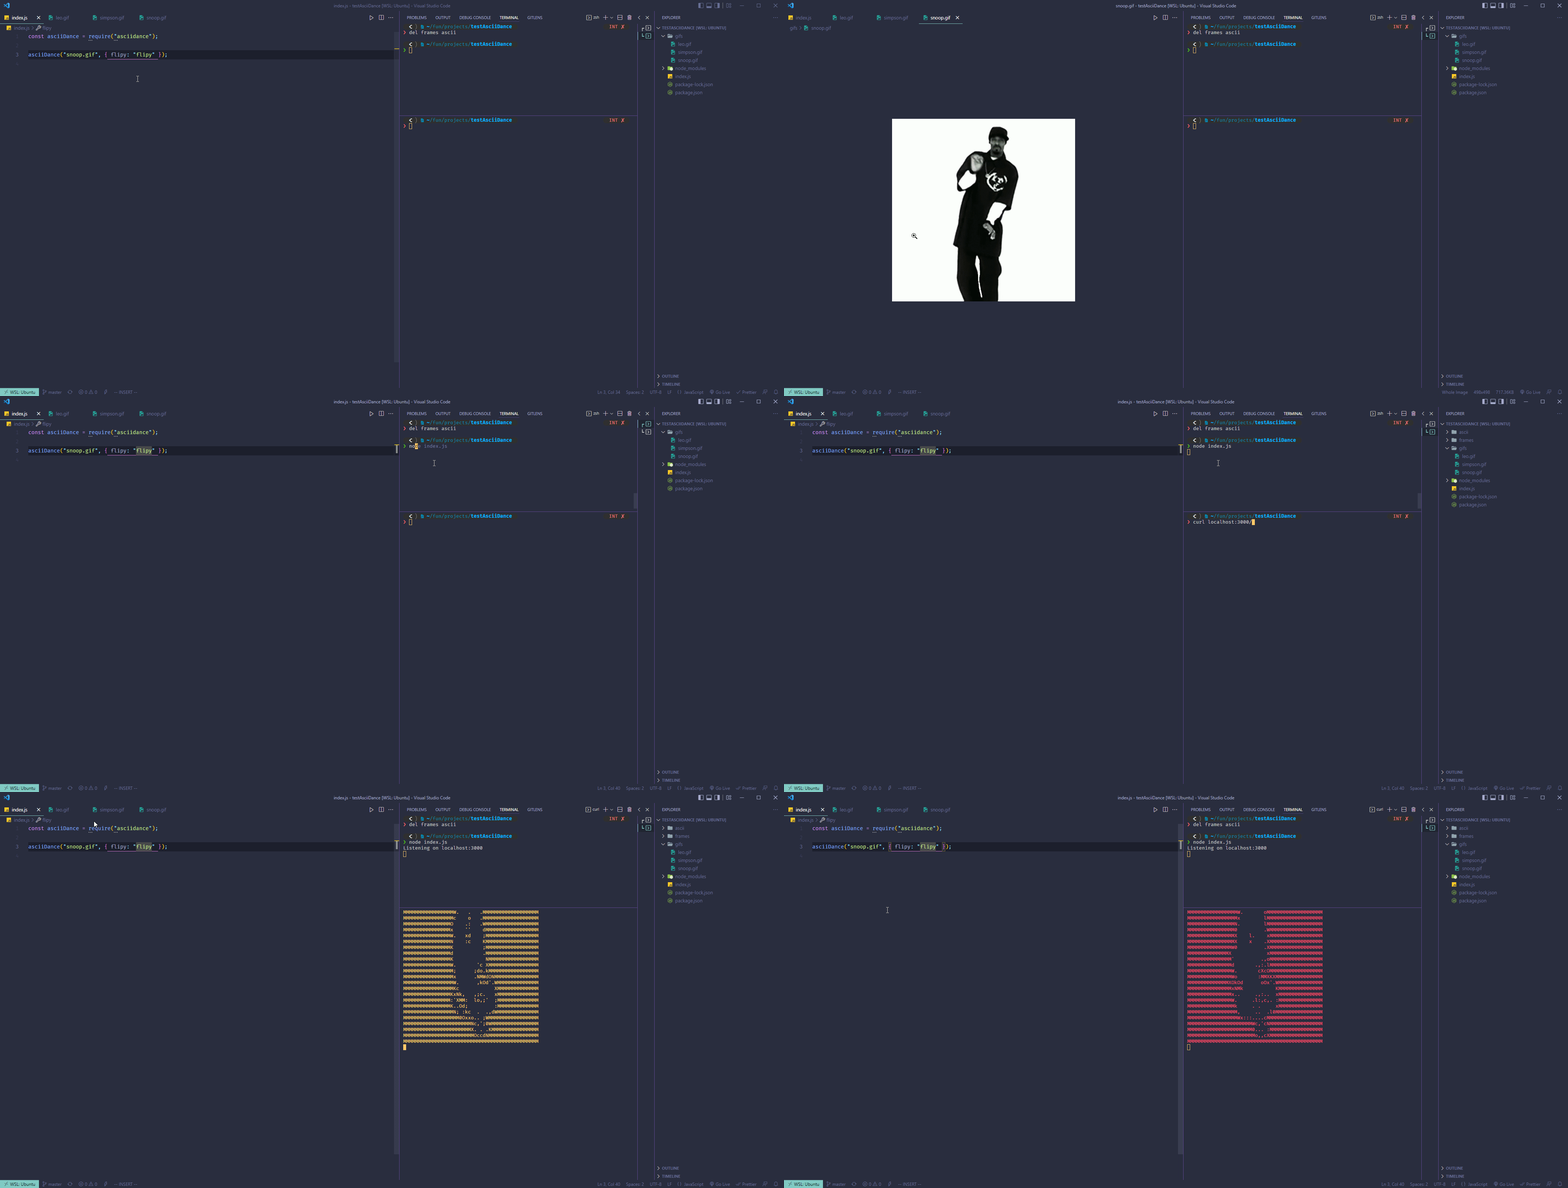
Size
const asciidance = require("asciidance");

asciidance("snoopdog.gif", { size: "100x100" });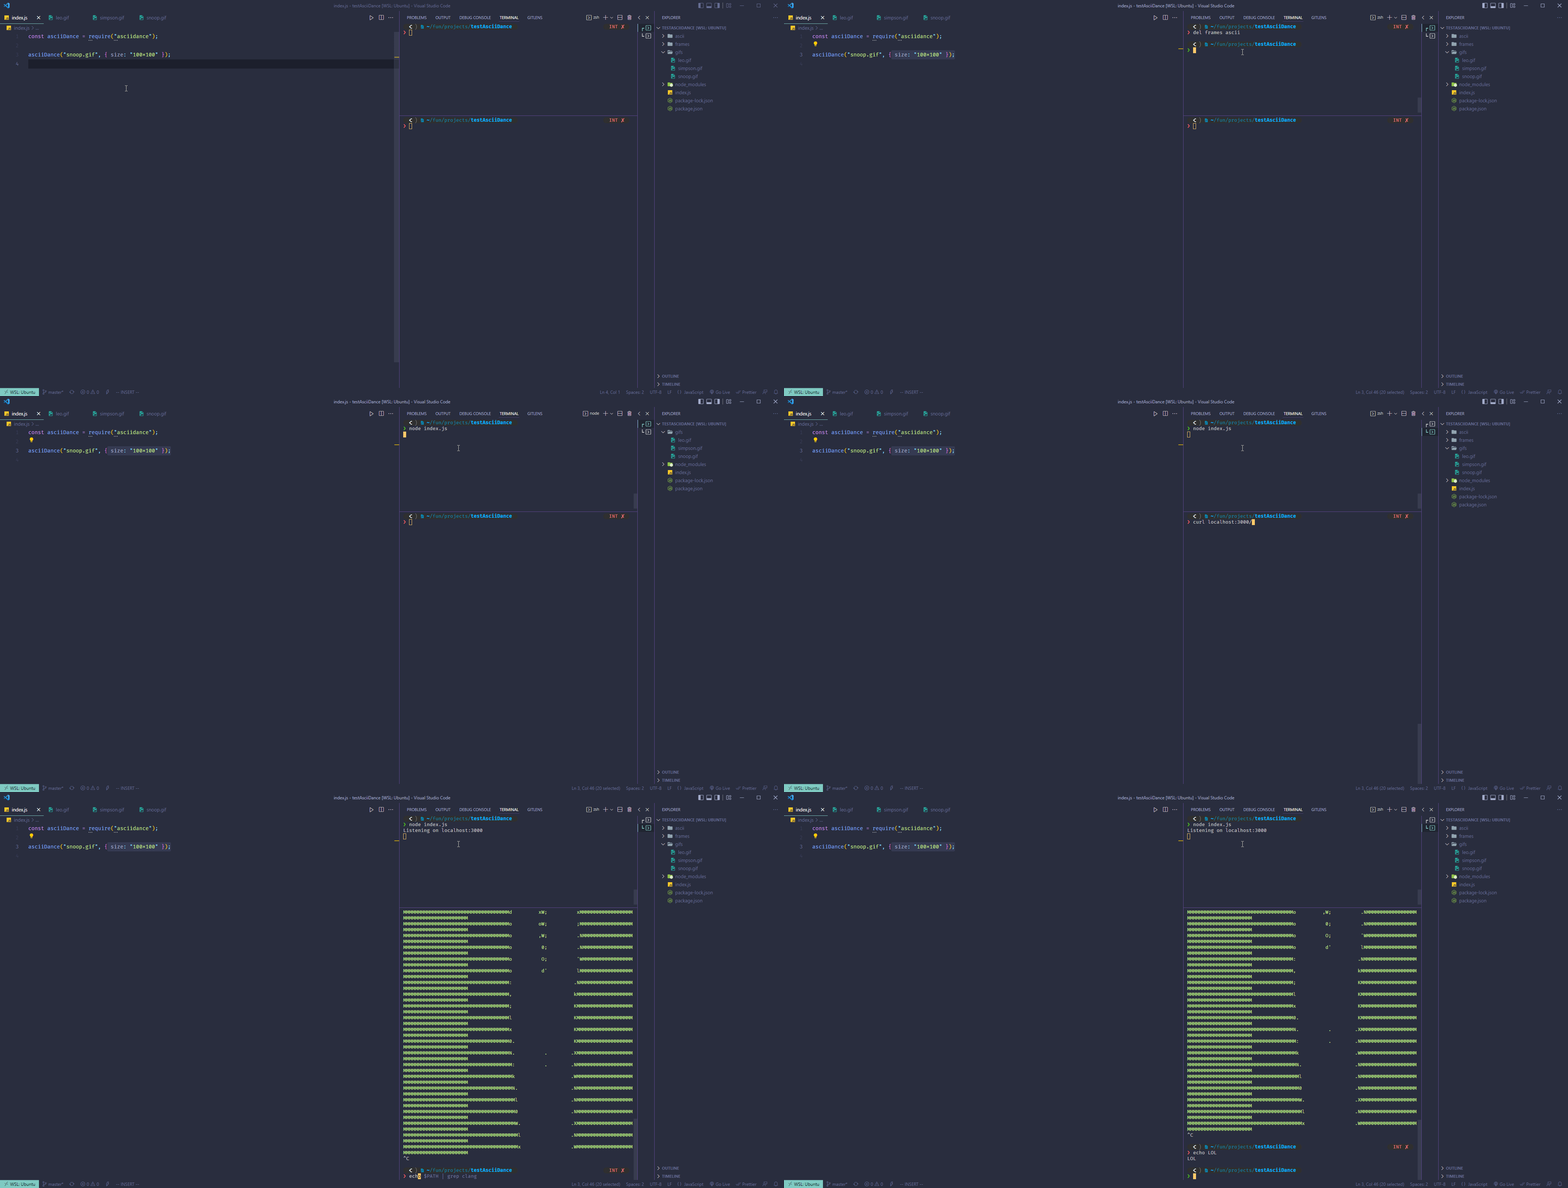
Width
const asciidance = require("asciidance");

asciidance("snoopdog.gif", { width: "20" });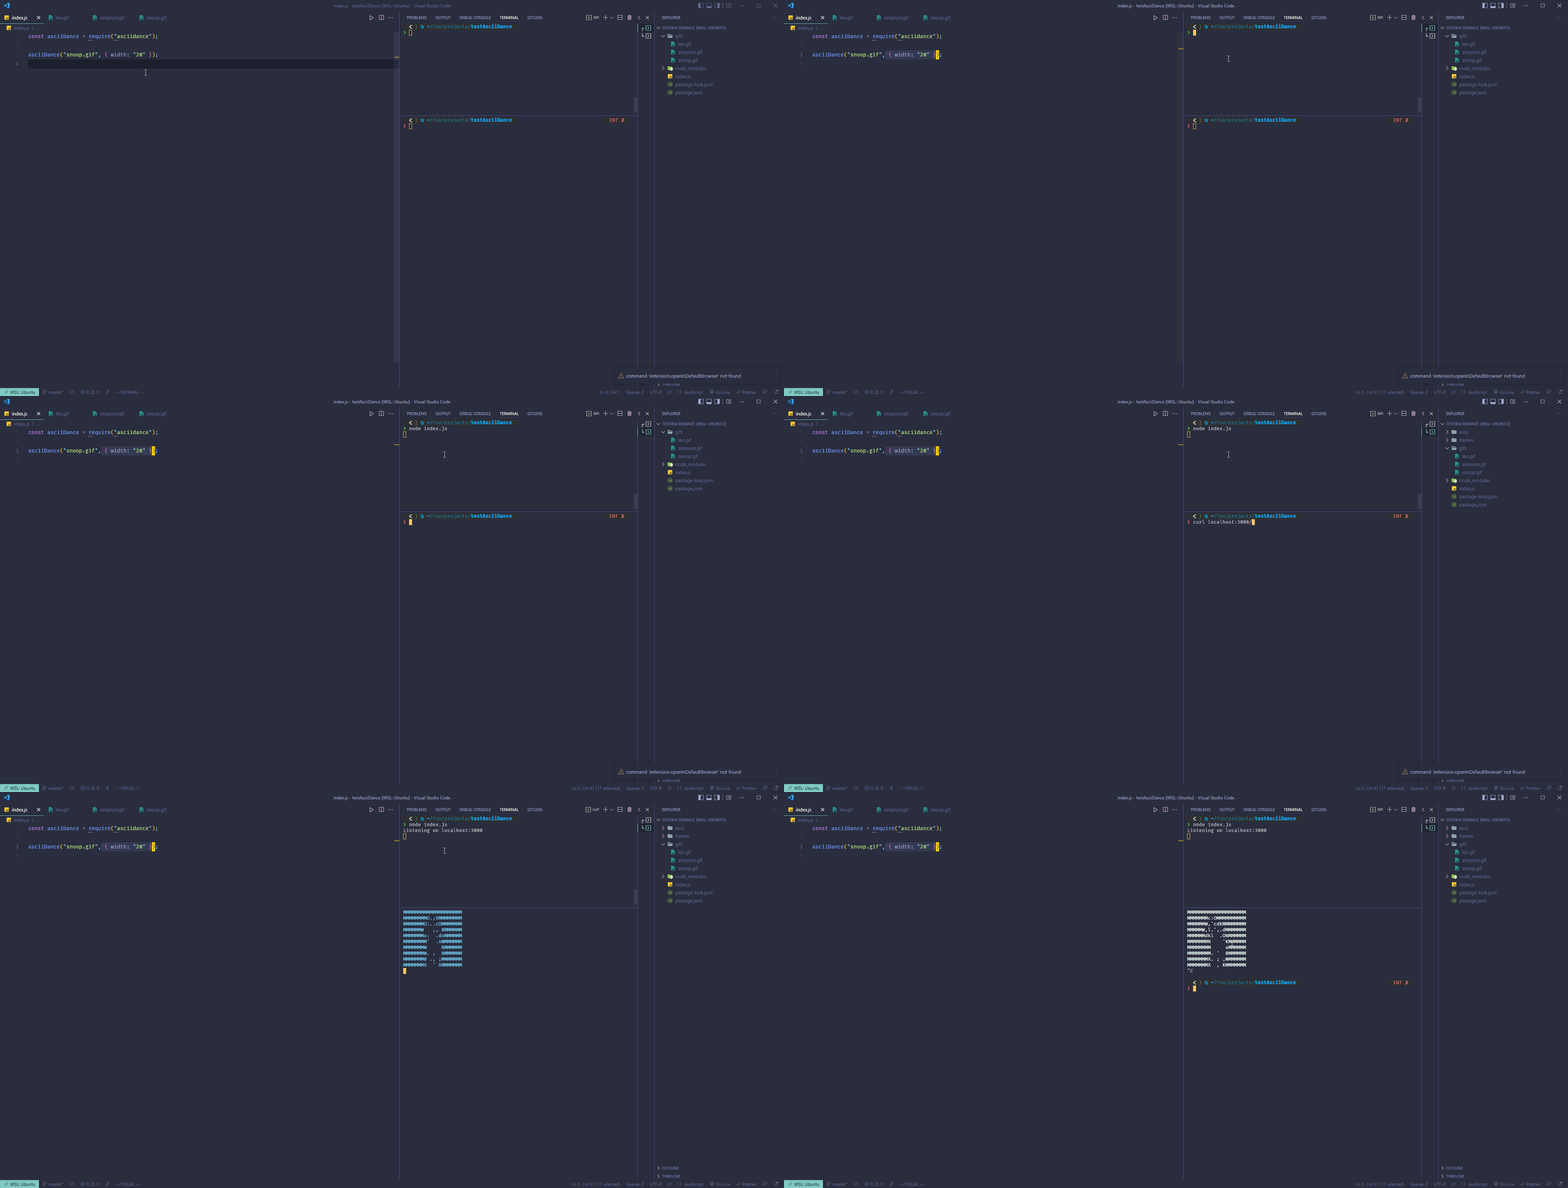
Frame-Rate
const asciidance = require("asciidance");

asciidance("snoopdog.gif", { frameRate: "10" });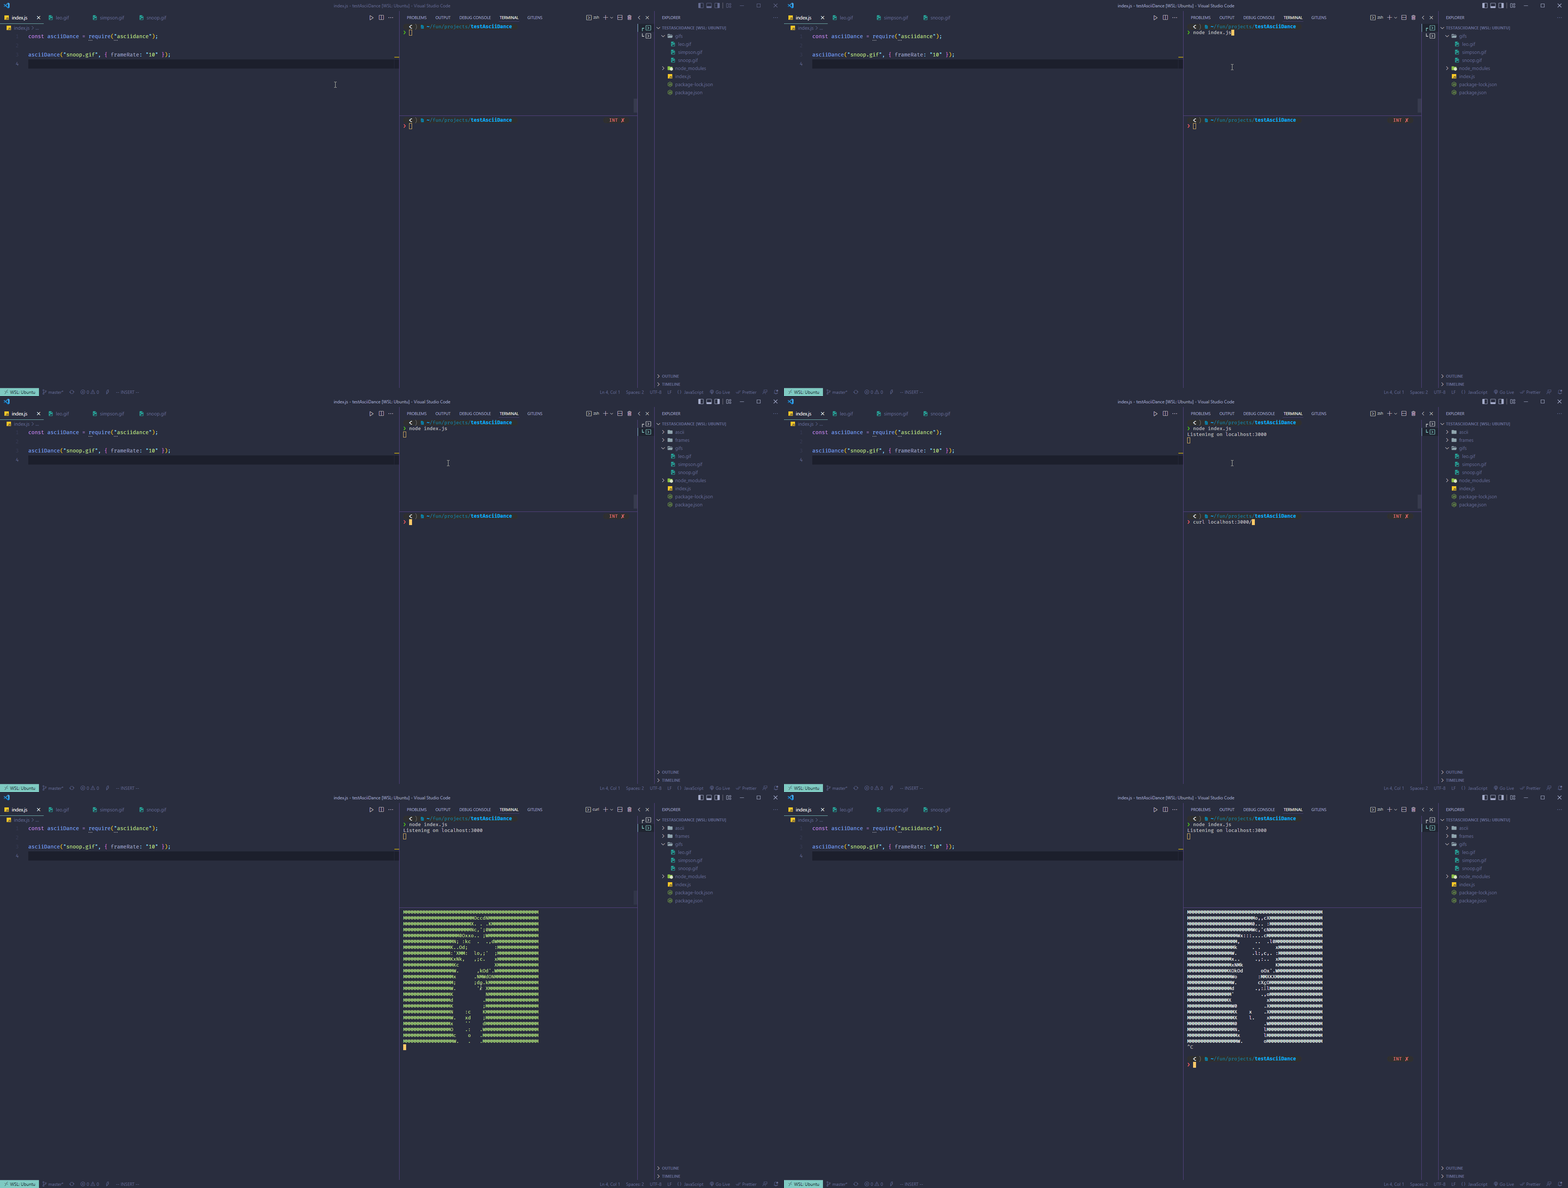
Custom-colors
const asciidance = require("asciidance");

asciidance("snoopdog.gif", { customColor: ["green"] });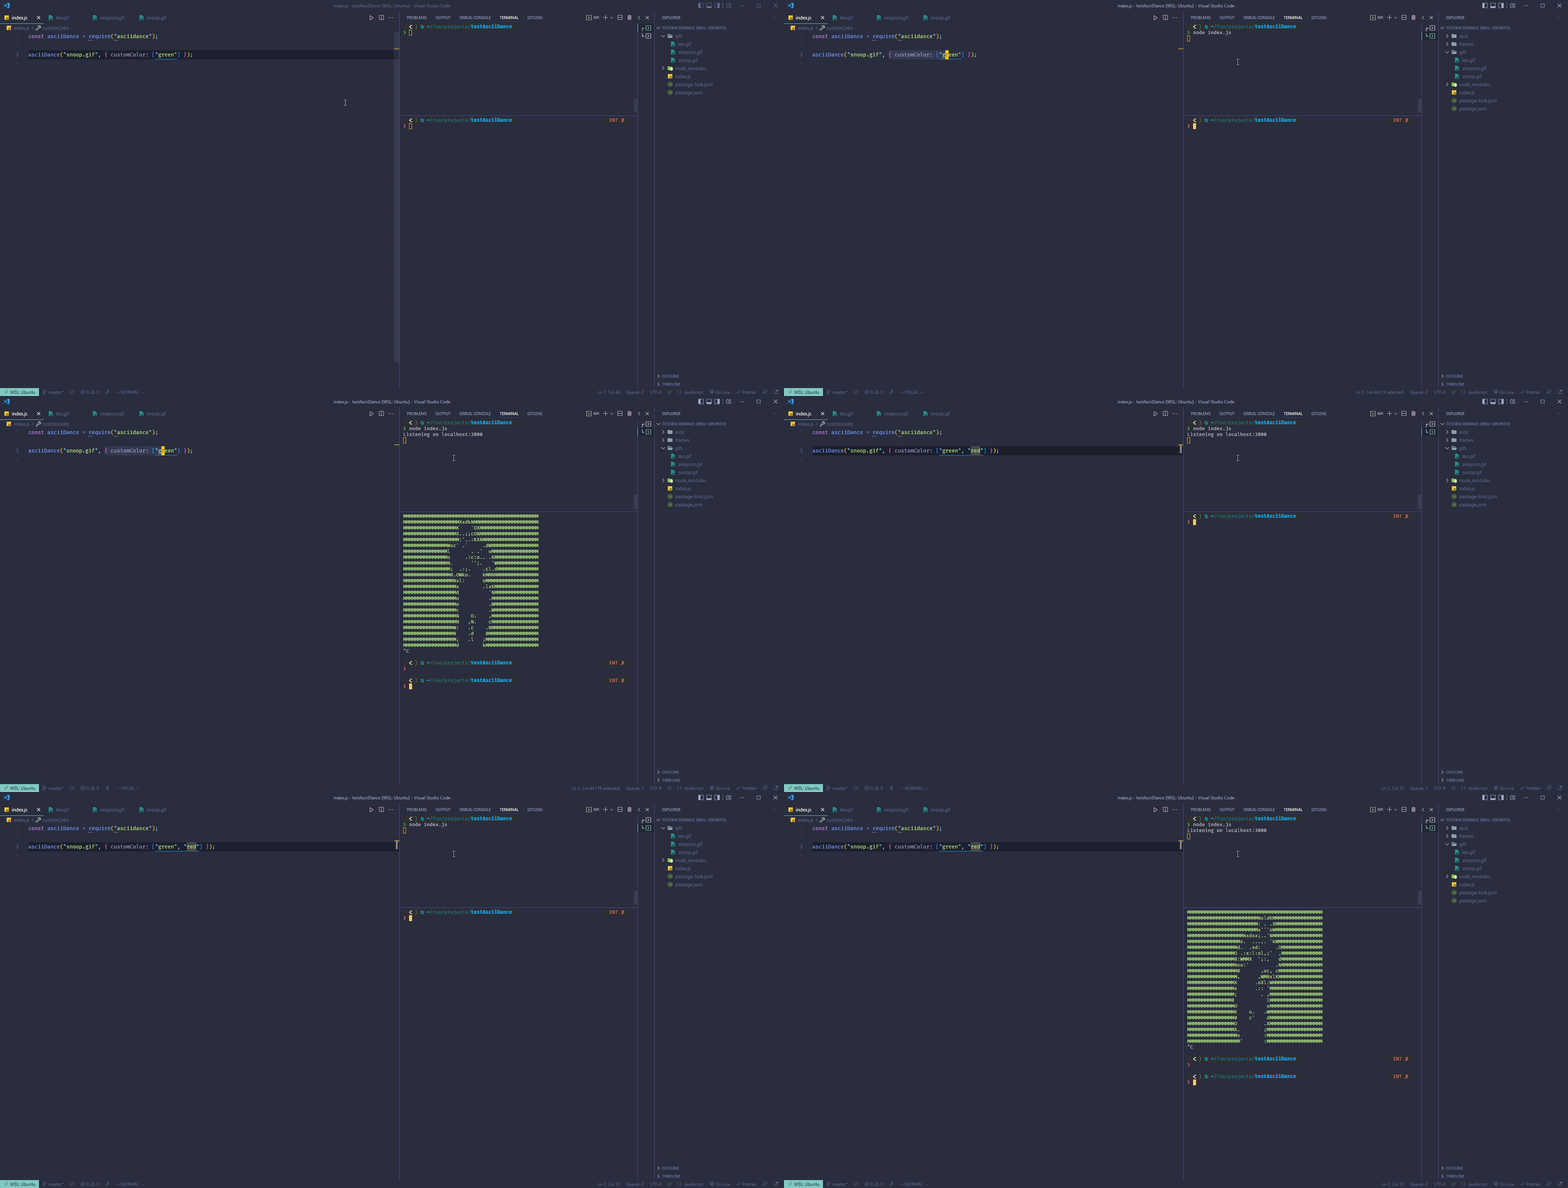
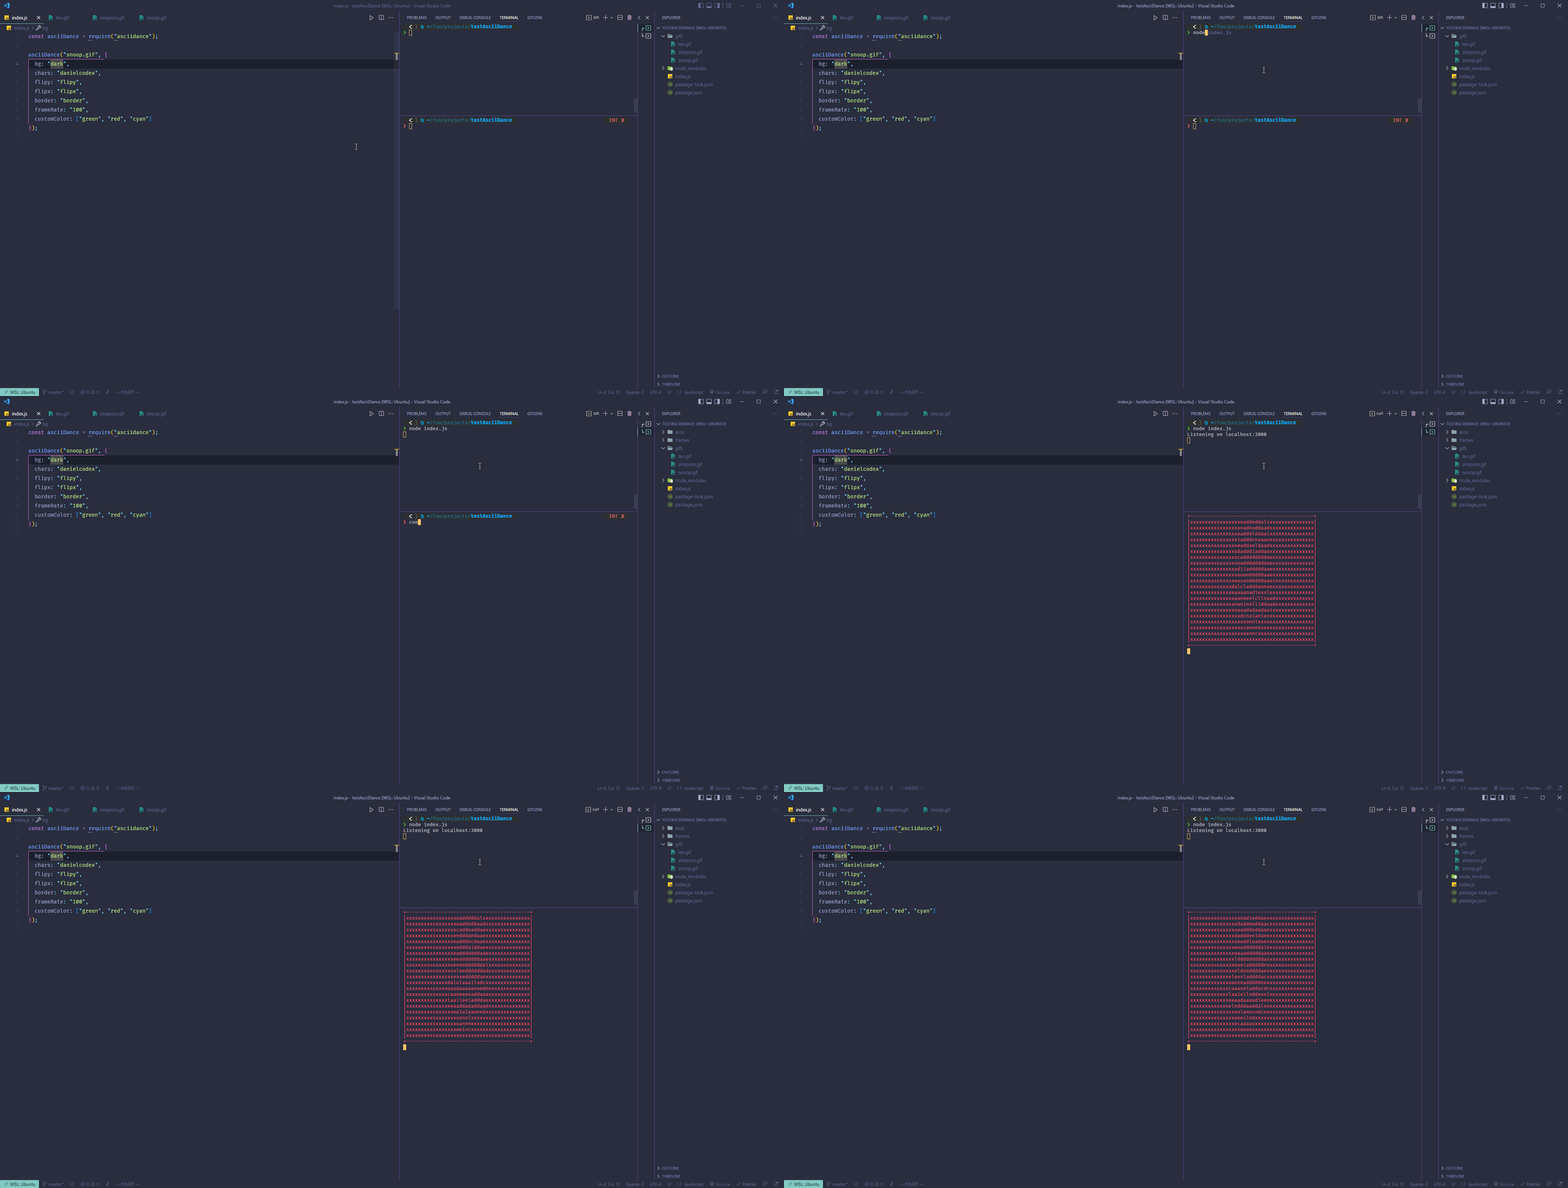
everthing together
const asciiDance = require("asciidance");

asciiDance("snoop.gif", {
  bg: "dark",
  chars: "danielcodex",
  flipy: "flipy",
  flipx: "flipx",
  border: "border",
  frameRate: "100",
  customColor: ["green", "red", "cyan"]
});
API
asciidance(gifFile, asciiConfig?)
gifFile
Type: string
Your gif file name
asciiConfig
Type: object
Default: undefined
Options for how you ascii should look like.
bg
Type: string
Default: dark
The other option is light
Here is the example
chars
Type: string
Default: ...',;:clodxkO0KXNWM
Here is the example
Border
Type: string
Default: undefined
You can set it to border
Here is the example
flipx
Type: string
Default: undefined
You can flip the ascii in the x axis
Here is the example
flipy
Type: string
Default: undefined
you can flip the ascii in the y axis
Here is the example
size
Type: string
Default: The default is the largest image dimension that fits on your terminal link
The format which you write is NxN. That's x in the middle.
Here is the example
frameRate
Type: string
Default: 70
This default rate is originally from parrot.live source code.
But you can change it to any number you want
The rules of thumb is this:
the lower the number the faster the animation/dancing and the higher the number the slower the animation/dancing 😂
Here is the example
customColor
Type: array
Default: ["red", "yellow", "green", "blue", "magenta", "cyan", "white"]
You can give choose any color from default array.
This colors come from colors npm package.
Here is the example
Buggy behaviour
Intentionally i run one code after 2s. Here is the link
For some reason which i don't know yet, if we remove this delay and run the code for the first time, the moment we run curl localhost:3000 we won't get any result in terminal.
So i suspect that the reason for that is because the ascii folder is not populated yet the moment the makeItDance() is called.
That's why i delay the called for makeItDance() function.
If you used a gifs which was really long (i haven't seen a long gifs myself 🤔😂) you might not see anything on terminal the moment you run curl localhost:3000.
In order for that to work just run the your code again and then run curl localhost:3000 (it will works, i promise)
Happy coding 🤗
4 years ago