@pulumi/backstage-plugin-pulumi
Pulumi Plugin
- Display relevant Pulumi information about an entity within Backstage, such as the Pulumi stack, organization, project name, and project description.
- Show the Pulumi activity view for an entity within Backstage.
Requirements
- Setup of the Pulumi plugin for Backstage requires a Pulumi Organization admin to generate a Pulumi access token for the Backstage application.
Feature Overview
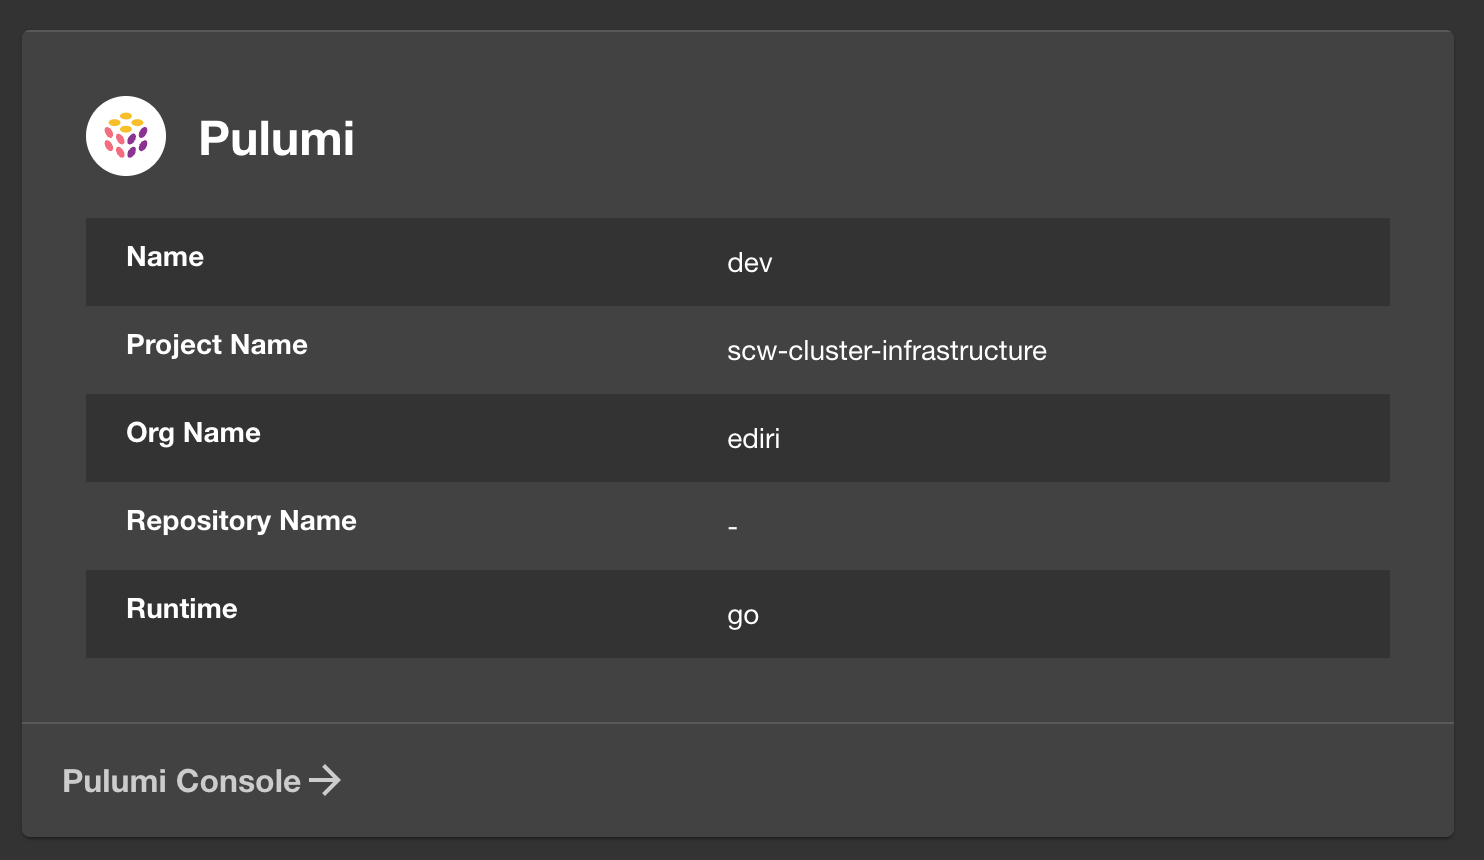
Pulumi Card (Component Overview)
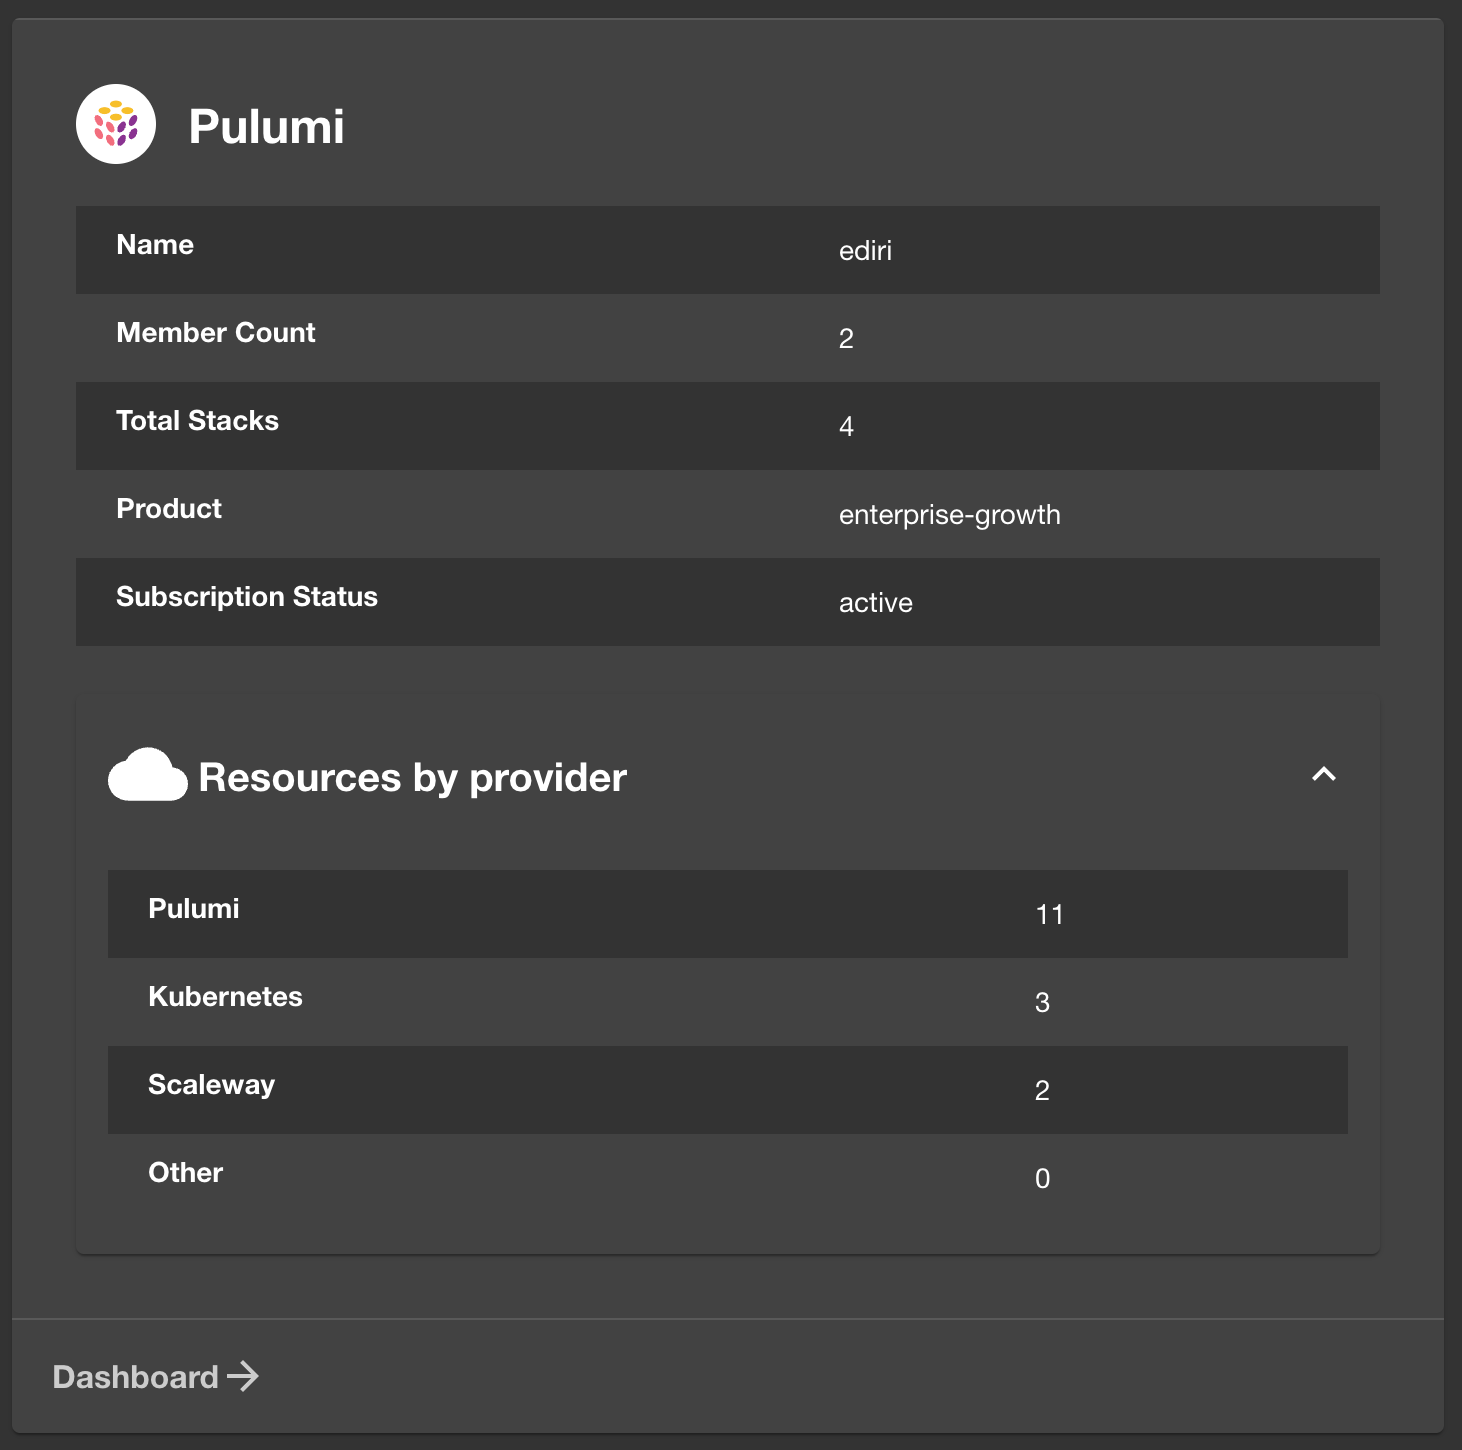
Pulumi Card (System Overview)
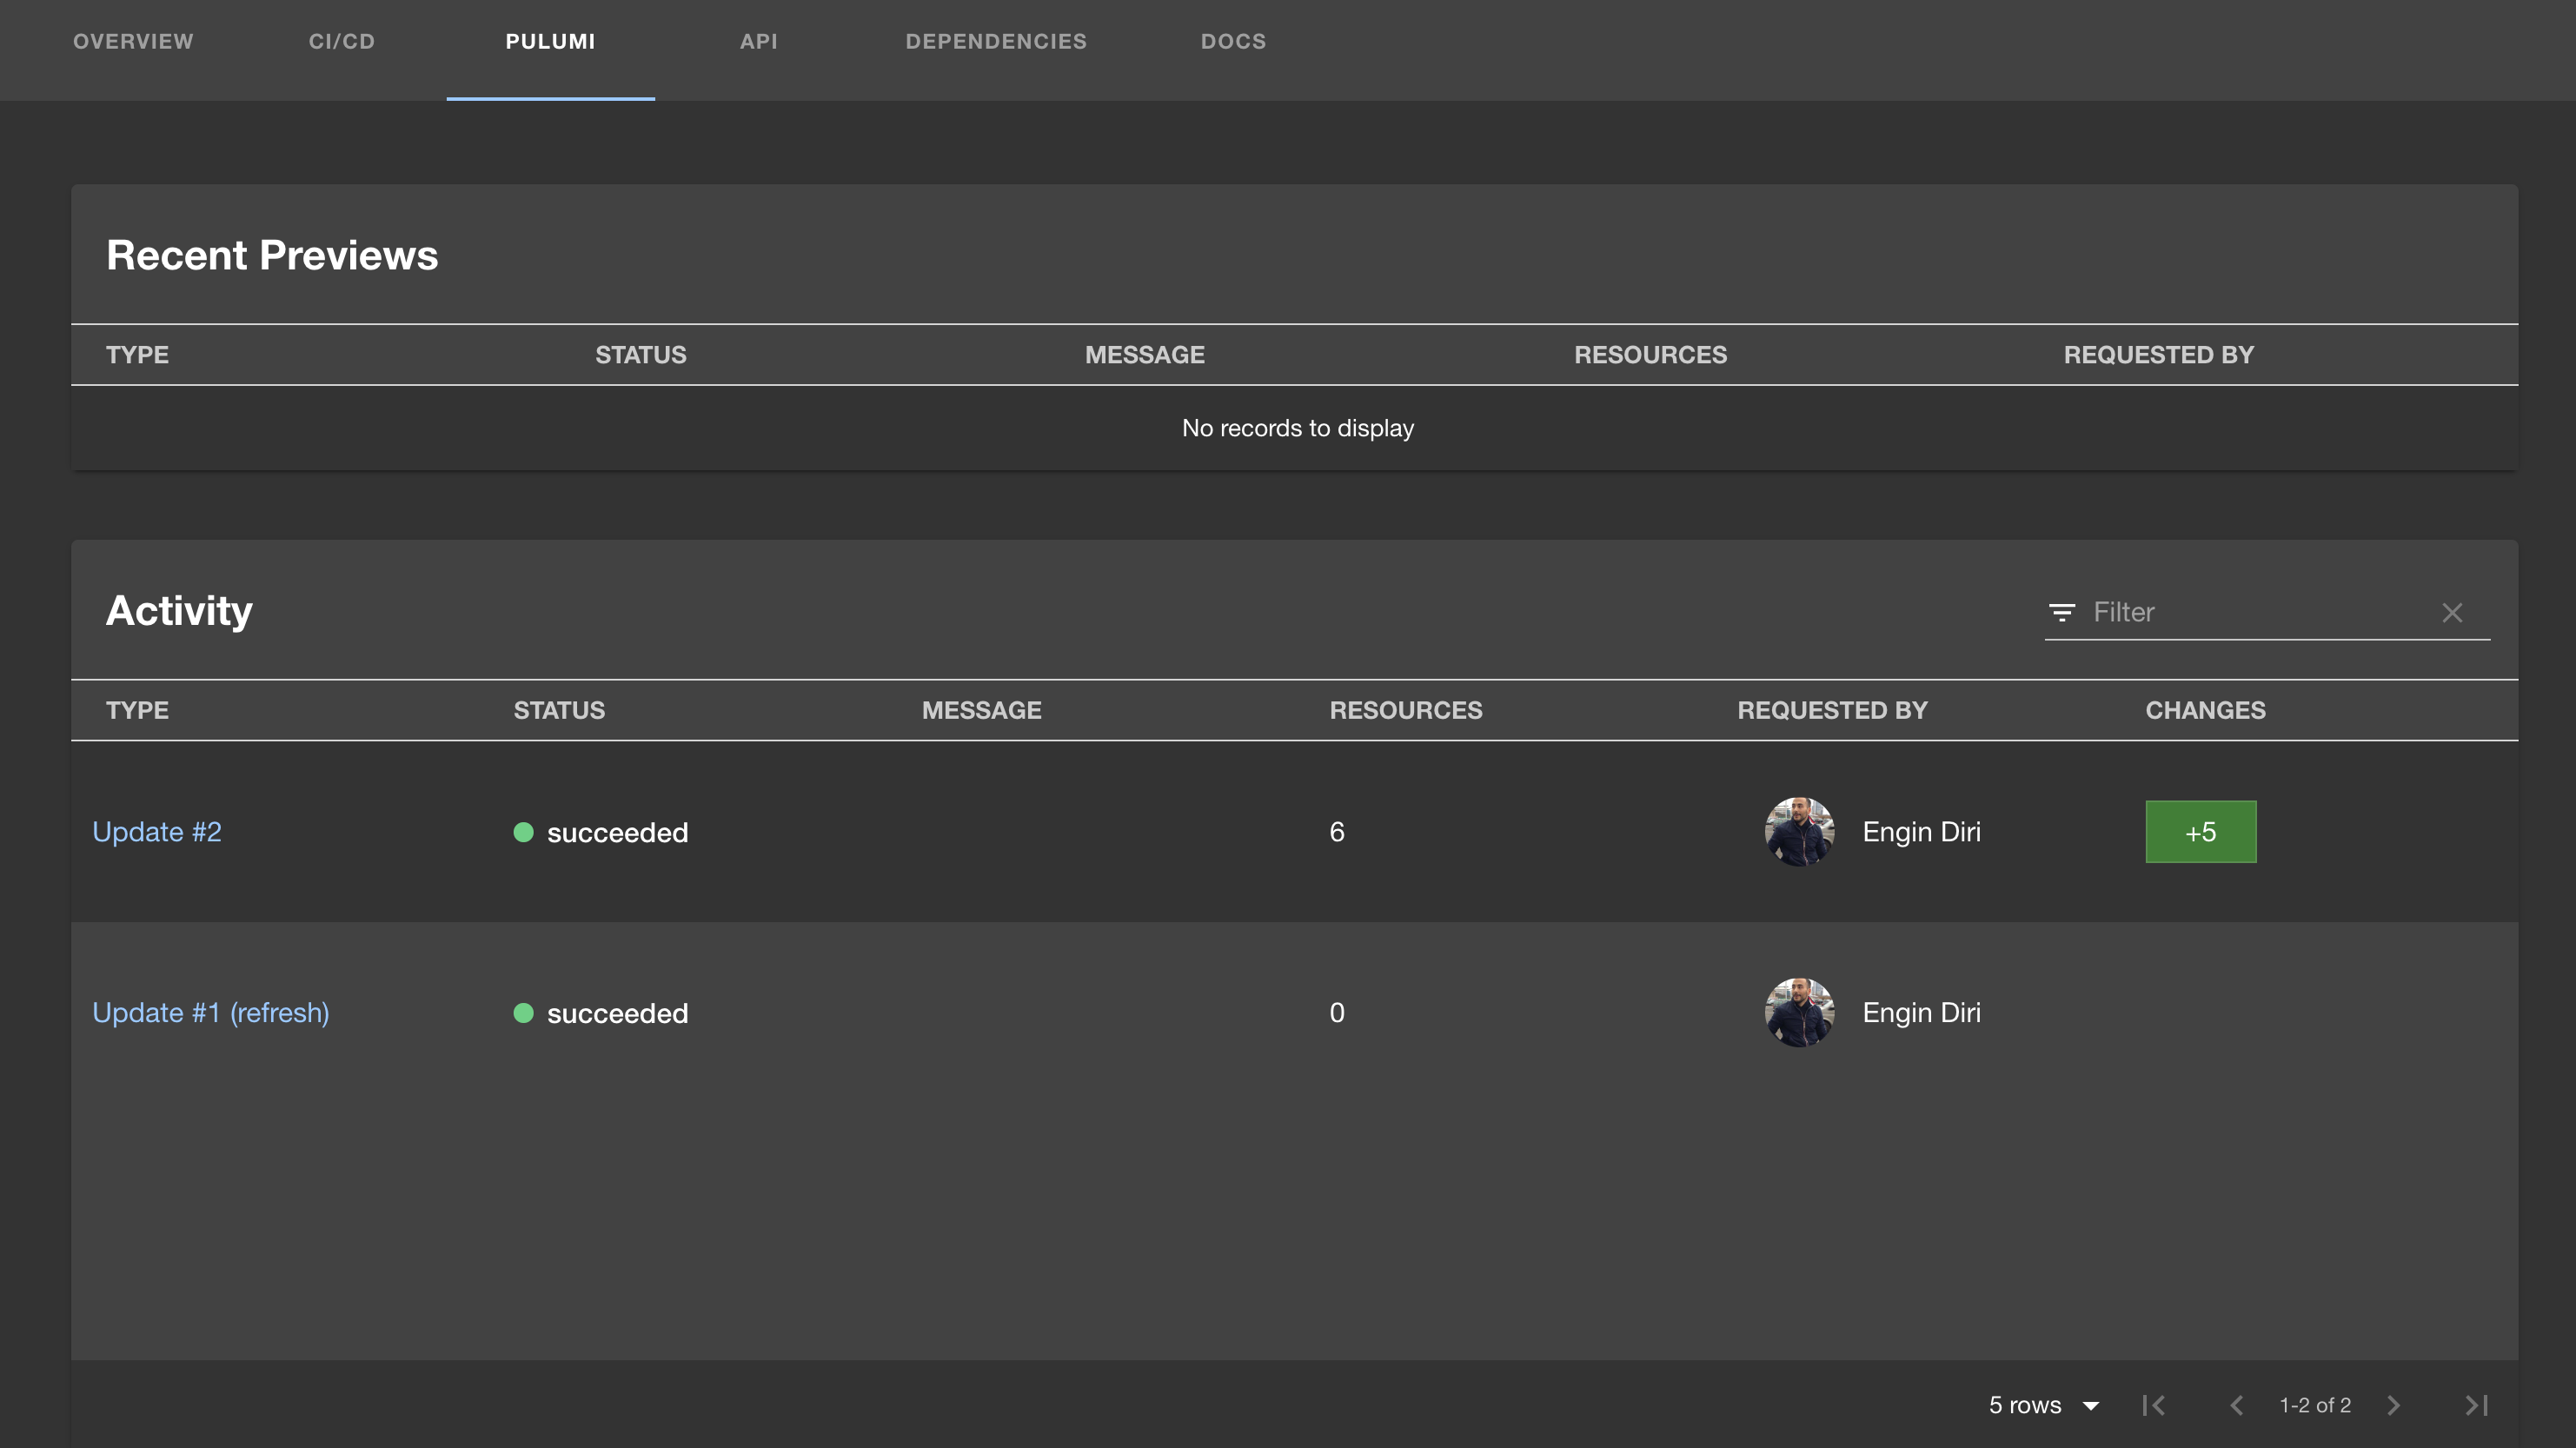
Pulumi Activity View
Support
If you need any help with this plugin, feel free to reach out to me!
Integration Walk-through
Install the plugin
The file paths mentioned in the following steps are relative to your app's root directory — for example, the directory
created by following the Getting Started guide and creating your app with
npx @backstage/create-app.
First, install the Pulumi plugin via a CLI:
# From your Backstage root directory
yarn add --cwd packages/app @pulumi/backstage-plugin-pulumi
Next, add the plugin to EntityPage.tsx in packages/app/src/components/catalog by adding the following code snippets.
Add the following imports to the top of the file:
import {
    isPulumiAvailable,
    EntityPulumiCard,
    EntityPulumiMetdataCard,
    PulumiComponent
} from '@pulumi/backstage-plugin-pulumi';
Then create a new constant for the Pulumi Component:
const pulumiContent = (
    <EntitySwitch>
        <EntitySwitch.Case if={isPulumiAvailable}>
            <PulumiComponent/>
        </EntitySwitch.Case>
    </EntitySwitch>
);
Find const overviewContent in EntityPage.tsx, and add the following snippet inside the outermost Grid defined there,
just before the closing </Grid> tag:
<EntitySwitch>
    <EntitySwitch.Case if={isPulumiAvailable}>
        <Grid item md={6}>
            <EntityPulumiCard variant="gridItem"/>
        </Grid>
    </EntitySwitch.Case>
</EntitySwitch>
Now find the serviceEntityPage constant in EntityPage.tsx, and add the following snippet inside:
<EntityLayout.Route path="/pulumi" title="Pulumi" if={isPulumiAvailable}>
    {pulumiContent}
</EntityLayout.Route>
Lastly, find the systemPage constant in EntityPage.tsx, and add the following snippet inside after the
closing </Grid> tag of the <EntityAboutCard variant="gridItem" />:
  <EntitySwitch>
    <EntitySwitch.Case if={isPulumiAvailable}>
        <Grid item md={6}>
            <EntityPulumiMetdataCard/>
        </Grid>
    </EntitySwitch.Case>
</EntitySwitch>
Configure the plugin
First, annotate your component/resource entity with the following:
annotations:
  pulumi.com/project-slug: [ Pulumi Cloud Name: org/stackname/stack ]
And your system entity with the following:
annotations:
  pulumi.com/orga-slug: <Pulumi Cloud: org>
Next, provide the API token that the client will use to make requests to the Pulumi Cloud API.
Add the proxy configuration in app-config.yaml:
proxy:
  '/pulumi':
    target: 'https://api.pulumi.com/api'
    changeOrigin: true
    headers:
      Authorization: token ${PULUMI_ACCESS_TOKEN}
      Accept: application/vnd.pulumi+8
      Content-Type: application/json
Then, start the backend, passing the PagerDuty API token as an environment variable:
export PULUMI_ACCESS_TOKEN='<PULUMI_ACCESS_TOKEN>'
yarn start
This will proxy the request by adding an Authorization header with the provided token.
How to Uninstall
- Remove any configuration added in Backstage yaml files, such as the proxy configuration in
app-config.yamland the integration key in an entity's annotations. - Remove the added code snippets from
EntityPage.tsx - Remove the plugin package:
# From your Backstage root directory
yarn remove --cwd packages/app @pulumi/backstage-plugin-pulumi