@qodalis/cli-core v0.0.14
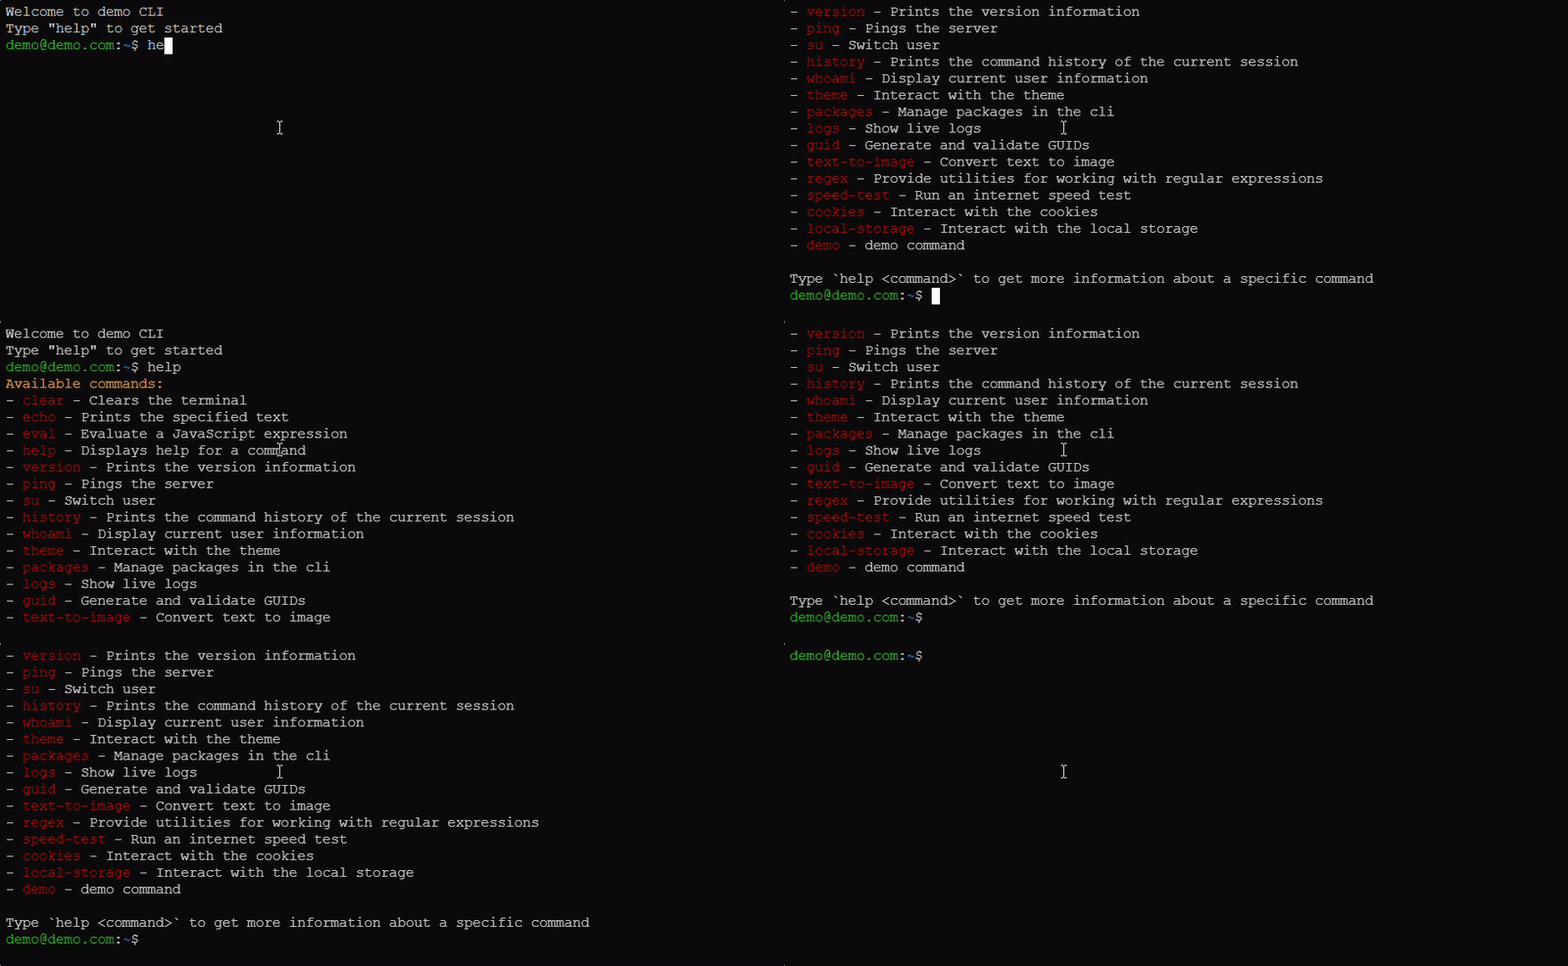
Qodalis Angular CLI is a web-based terminal CLI component for Angular applications. It provides a powerful and extensible interface to execute commands and streamline workflows directly within your web application. The CLI can be extended with custom command processors to suit your specific needs.
Features
- Web-Based Terminal: A terminal interface integrated into your Angular applications.
- Custom Command Processors: Easily extend functionality by creating custom command processors.
- Lightweight and Flexible: Designed to work seamlessly with your existing Angular project.
- Interactive Interface: Enables command execution and response handling in a terminal-like UI.
- Extensibility: The CLI is designed with extensibility in mind, allowing you to enhance its functionality through custom extensions. These extensions can be installed directly from npm and seamlessly integrated into your Angular project by adding them to the imports array in your Angular module.
- Package Installation Support: The CLI allows you to install packages directly from the terminal using the packages add command. This streamlined approach enables you to quickly add dependencies without leaving your terminal, enhancing productivity and simplifying package management.
- Logical operators: Our CLI supports the use of logical operators
&&and||, allowing you to combine multiple commands in a single execution, similar to how they work in Unix-like shells or scripting environments. This feature enhances productivity by chaining commands with conditional logic.
Live Example
Check out a live example of the Qodalis Angular CLI on StackBlitz
Docs
Cli docs link
Installation
Install the package using npm:
npm install @qodalis/angular-cliUsage

After installing, you can integrate the CLI component into your Angular application:
Basic Setup
- Import the CLI Module:
import { CliModule } from "@qodalis/angular-cli";

@NgModule({
  imports: [CliModule, Cli***Module],
})
export class AppModule {}- Set the styles in the angular.json
{
  "projects": {
    "your-project": {
      "architect": {
        "options": {
          "styles": ["node_modules/@qodalis/angular-cli/src/assets/styles.sass"]
        }
      }
    }
  }
}- Add the CLI Component to Your Template:
<!--
    Show a terminal
 -->
<cli [options]="cliOptions" />

<!--
    Show a terminal wrapped in a container that is located at the bottom of the page and can be collapsed/expanded
 -->
<cli-panel />- Configure the CLI:
cliOptions = {
  welcomeMessage: {
    message: "-- your custom welcome message --",
    show: "daily", //never, once
  },
  usersModule: {
    enabled: true,
  },
};
Example Commands
Built-in Commands
System
- help: Displays available commands and their descriptions.
- clear: Clears the terminal screen.
- echo \<message>: Prints the provided message to the terminal.
- ping: Pings the server
- theme: Interact with the cli theme
- history: Prints the command history of the current session
- version: Prints the version information
- eval: Evaluate a JavaScript expression
- packages: Manage packages in the cli
Users
- whoami: Display current user information
- su: Switch user
- adduser: Add a new user
- listusers: List all users
Custom
See the available packages section.
Package Installation Support
The CLI allows you to install packages directly from the terminal using the packages add command. This streamlined approach enables you to quickly add dependencies without leaving your terminal, enhancing productivity and simplifying package management.
- Installs the specified package seamlessly.
- Automatically resolves dependencies and integrates the package into cli.
- Display results in a structured format.
Usage

Add a package
To add a package, use the packages add command:
root:~$ packages add <package-name1> <package-name2> <package-namen>Example:
root:~$ packages add guid
root:~$ packages add regex
root:~$ packages add string
root:~$ packages add curl
root:~$ packages add <any npm package that support umd>
This command downloads and makes the package available for evaluation.
Remove a package
Remove a package using the packages remove command:
root:~$ packages remove guidUpdate a package
Update a package using the packages update command:
root:~$ packages update guid # update 1 package

root:~$ packages update guid todo # update 2 packages

root:~$ packages update # update all packages
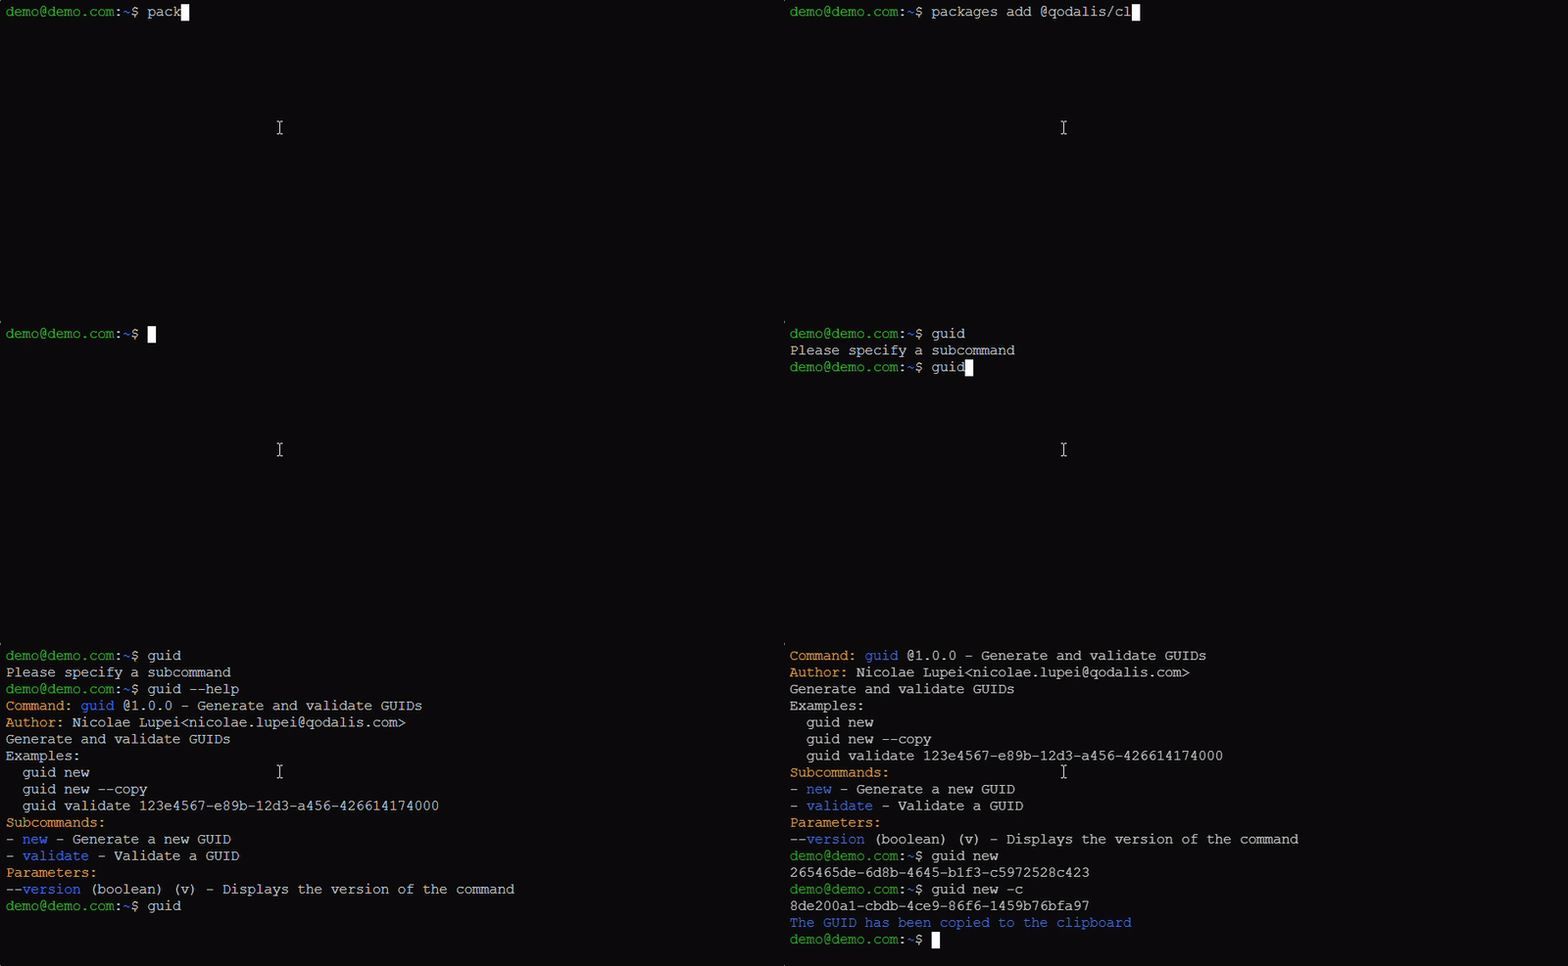
Example with guid package
packages add guid
guid new # output a19a7be4-8818-41b2-b0c2-1c82f8c21826
guid new -c # copy to the clipboard
guid new --count=3 # output 3 guid's
Example with a npm package
root:~$ packages add lodash
root:~$ eval _.map([1, 2, 3, 4, 5], (n) => n * 2);
Output:
[
  2,
  4,
  6,
  8,
  10
]
root:~$
Available packages
- @qodalis/cli-guid - utility for guid
- @qodalis/cli-server-logs - utility for live server logs
- @qodalis/cli-text-to-image - utility to generate images from text
- @qodalis/cli-regex - provide utilities for working with regular expressions
- @qodalis/cli-speed-test - run the internet speed test
- @qodalis/cli-browser-storage - provide commands to operate with browser storage like cookie, localStorage etc.
- @qodalis/cli-string - provide commands to operate with strings.
- @qodalis/cli-curl - A command-line tool to execute HTTP requests on your server. Supports GET, POST, PUT, DELETE, headers, and body data.
- @qodalis/cli-todo - A command-line tool for managing your tasks efficiently. Add, list, complete, and remove TODO items with simple commands.
- More will be implemented ...
Extending with Custom Commands
You can extend the CLI by creating a class that implements the ICliCommandProcessor interface. This allows you to define new commands and their behavior.
Creating a Custom Command Processor
- Create a new class that extends
ICliCommandProcessor:
import { ICliCommandProcessor, CliProcessCommand, ICliExecutionContext } from "@qodalis/angular-cli";

export class MyCustomCommandProcessor implements ICliCommandProcessor {
  command = "greet";
  description = "Greet the user with a custom message";
  allowUnlistedCommands = true;

  async processCommand(command: CliProcessCommand, context: ICliExecutionContext): Promise<void> {
    const name = command.value;
    const message = name ? `Hello, ${name}!` : "Hello!";
    context.writer.writeln(message);
  }
}- Register the command processor:
import { CliModule, resolveCommandProcessorProvider } from "@qodalis/angular-cli";

@NgModule({
  imports: [CliModule],
  providers: [resolveCommandProcessorProvider(MyCustomCommandProcessor)],
})
export class AppModule {}
Custom Command Example
After registering MyCustomCommandProcessor, you can use the following command:
greet JohnOutput:
Hello, John!Extensibility
The CLI is designed with extensibility in mind, allowing you to enhance its functionality through custom extensions. These extensions can be installed directly from npm and seamlessly integrated into your Angular project by adding them to the imports array in your Angular module.
How It Works:
- Install the extension from npm:
npm install @qodalis/cli-extension-name- Import and add it to your Angular module:
import { ExtensionModule } from "@qodalis/cli-extension-name";

@NgModule({
  imports: [
    CliModule,
    ExtensionModule,
    // other imports
  ],
})
export class AppModule {}
Benefits:
- Easily extend the CLI with new commands or features.
- Leverage the rich ecosystem of npm packages to customize your workflow.
- Keep your CLI lightweight while enabling project-specific functionality through extensions.
- This flexibility ensures the CLI adapts to your project's needs, fostering scalability and customization.
Logical operators
These logical operators rely on the exit codes of commands:
0indicates success.- Non-zero values indicate failure.
Commands are executed sequentially in the order specified.
- Logical operators provide flexibility to handle conditional execution efficiently in automation scripts or complex workflows.
# Example with &&
packages add guid && echo Package installed

# Example with ||
packages add invalid-package || echo Package not installed
Contributing
We welcome contributions! To contribute:
- Fork this repository.
- Create a branch for your feature or bugfix.
- Submit a pull request.
Please ensure all contributions follow the project coding standards.
License
This project is licensed under the MIT License. See the LICENSE file for details.
You can copy this content into a file named `README.md` in your project directory. Let me know if there's anything else you'd like to adjust! 🚀