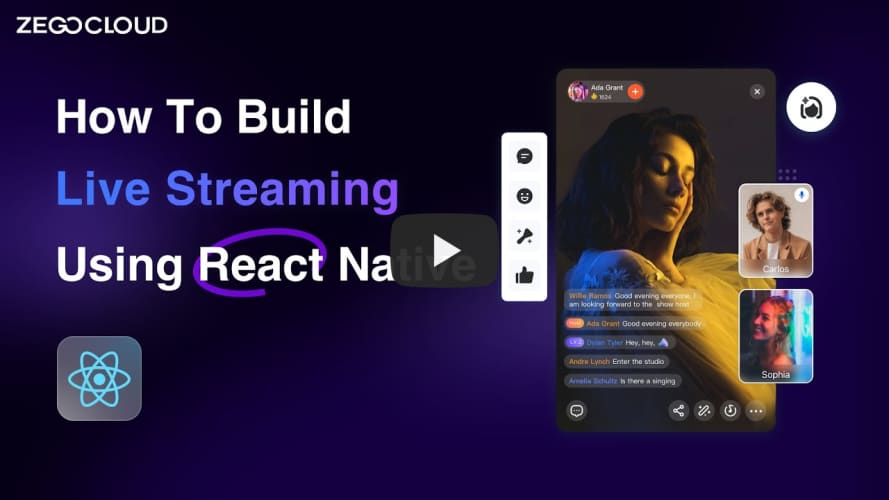
@zegocloud/zego-uikit-prebuilt-live-streaming-rn v2.5.3
Quick start
If you have any questions regarding bugs and feature requests, visit the ZEGOCLOUD community .
Integrate the SDK
Import the SDK
Add @zegocloud/zego-uikit-prebuilt-live-streaming-rn as dependencies
yarn add @zegocloud/zego-uikit-prebuilt-live-streaming-rn Add other dependencies
Run the following command to install other dependencies for making sure the @zegocloud/zego-uikit-prebuilt-live-streaming-rn can work properly:
yarn add @zegocloud/zego-uikit-rn react-delegate-component zego-express-engine-reactnativeUsing the ZegoUIKitPrebuiltLiveStreaming Component in your project
- Go to ZEGOCLOUD Admin Console|_blank, get the
appIDandappSignof your project. - Specify the
userIDanduserNamefor connecting the LiveStreaming Kit service. - Create a
liveIDthat represents the live streaming you want to make.
userIDandcallIDcan only contain numbers, letters, and underlines (_).- Using the same
liveIDwill enter the same live streaming.
// HostPage.js
import React from 'react';
import { StyleSheet, View } from 'react-native';
import ZegoUIKitPrebuiltLiveStreaming, { HOST_DEFAULT_CONFIG } from '@zegocloud/zego-uikit-prebuilt-live-streaming-rn'

export default function HostPage(props) {
    return (
        <View style={styles.container}>
            <ZegoUIKitPrebuiltLiveStreaming
                appID={yourAppID}
                appSign={yourAppSign}
                userID={userID}
                userName={userName}
                liveID={liveID}

                config={{
                    ...HOST_DEFAULT_CONFIG,
                    onLeaveLiveStreaming: () => { props.navigation.navigate('HomePage') }
                }}
            />
        </View>
    );
}
Configure your project
- Android:
Open my_project/android/app/src/main/AndroidManifest.xml file and add the code as follow:
<uses-permission android:name="android.permission.RECORD_AUDIO" />
<uses-permission android:name="android.permission.CAMERA" />- iOS:
Open my_project/ios/my_project/Info.plist file and add the code as follow:
<key>NSCameraUsageDescription</key>
<string></string>
<key>NSMicrophoneUsageDescription</key>
<string></string>
Run & Test
- Run on an iOS device:
yarn android- Run on an Android device:
yarn iosRelated guide
1 year ago
1 year ago
1 year ago
1 year ago
1 year ago
1 year ago
1 year ago
1 year ago
1 year ago
1 year ago
2 years ago
2 years ago
2 years ago
2 years ago
2 years ago
2 years ago
3 years ago
3 years ago
3 years ago
3 years ago
3 years ago
3 years ago
3 years ago
3 years ago
3 years ago
3 years ago
3 years ago
3 years ago
3 years ago
3 years ago
3 years ago
3 years ago
3 years ago
3 years ago
3 years ago
3 years ago
3 years ago
3 years ago

