1.0.16 • Published 6 years ago
backless v1.0.16

Backless Js
INSTANT EXPRESS REST API GENERATOR.
What packages does Backless Js REST API included?
- ODM Mongoose for MongoDB
- Express for server's framework
- BcryptJs for hashing password
- Jsonwebtoken for Authentication
- Mocha test framework
- Chai as assertion library for test framework
Table of Contents
Pre-requisite
All items below must already installed in your machine
Node Js & MongoDB Help
To see all the command lines in our package, Use this command
$ backless --helpAnd you will found this text below

Version
If you installed globally make sure you've already installed Backless Js correctly using this command
$ backless --vOr
$ backless --versionInstallation
Install Backless Js globally using this command
$ npm install -g backlessor
You could create Backless Js REST API instantly using this command
$ npx backless createTree
Here is the folder tree in a server directory that you will receive after you unpack our package

Updating
To make sure our INSTANT EXPRESS REST API generator work correctly please make sure to always updated it to newer version using this command
$ npm update -g backlessUsage
You can run this command to start generating new server
Notes : Make sure there is no server folder in your working directory otherwise Backless wont create new server
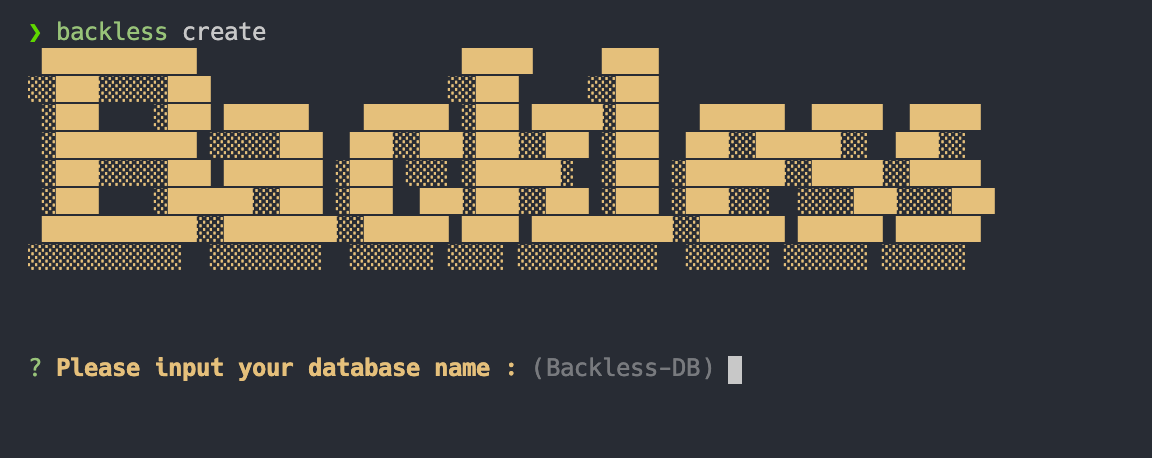
$ backless create1. Database Input
In this section please input database name to your database that you want to use and press enter. The default name is (Backless-DB)

2. Model Input
Please input model name to your database.The default name is (Foobar)

3. Attributes Input
In this part, you will found text below and you have to decide the attribute's name for your model. The default name is (name)

After you decided the attribute's name, choose the type for the attribute. The default type is (String)

The last step of this section, you can choose to add another attribute by type "Y" or "yes" (this is the default if you're not choose or type anything) or you can choose NO by type "n" or "no".

4. Port Input
In this section, you will choose which port you want to use. The default port is 3000.

5. Jsonwebtoken Secret key Input
The secret key default is 'Backless_Secret' if you let it empty.

Wait for a minute

And Voilaa.... your server is ready to use !

Backless Command
Backless Prove
To run all testing files you could use this command below.
$ backless proveYou will found this text message

All you have to do is to wait for a moment till this text message show up.

Note: This message will show up by assuming that you're not changes anything in our package file.
BUT
If you want to customize your own server and there is an error, you will found this text below.

So, don't forget to customize all of related file to prevent the error.
You also can run testing by move into your server's file and run this command in your terminal.
$ npm run testOR
$ npm testBackless Serve
You can running the server by using this command in your terminal
$ backless serveYou will found this text after you running the server by using command above

You can also use this command to run the server
$ npm run devAdd Another Models
If you want to add another model for your server, you can use this command
Notes : Make sure you're currently on your working directory the same as Backless Server folder exist
$ backless add --name <Model Name> --attributes <key> : <dataTypes>,<key> : <dataTypes>"ModelName" is a name for your model (example: UserModel), "key" is for attribute's name and "dataTypes" is for attribute's type (String, Number, Boolean, Array) to add another attributes please use ',' to seperate each attribute
Example's Input
Example to add one attribute.
$ backless add --name UserModel --attributes name:stringYou also can add multiple attributes for one model.
$ backless add --name UserModel --attributes name:string,bornDate:number,isMale:booleanAuthentication
We gave you authentication method already. You can comment the authentication's route, if you didn't need that.
Notes : this images below are located on index routes folder


