ckeditor5-custom-upload-adapter v0.0.1
CKEditor 5 editor custom with HTMLEmbed and custom Image Upload in ReactJS
This repository presents a CKEditor 5 editor build generated by the Online builder tool
Quick start
Run
ckeditor5-custom-upload-adapterin your terminal.Go to your configuration file in your React application
Import
Editor from "ckeditor5-custom-upload-adapter/build/ckeditor"(don't forget to import CKEditor library)Create a function called uploadAdapter
function uploadAdapter(loader) { return { upload: () => { return new Promise((resolve, reject) => { const body = new FormData(); loader.file.then((file) => { body.append("uploadImg", file); fetch(`${YOUR_API_URL}/${YOUR_UPLOAD_ENDPOINT}`, { method: 'POST', body: body, }) .then(res => res.json()) .then(res => { ... }) .catch(err => { ... }) }) }) } } }- Create a function to customize the plugin
function uploadPlugin(editor) { editor.plugins.get("FileRepository").createUploadAdapter = (loader) => { return uploadAdapter(loader); } } - Return a custom components CKEditor
    <CKEditor
        config={{
            extraPlugins: [uploadPlugin]
        }}
        editor={Editor}
        {...props}
    />
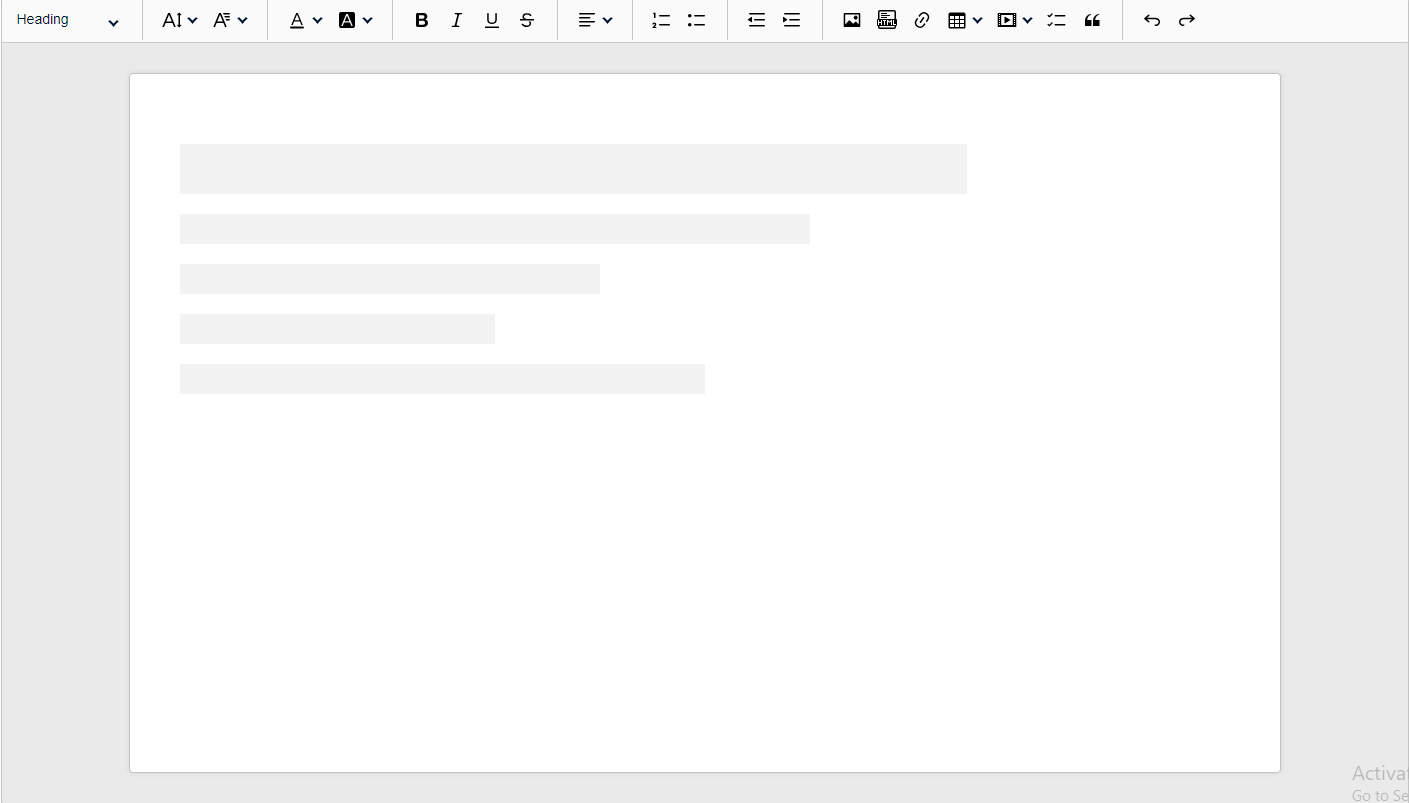
Demo

Configuring build
Changes like changing toolbar items, changing order of icons or customizing plugin configurations should be relatively easy to make. Open the sample/index.html file and edit the script that initialized the CKEditor 5. Save the file and refresh the browser. That's all.
Note: If you have any problems with browser caching use the Ctrl + R or Cmd + R shortcut depending on your system.
However if you want to remove or add a plugin to the build you need to follow the next step of this guide.
Note that it is also possible to go back to the Online builder tool and pick other set of plugins. But we encourage you to try the harder way and to learn the principles of Node.js and CKEditor 5 ecosystems that will allow you to do more cool things in the future!
Installation
In order to rebuild the application you need to install all dependencies first. To do it, open the terminal in the project directory and type:
npm installMake sure that you have the node and npm installed first. If not, then follow the instructions on the Node.js documentation page.
Adding or removing plugins
Now you can install additional plugin in the build. Just follow the Adding a plugin to an editor tutorial
Rebuilding editor
If you have already done the Installation and Adding or removing plugins steps, you're ready to rebuild the editor by running the following command:
npm run buildThis will build the CKEditor 5 to the build directory. You can open your browser and you should be able to see the changes you've made in the code. If not, then try to refresh also the browser cache by typing Ctrl + R or Cmd + R depending on your system.
2 years ago