dattel-client v0.8.3
dattel-client
TODO: This is still very much a work in progress. Neither the code nor this README is done yet. Expect breaking changes.
Take a look at the CircleCI sample config to see how to deploy to a dattel-managed site from CI. A sample config including Hugo builds is also provided.
Example
A small example on how to use the client:
const api = require('dattel-client')({
    server_url: 'https://dattel-05.acme.tld:3000',
    auth_token: 'NkZB32dKm7HLRd4mIHIylYHuzMGZLRa1'
});

async function main() {
    try {
        const site_id = 'my-site';
        const domains = ['my-site.my-domain.tld'];

        console.log('Creating site…');
        await api.createSite(site_id, domains);

        console.log('Starting deploy…');
        const deploy_details = (await api.startDeploy(site_id)).deploy;

        console.log('Deploying directory…');
        await api.deployDirectory(
            site_id,
            deploy_details.id,
            deploy_details.files,
            '/path/to/static/site'
        );

        console.log('Publishing deploy…');
        await api.publishDeploy(site_id, deploy_details.id);
    } catch (err) {
        console.error(err);
        process.exit(1);
    }
}

main();
CLI
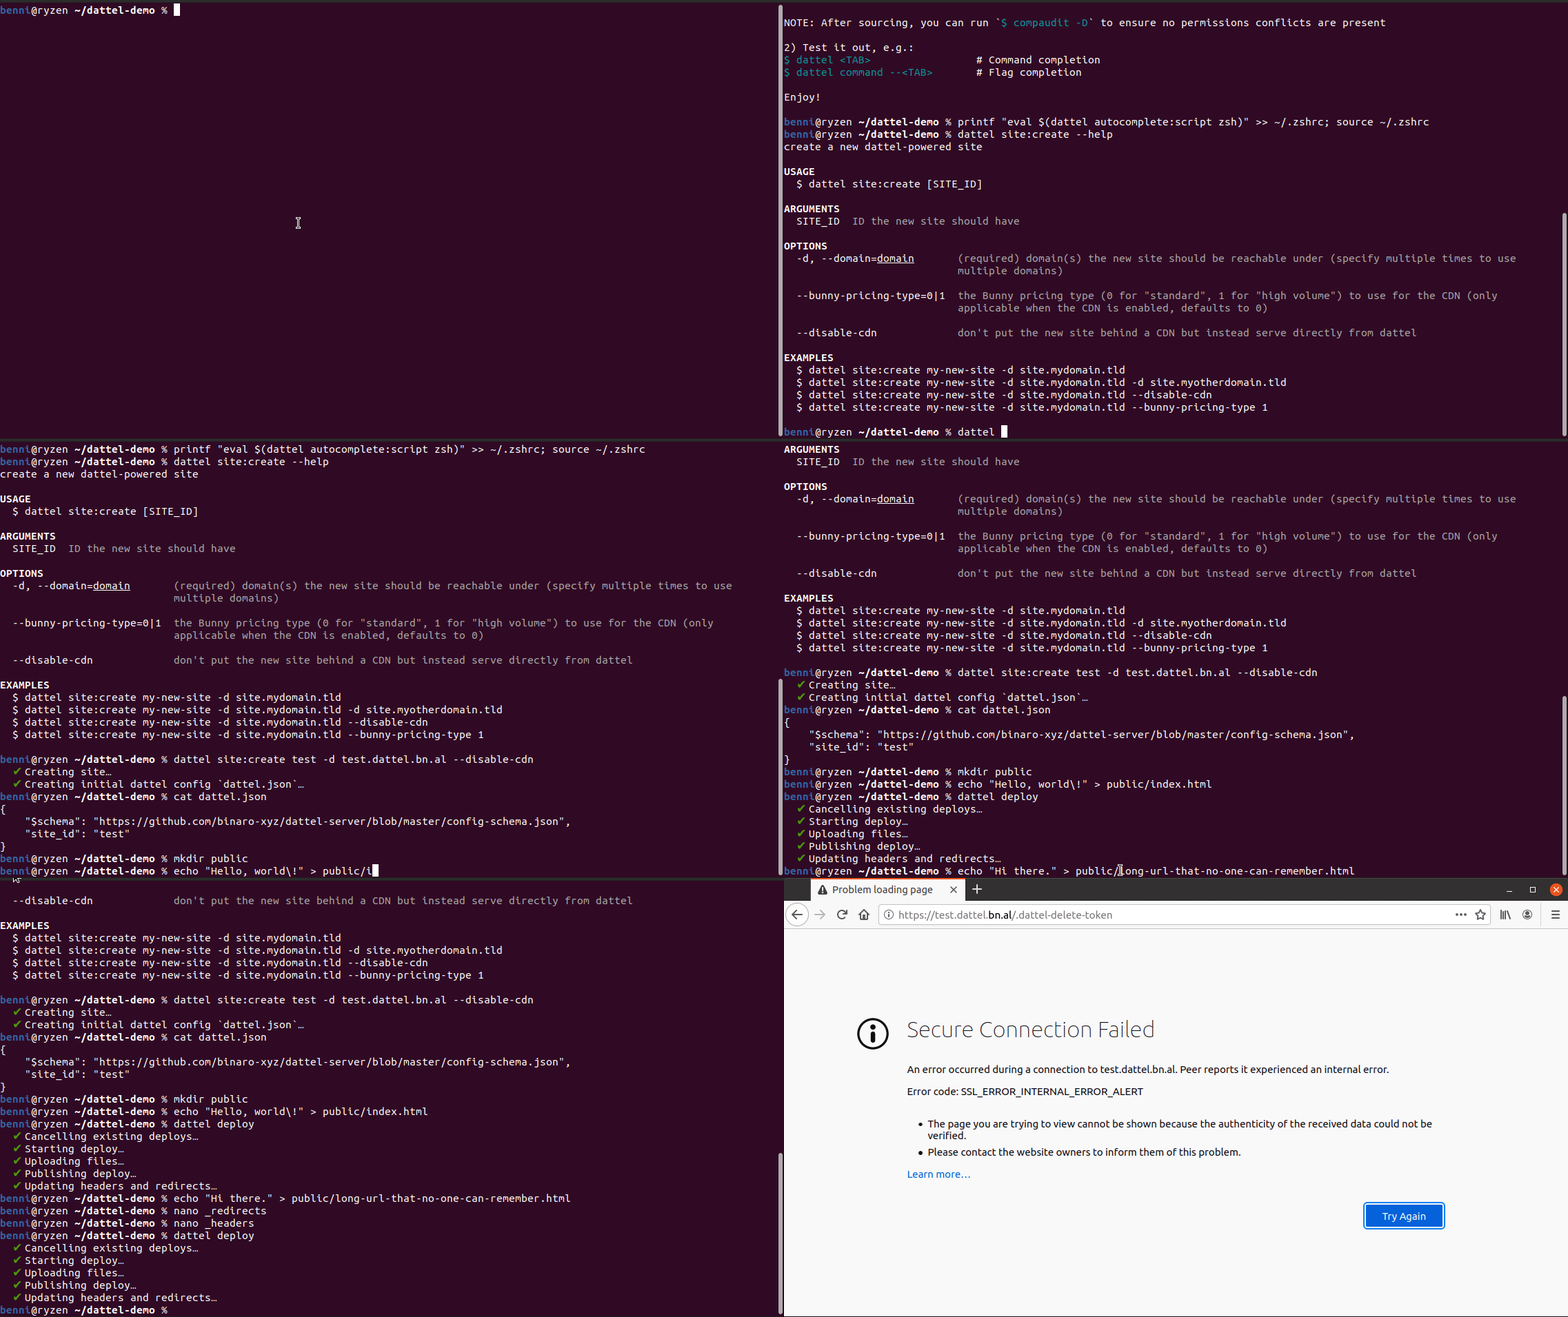
dattel-client can also be used as a CLI. See below for the commands.

To use the dattel CLI, you need to provide the server URL and auth token. You can either do this dynamically at runtime (dattel CLI will prompt you if the values are missing) or conveniently through environment variables:
export DATTEL_SERVER="https://dattel-05.acme.tld:3000"
export DATTEL_TOKEN="NkZB32dKm7HLRd4mIHIylYHuzMGZLRa1"
Config
When you create a new site using dattel site:create, a dattel config file called dattel.json is generated. Using this file, you can set the options that dattel deploy uses to deploy your site.
You can set the following options (all folder and file paths are relative to your dattel config's directory):
site_id: the site ID to deploy to (required, and filled automatically when creating a new site)publish_dir: the folder to deploy from (defaults topublic)headers_file: the file to read headers from orfalseto not set any headers (defaults to_headers, uses Netlify's syntax)redirects_file: the file to read redirects from orfalseto not set any redirects (defaults to_redirects, uses Netlify's syntax with some restrictions)
See the schema for the full specification of the available options.
You can also have multiple dattel configs, for different environments for example, and then pass the config path using dattel deploy -c <path>.
Commands
dattel autocomplete [SHELL]dattel deploydattel help [COMMAND]dattel site:create [SITE_ID]dattel site:delete [SITE_ID]
dattel autocomplete [SHELL]
display autocomplete installation instructions
USAGE
  $ dattel autocomplete [SHELL]

ARGUMENTS
  SHELL  shell type

OPTIONS
  -r, --refresh-cache  Refresh cache (ignores displaying instructions)

EXAMPLES
  $ dattel autocomplete
  $ dattel autocomplete bash
  $ dattel autocomplete zsh
  $ dattel autocomplete --refresh-cache
See code: @oclif/plugin-autocomplete
dattel deploy
perform a new deploy for a dattel-powered site
USAGE
  $ dattel deploy

OPTIONS
  -c, --config-file=config-file      [default: dattel.json] path of the site config file

  --fail-on-existing-deploy          fail if there is an existing deploy, otherwise all in-progress or stale deploys are
                                     deleted

  --no-update-headers-and-redirects  don't update headers and redirects after publishing the deploy

DESCRIPTION
  This works on the properties set in the dattel config file. You can find all properties in the README:
  https://github.com/binaro-xyz/dattel-client#CLI

  Dattel will walk up the directory tree starting from your cwd until it finds the dattel config or error out if it
  doesn't.

EXAMPLES
  $ dattel deploy
  $ dattel deploy -c dattel.prod.json
  $ dattel deploy --fail-on-existing-deploy
  $ dattel deploy --no-update-headers-and-redirects
dattel help [COMMAND]
display help for dattel
USAGE
  $ dattel help [COMMAND]

ARGUMENTS
  COMMAND  command to show help for

OPTIONS
  --all  see all commands in CLI
See code: @oclif/plugin-help
dattel site:create [SITE_ID]
create a new dattel-powered site
USAGE
  $ dattel site:create [SITE_ID]

ARGUMENTS
  SITE_ID  ID the new site should have

OPTIONS
  -d, --domain=domain       (required) domain(s) the new site should be reachable under (specify multiple times to use
                            multiple domains)

  --bunny-pricing-type=0|1  the Bunny pricing type (0 for "standard", 1 for "high volume") to use for the CDN (only
                            applicable when the CDN is enabled, defaults to 0)

  --disable-cdn             don't put the new site behind a CDN but instead serve directly from dattel

EXAMPLES
  $ dattel site:create my-new-site -d site.mydomain.tld
  $ dattel site:create my-new-site -d site.mydomain.tld -d site.myotherdomain.tld
  $ dattel site:create my-new-site -d site.mydomain.tld --disable-cdn
  $ dattel site:create my-new-site -d site.mydomain.tld --bunny-pricing-type 1
dattel site:delete [SITE_ID]
delete an existing dattel-powered site
USAGE
  $ dattel site:delete [SITE_ID]

ARGUMENTS
  SITE_ID  ID of the site to delete

OPTIONS
  --delete-token=delete-token  delete token (used to prevent unintentional deletes, will be prompted for otherwise)

EXAMPLES
  $ dattel site:delete my-site
  $ dattel site:delete my-site --delete-token 6jkhRTzqxDLSrmQYPMHY9