
developer-utility
Developer Utility
A cross-platform CLI for working with JSON and CSV files.
Convert CSV JSON, add/remove properties, and more — all from the command line.
Index
Introduction
This tool helps developers manipulate JSON and CSV data directly from the terminal.
Target Audience
Developers or anyone comfortable with the command line.
Reporting Issues
Found a bug or want to propose a feature? Open an issue or email sakthiv9819@gmail.com.
Prerequisites
- Software Required: Install Node.js (v20.12.2). Click here to install Node.js.
Installation Guide
Install the Package: After installing Node.js, install the package using the following command:
npm install -g developer-utilityLocate the Package: After installation, you can find the
dev-utilspackage in thenode_modulesdirectory of your global Node.js packages.
How to Use the Package
Run the Command:
devSuccessful Installation: If you see the following window, your installation was successful:
██████╗ ███████╗██╗   ██╗     ██████╗██╗     ██╗
██╔══██╗██╔════╝██║   ██║    ██╔════╝██║     ██║
██║  ██║█████╗  ██║   ██║    ██║     ██║     ██║
██║  ██║██╔══╝  ╚██╗ ██╔╝    ██║     ██║     ██║
██████╔╝███████╗ ╚████╔╝     ╚██████╗███████╗██║
╚═════╝ ╚══════╝  ╚═══╝       ╚═════╝╚══════╝╚═╝

Developer-utility CLI

? Select a utility: (Use arrow keys)
❯  JSON Manipulation
   QR Code Generation
   UUID Generation
   Directory Tree
   Password Utility (Placeholder)
   Exit
How to Use Each Service
Convert CSV to JSON
Source File:
.csv(absolute path to the CSV file to convert)Destination File:
.json(path to your empty JSON file)Important: You can have a .json file with name else dev-cli will create directory and file for given path
After Conversion: Once you enter the details, you'll see a success message:

The parsed data will be stored in your newly created JSON file:
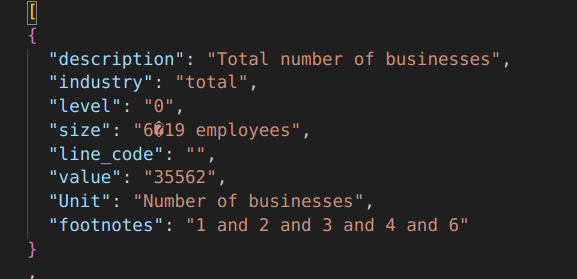
Add Property to JSON File
Source File:
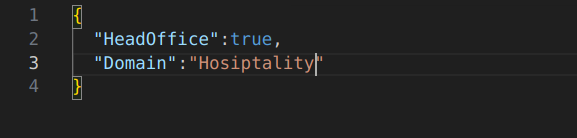
.json(Your existing JSON file with data)Property to Add File:
.json(Your JSON file with properties to add)Important: Properties must be specified in a
.jsonfile.Steps:
Source JSON File:
Property to Add File:
Run the Command:
devSuccess Message:
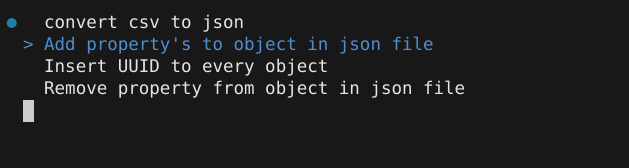
Updated JSON File:

Add UUID to JSON File
Source File:
.json(Your JSON file with data)Important: Properties must be specified in a
.jsonfile.Steps:
Source JSON File:
Run the Command:
devSuccess Message:
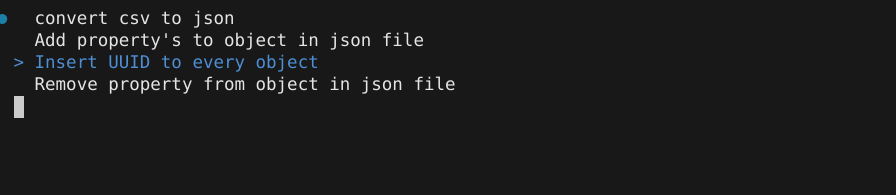
Updated JSON File:

Remove Property from JSON File
Source File:
.json(Your JSON file with properties to remove)Important: Properties must be specified in a
.jsonfile.Steps:
Source JSON File:
Run the Command:
devSuccess Message:

Updated JSON File:
