figma-auto-layout v1.0.0
Figma auto layout - Web components
Do you ever dreamed about used the figma auto-layout into your project like your designer? You are in the good place.
Create easely thing with the auto-layout web component.
Features
- Layout direction
- Space between items
- Padding
- Spacing mode
- Height and Width
- Clip content
Override
--xx-small	: 4px
--x-small	: 8px
--small		: 16px
--medium	: 24px
--regular	: 32px
--large		: 40px
--x-large	: 56px
--xx-large	: 64px
Usage
Define
You can use the auto-layout with a balise
<auto-layout>
    ...
</auto-layout>
Or apply an argument into any balise like
<div auto-layout></div>
<section auto-layout></section>
<button auto-layout></button>
Direction
First, you may set the layout direction to your content, by default it's vertical
// Vertical
<auto-layout direction="vertical">
    ...
</auto-layout>
<auto-layout>
    ...
</auto-layout>

// Horizontal
<auto-layout direction="vertical">
    ...
</auto-layout>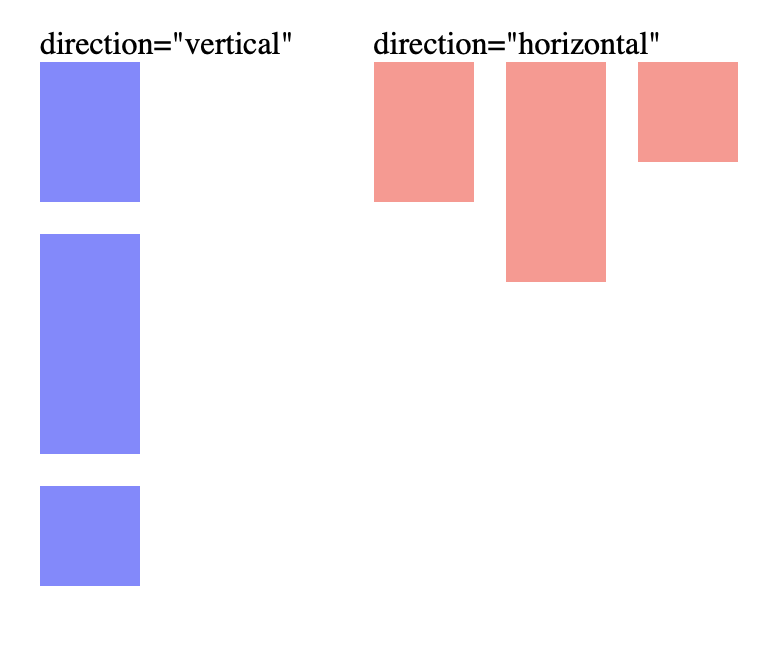
Alignment
Value
top-left
top
top-right
center-left
center
center-right
bottom-left
bottom
bottom-right
<auto-layout align="...">
...
</auto-layout>
Space between items
By default, no space between items are set. You can set a variable or a number.
<auto-layout [...] gap="small">
    // OR
<auto-layout [...] gap="16">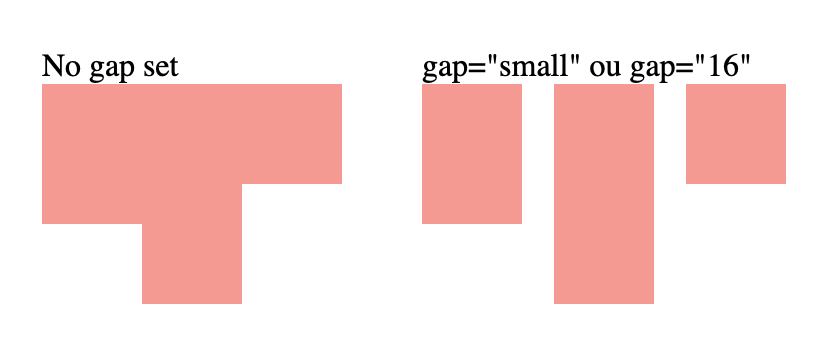
Padding
By default, no padding are set. You can set a variable or a number.
<auto-layout [...] padding="small">
    // OR
<auto-layout [...] padding="16">
You can set only the top and bottom or the left and right like this
<auto-layout [...] padding-vertical="small">
<auto-layout [...] padding-horizontal="small">
You also can apply for a single edge
<auto-layout [...] padding-top="small">
<auto-layout [...] padding-bottom="small">
<auto-layout [...] padding-left="small">
<auto-layout [...] padding-right="small">
Of course, they are cumulable
<auto-layout [...] padding-top="small" padding-horizontal="regular">Spacing mode
<auto-layout [...] space-between>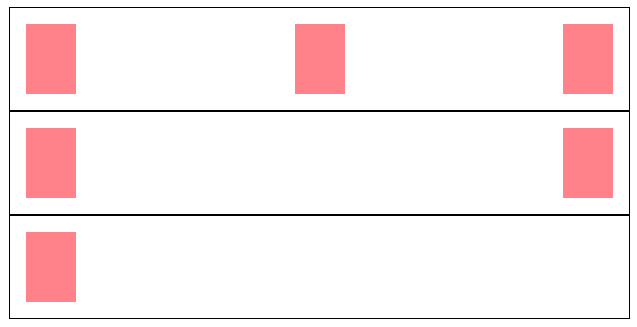
Height and width
You can define a height and with to your auto-layout. You can use number or value.
<auto-layout [...] height="300" width="450">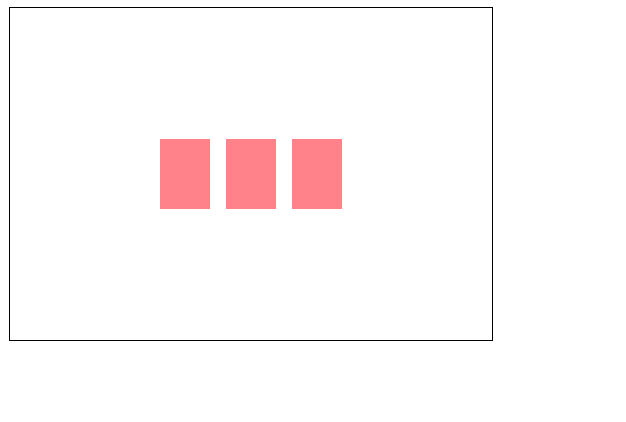
Fill container
To fill the parent, you can use "fill" or "fill-container"
<auto-layout [...] width="fill" height="200">
Hug content
By default, the auto-layout use the "hug" or "hug-content"
<auto-layout [...] width="hug" height="200">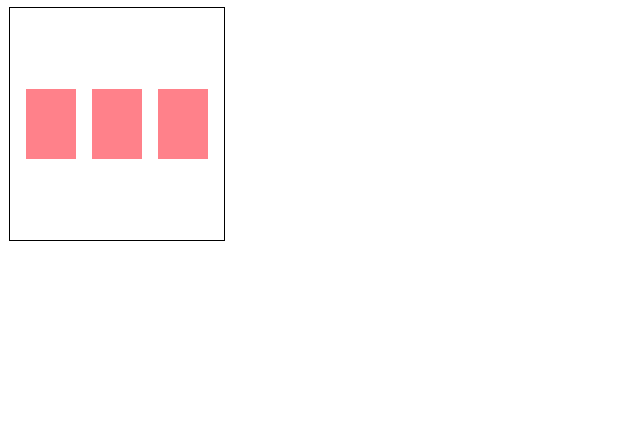
Clip content
If you need to keep your content inside the auto-layout, you can add an argument "clip" or "clip-content"
<auto-layout [...] clip>
Run Locally
Clone the project
git clone git@github.com:melvindesign/auto-layout.gitGo to the project directory
cd auto-layoutInstall dependencies
npm installStart the server
npm run startAuthors
Tech Stack
SCSS, StencilJS
License
3 years ago
