figmint2 v0.8.2
🍃 Figmint2
Figmint2 is an updated iteration on Figmint with some added flexibility and some initial support for composable functions to allow you to design your own conversion scripts.
Figmint can sync styles and exports from a file in figma to json that can be used in a javascript project.

It comes with a snazzy CLI:

It also comes with functions to easily compose your own scripts to extract and generate code from Figma nodes fetched via the Figma API - see the Scripts section
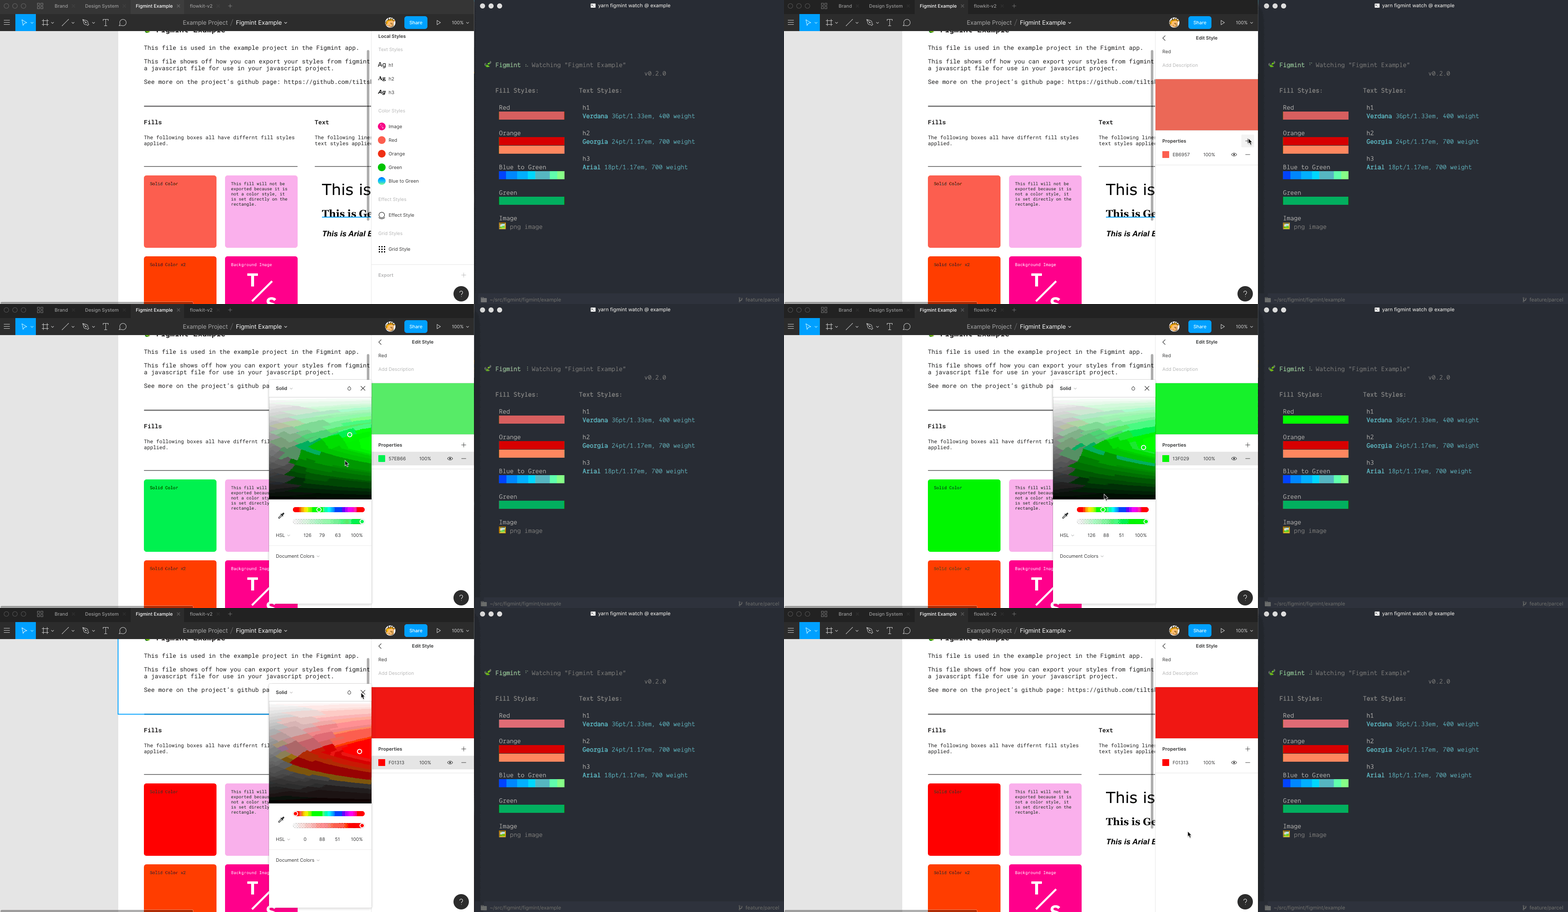
This example site shows a figma file above html and css generated using the JSON that figmint outputs. This example can be found and run in the example folder in this repo.
👩🏽🏫Recommendations:
- Figma lets you name two styles the same thing. This will cause overwrite issues in your exports.
🚨Notes:
- Currently only Fill styles, Text styles, and exports are supported. PR's welcome for Grid and Effect styles!
- Figmint will only pick up a style if it is used in the file you pass it. If you are finding a style isn't syncing make sure an element in the file is using that style.
- PNG and JPG exports work only with with scale values (2x for example) and not with width or height values (512w). This is a limitation of the figma API.
- Color styles with multiple properties are available as part of the raw export. The simpler named exports will only display the final property.
Install and Config
1. Add figmint to your project:
yarn add figmint --dev2. Setup your figma file
Setup a file that includes elements that use all the figma styles you want to export. These can either be local or from libraries, but every style you want to export needs to be used in the file you point figmint at.
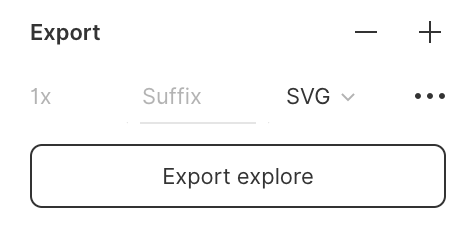
Figmint will also pick up exports for the file in qustion. This can be useful for icons, illustrations, etc. For this to work make sure you have an export setup on the image you want to export.

Figmint is able to pick up the file type and scale, as long as you use something like 2x and not 512w or 512h (figma's API is limited in this regard.)
Currently figmint is setup to read the name of the parent to decide what directory to put the export in. For example you can group all your icons together in a layer named icons to make sure all icons end up in a icons folder when synced to your project.
3. Setup your config:
Add a .figmintrc.json file to your project.
The required options are a token and a file id.
.figmintrc.json
{
  "token": "18898-296d0094-cd7e-4ce3-b9f7-663640190108",
  "file": "tid5SFlwk8AqMGBP6dDJvw"
}
4. Run Figmint
You can now run figmint via the CLI:
yarn run figmint5. 💰Profit!
At this point if everything went as planned you should have a new folder called figmaStyles in your project. Check the index file in this folder to see the styles exported from figma.
6. Extra Credit
See Config format and Config options below for more info on how to configure figmint including typescript support and chaging the output folder.
Example Project
An example is included in this repo under the example directory. This project connects to the example figma file. To sync with the example figma file and run it:
> cd example
> yarn
> yarn figmint
> yarn start
Then visit the example page at http://localhost:1234.
Using your own figma file with the example
You can connect the example to your own figma file by editing .figmintrc.json in the example directory. Just add your own token and file before running yarn figmint.
Scripts
fetchData
fetchData fetches figma data from a library via a Figma.ClientInterface and stores the results to an output file destination as one or more files.
export interface FetchData {
  client: Figma.ClientInterface,
  file: string,
  output: string,
  setFileName: (fileName: string) => void,
  setLoading: (loading: boolean) => void,
  setFills: (fills: FigmintFillStyleType[]) => void,
  setTypography: (typography: FigmintTypeStyleType[]) => void,
  setExports: (exports: FigmintExportType) => void,
  typescript?: boolean,
}

export const fetchData = async ({
  client,
  file,
  output,
  setFileName,
  setLoading,
  // set our local state
  setFills,
  setTypography,
  setExports,
  typescript,
}: FetchData): Promise<void>
Sample usage as script
import { fetchData } from 'figmint2'

const typescript = true
const output = './figma-data'
const file = process.env.FIGMA_FILE

export const data = await fetchData({
  client,
  file,
  output,
  typescript,
})
Sample output to ìndex.ts file in output dir of choice
const styles = {
  colors: [
    // ...
  ],
  gradients: [
    // ...
  ],
  imageFills: [
    // ...
  ],
  textStyles: [
    // ...
  ],
  effectStyles: [
    // ...
  ],
  raw: [
    // ...
  ],
}

export type ColorValues = keyof typeof styles.colors
export type GradientValues = keyof typeof styles.gradients
export type TextValues = keyof typeof styles.textStyles
export type EffectValues = keyof typeof styles.effectStyles
export default styles
Colors
See Using the Figma API to get colors
Retrieve and store colors from figma file (by default get from fills with ELLIPSE style as per the matchLeaf function which will default to use the isEllipse function)
You can pass a custom matchLeaf function in the options object.
You can pass a token as argument or set process.env.FIGMA_API_TOKEN as Figma API token value
import { getColors } from 'figmint2'
const opts = {token, genFiles, matchLeaf}
getColors(fileKey, opts): Promise<string[]>
By default it saves colors to a build folder as follows.
/build
  colors.scss
  colors.ts
  colors.json
You can pass in a custom genFiles function in the options argument to customize how and where colors are stored.
Illustrations
Return illustration names from figma file
fetchIllustrationsFromFigmaFile(fileKey, token): Promise<string[]>Icon SVGs
See Figma tokens automatically turned into code: how we kickstarted our design system
Get SVGs from components in Figma file. getSVGsFromComponents is a factory function which returns an async function that can be called with a list of components to return a list of SVG results with SVG data that can be stored somewhere, either locally or in the cloud.
getSVGsFromComponents(key: string, token: string): (components: any[]): Promise<SVGResult[]>Use getComponentsFromNode to retrieve components to extract SVGs for
[
  {
    id: '2:3',
    name: 'name=page',
    type: 'COMPONENT',
    blendMode: 'PASS_THROUGH',
    children
    …
  }, {
    name: 'name=person-chating',
    …
  }, {
    name: 'name=build',
    …
  }
]
SVG results are saved as a list of SVGResult
interface SVGResult {
  name: {
    size: string
    name: string
  }
  fileName: string
  svg: string
}
Sample usage of getSVGsFromComponents
import { getComponentsFromNode, getSVGsFromComponents, getSVGs } from 'figmint2'
const components = getComponentsFromNode(node)
const getSVGs = getSVGsFromComponents(key, token)
const results: SVGResult[] = await getSVGs(components)
It’s now up to you to upload each image as a separate file to your servers.
CLI
The CLI for figmint is pretty simple, just run yarn figmint or npm run figmint in your project after it is installed.
Watch Mode (alpha)
It is also possible to run the CLI in watch mode. This will update your json as things change on figma without you needing to re-run the command.
Watch interval
Currently watch mode will check Figma every minute (60000 ms by default) and write to the output destination if any changes were detected. This interval can be customized by setting the FIGMINT_INTERVAL_SECS env variable or passing intervalSecs as a prop to the Output Component.
Writing changes
Figmint only writes a new index at the destination if the file content has changed, simply by comparing old file content with new content and ensuring they are not identical.
Config format
To connect to your own figma file you'll need to add both an access token and the file ID. See Config Options for details.
Figmint uses cosmiconfig for configuration file support. This means you can configure figmint via:
- A
.figmintrcfile, written in YAML or JSON, with optional extensions: .yaml/.yml/.json. - A
.figmintrc.tomlfile, written in TOML (the .toml extension is required). - A
figmint.config.jsor.figmintrc.jsfile that exports an object. - A "figmint" key in your package.json file.
The configuration file will be resolved starting from the location of the file being formatted, and searching up the file tree until a config file is (or isn't) found.
Config options
token
Your figma token
file
The file ID you want to sync. In your figma file click Share and the copy the link. It'll look something like:
https://www.figma.com/file/P2X8Apme93sfEN8wACKziOxq/FileNamein this case the file ID is P2X8Apme93sfEN8wACKziOxq
output (default: figmaStyles)
Figmint writes any styles it finds to a js file. By default this file is written to a ./figmaStyles/ directory. If you would like to use a different location you can add an output to your config.
Output supports nested directories, so some/directory/figma as output would result in a new file ./some/directory/figma/ being created.
typescript (default: true)
If set to true this will generate typescript types in your export.
Contributing
make sure to add #!/usr/bin/env node to the top of bin/figma.js after building as parcel 1 does not do this by default.
3 years ago