
HTML Base


Professional frontend toolset
Why
- Fullstack oriented infrastructure
- Templates, themes prototyping
- Integration with any CMS and frameworks
- Modeling JavaScript applications
- Routine web development tasks automation
Features
- Advanced CSS Reset scss-reset
- Basic SCSS Mixins Collection scss-mixins
- (Not so) Old browsers support
- Predefined VSC workspace
- Initial JavaScript modules and SCSS files
- Automated test tasks
- A lot of useful open source included
Structure
html-base/
├── .gulp/              # Gulp tasks
├── .vscode             # VSC custom settings
├── src/                # Source files
│   ├── favicons/       # Icons
│   ├── fonts/          # Custom Fonts
│   ├── javascript/     # Scripts and JS Resources
│   ├── images/         # Images
│   ├── images/sprite/  # SVG sprite
│   ├── layouts         # HTML parts
│   ├── scss/           # SCSS files
│   └── video/          # For video files
├── dest/               # Beautified Development build output
├── build/              # Compressed Production build output
├── test/               # Test scripts
└── json/               # JSON files
Output
- Clean, tested, beautified, optimized and/or compressed HTML/CSS/JS
Usage
By Git Command
Clone the repository and install dependencies manually:
git clone https://github.com/frontend-layers/html-base.git project-name
cd project-name
npm install
By Shell Command
npx get-html-base project-name
cd project-name
npm i
Or Download html-base Zip Package for Manual Installation
JS Apps Mode Install
Please add -js key
npx get-html-base project-name -js
cd project-name
npm i
Install via Package Managers
Using npm
npm i html-baseUsing Yarn
yarn add html-baseUsing pnpm
pnpm i html-baseAfter installation, copy the html-base folder from node_modules and rename it according to your project name.
Then, update the package.json and related files based on your new project title, description, owner, etc.
Finally, install all dependencies with:
Using npm
npm iUsing Yarn
yarn addUsing pnpm
pnpm iUsage
After installation, launch the project using one of the following commands:
gulpor
npm startTo update packages, use the following commands:
npm updates
npm i
Under the hood












Related Tools
- Links with related tools frontend-toolchain
JavaScript plugins
- Babel
- Rollup
JavaScript utils
- DomReady
- NoJs
Tests
- Deep HTML5 Validation
- On fly HTML5 Validation
- CSS3 Validation
- Google Mobile-friendly test
- Google PageInsight Performance test
Images
- WEBP Convertor
- SVG (SVGOmg compression)
Automation
Development bundle for fast and robust web development based on Gulp and Rollup
Files
- .gulp/*
- ./gulpfile.js
- ./babel.config.js
- ./package.json
Styles
- autoprefixer
- gulp-postcss
- gulp-sass
- sass
Server
- gulp-connect
- gulp-open
- localtunnel
Notification
- gulp-plumber
- fancy-log
Source Maps
- gulp-sourcemaps
JavaScript development
- rollup
- rollup-plugin-babel
Tests
- gulp-w3c-html-validator
- html-test
- mobile-friendly-test-npm
Editor
- .vscode/settings.json
- .editorconfig
- .eslintrc.json
- .prettierrc
- .eslintrc.json
VSC Tweaks
- liveSassCompile
- Emmet "commentAfter"
- Panel at the "right" (Terminal, hints etc.)
- ESLint JS tweaks
- Search exclusions
Tunneling
.gulp/server.js
const subdomain = ''HTML Files
- index.html - templates list
- home.html - main landing page
- product.html - product page
- article.html - article page
- test-design.html - design system
- test-sprite.html - svg sprite test
SVG Sprite generation
- copy svg files for sprite into
'./images/sprite/'folder - launch in the terminal
gulp sprite - generated svg sprite is there -
./images/sprite.svg
Docker integration
Steps to Set Up Docker Container and Run them locally
Log in to Docker Hub
docker loginPull the Docker Image
Download the latest version of the html-base Docker image from Docker Hub.
docker pull andreymatin/html-base:latestCopy Files from the Docker Container
Extract the application files from the Docker container to your local machine. Replace html-base with the name of the running container if it's not html-base.
docker cp html-base:/app ./Start the Application
Use the make command to start the application with the up target defined in the Makefile. Ensure that the Makefile is in the same directory.
make upDocker-Related Files
- Makefile
- Dockerfile
- docker-compose.yml
Makefile
The Makefile provides an easy way to manage and automate Docker commands. It includes tasks such as:
- Starting and stopping the Docker containers.
- Automatically opening the application in a browser.
- Following container logs.
Key targets include:
up: Builds and starts the application containers.down: Stops and removes the containers.log: Displays the application logs in real time.
Makefile Windows Installation
If you have Chocolatey installed on your Windows system, you can install make directly by running the following command in an elevated PowerShell (Administrator) terminal:
choco install makeDockerfile
The Dockerfile is used to define the application’s image. It specifies:
- Base image: The Node.js version (e.g., node:22).
- Working directory: Where the application is stored in the container (e.g., /app).
- Exposed ports: The ports used by the application, such as 4000.
- Dependencies: Installs gulp globally and other npm dependencies.
- Application entry point: Defines the command to start the
- application (npm start).
docker-compose.yml
The docker-compose.yml file orchestrates multiple services and simplifies container management. It defines:
- Services: Specifies the application (app) and its dependencies.
- Image: Uses a predefined image or builds it locally (andreymatin/html-base:latest).
- Container name: Assigns a recognizable name to the container (html-base).
- Ports: Maps container ports to the host machine (e.g., 4000:4000).
- Environment variables: Configures settings like NODE_ENV and PORT.
- Volumes: Synchronizes files between the host and container for development.
Contributing
For issues, bugs or improvements please open an issue
Preferred Code concepts
- HTML - https://google.github.io/styleguide/htmlcssguide.html
- CSS - BEM - https://github.com/airbnb/css
- SCSS - https://sass-guidelin.es/
- JavaScript - https://standardjs.com/
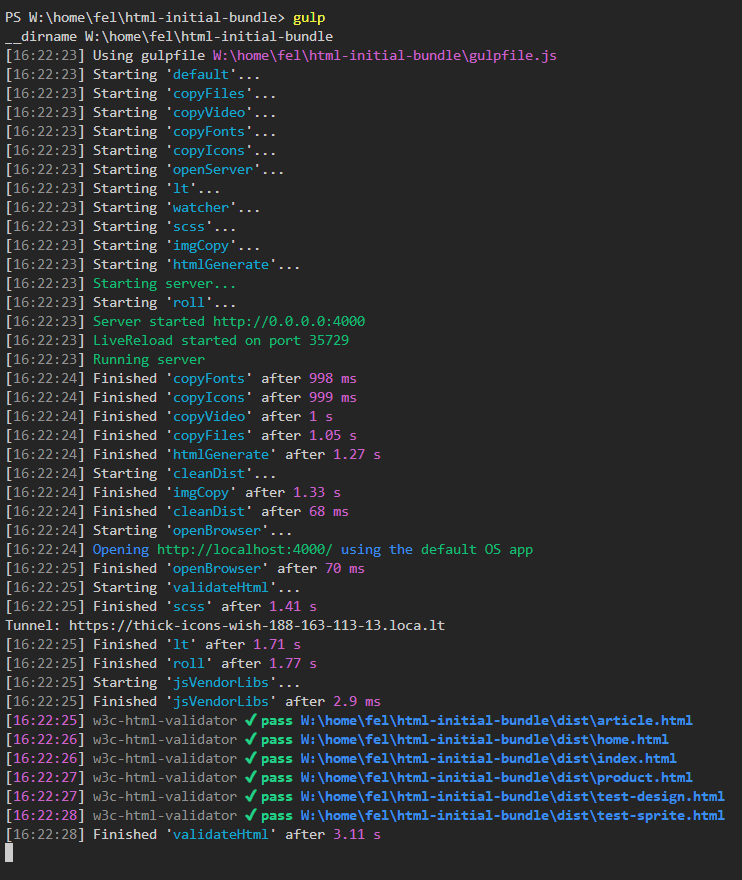
Logscreen
Inspiration
- Google Web Fundamentals (https://developers.google.com/web/fundamentals/performance/why-performance-matters)