nad v0.2.1
nad 
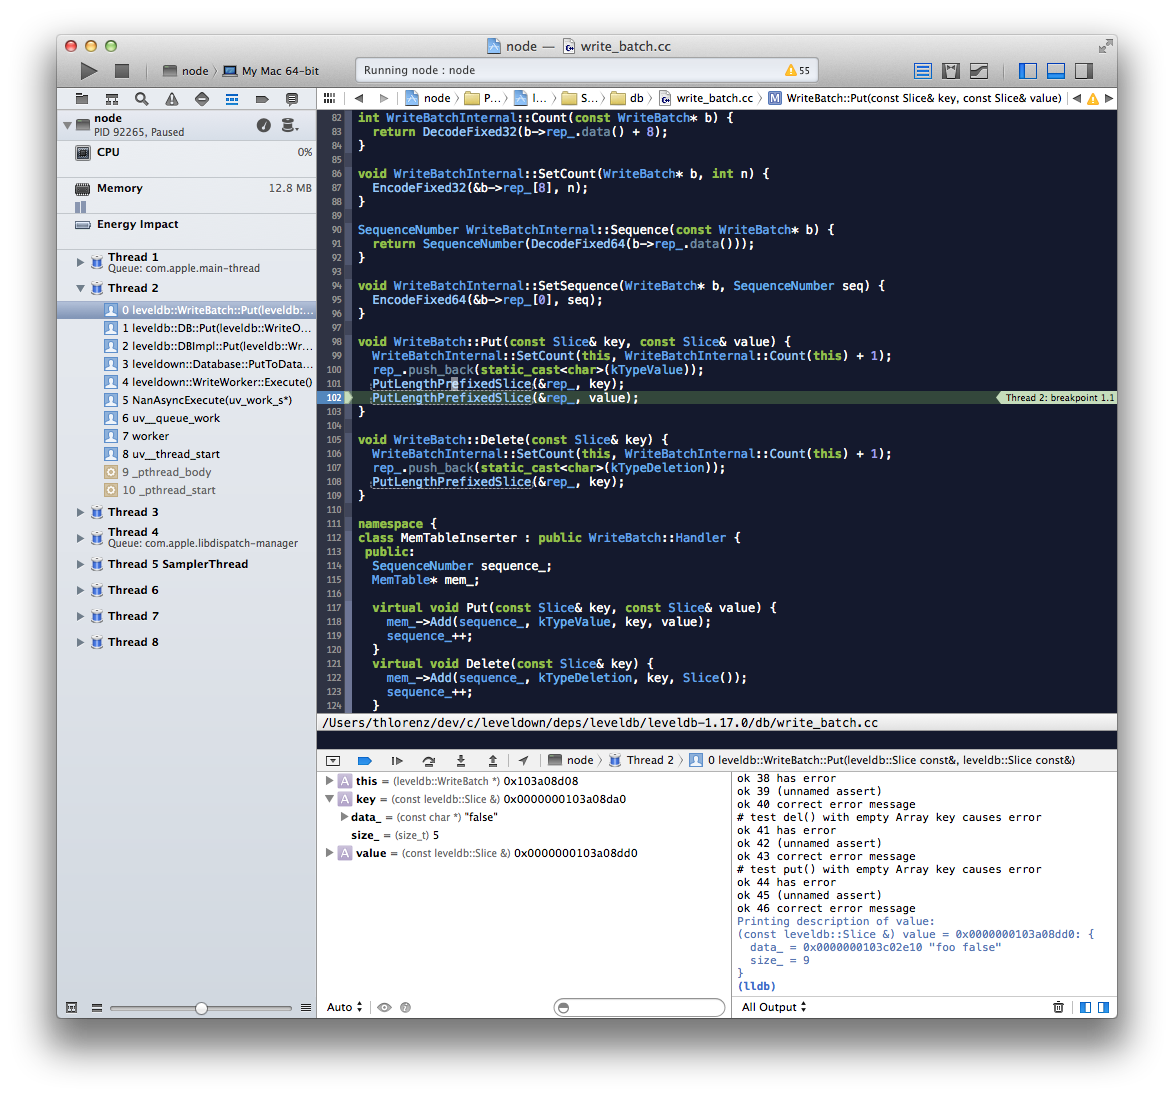
Node Addon Developer, a tool to inject your addon code into a copy of the node codebase in order to integrate with IDEs and debuggers easily.

Installation
npm install -g nadGetting Started
nad init my-addon
cd my-addon

## Try the node-gyp build
node ./my-addon.js

## Generate Xcode project and open it (nad build runs nad configure automatically with defaults)
## By default nad builds with Ninja (brew install ninja). Run "nad configure --make" to build with Make instead.
nad build
nad open

## Select node target in Xcode and try to build if it fails see ## Caveats and nad fix
Changes To Your Code
- nad uses your
binding.gypfile to determine what to inject into the node build - however in order for the binding resolution to work when you run it as an addon as well as when you run it from within node, do the following
Install nad-bindings:
npm install -S nad-bindingsReplace binding resolution in your addon. As an example here is the diff for leveldown:
-    , binding           = require('bindings')('leveldown.node').leveldown
+    , binding           = require('nad-bindings')('leveldown').leveldown
CLI
nad init
Initializes nad project in current dir, i.e. nad init my-addon
nad configure
usage: nad configure <options>

  Overrides configuration options for building your node addon project.

OPTIONS:

  -h, --help      Print this help message.
  --cc            C compiler to use (default: clang)
  --cxx           C++ compiler to use (default: clang++)
  --link          Linker to use (default: clang++)
  --target        node version into which to inject the addon (default: version of node in path or --nodedir)
  --nodedir       Directory that contains source code of node into which to inject the addon (overrides target) (default: ./node-<target>)
  --nodename      Name of the node you are using, defaults to iojs.
  --make          By default nad builds with Ninja cause it's much faster. In order to use make instead supply this flag.

Once `nad configure` ran successfully use `nad build` to build with your addon.

EXAMPLES:

  # Fetch and compile node v0.10.31 with gcc, link with ld
  nad configure --cc gcc --cxx gcc --link ld --target 0.10.31

  # Use the node installation we cloned locally
  nad configure --nodedir ../node
nad build
Injects project in current folder into node build and rebuilds it.
nad open
Opens the Xcode project for the addon in the current folder.
nad fetch
Fetches source for configured node version.
nad inject
Injects project in current folder into node build.
nad restore
Restores node build to its original state by removing the addon project that was injected previously.
nad help
Prints help about nad configure
Caveats
For node<v0.12 you may get an error when running with Xcode
Xcode does not properly copy over the debug-support.cc into it's DerivedSources. So if you get an error similar to:
clang: error: no such file or directory:
'/Users/thlorenz/Library/Developer/Xcode/DerivedData/node-xxxxx/Build/Products/DerivedSources/Debug/debug-support.cc'
clang: error: no input files
Command /Applications/Xcode.app/Contents/Developer/Toolchains/XcodeDefault.xctoolchain/usr/bin/clang failed with exit
code 1k
nad fix
If the error is as follows (1234 being the project hash):
'/Users/thlorenz/Library/Developer/Xcode/DerivedData/node-1234/Build/Products/DerivedSources/Debug/debug-support.cc' ...Fix it via :
nad fix 1234API
generated with docme
License
MIT