ng-fast-form v0.0.9

NgFastForm
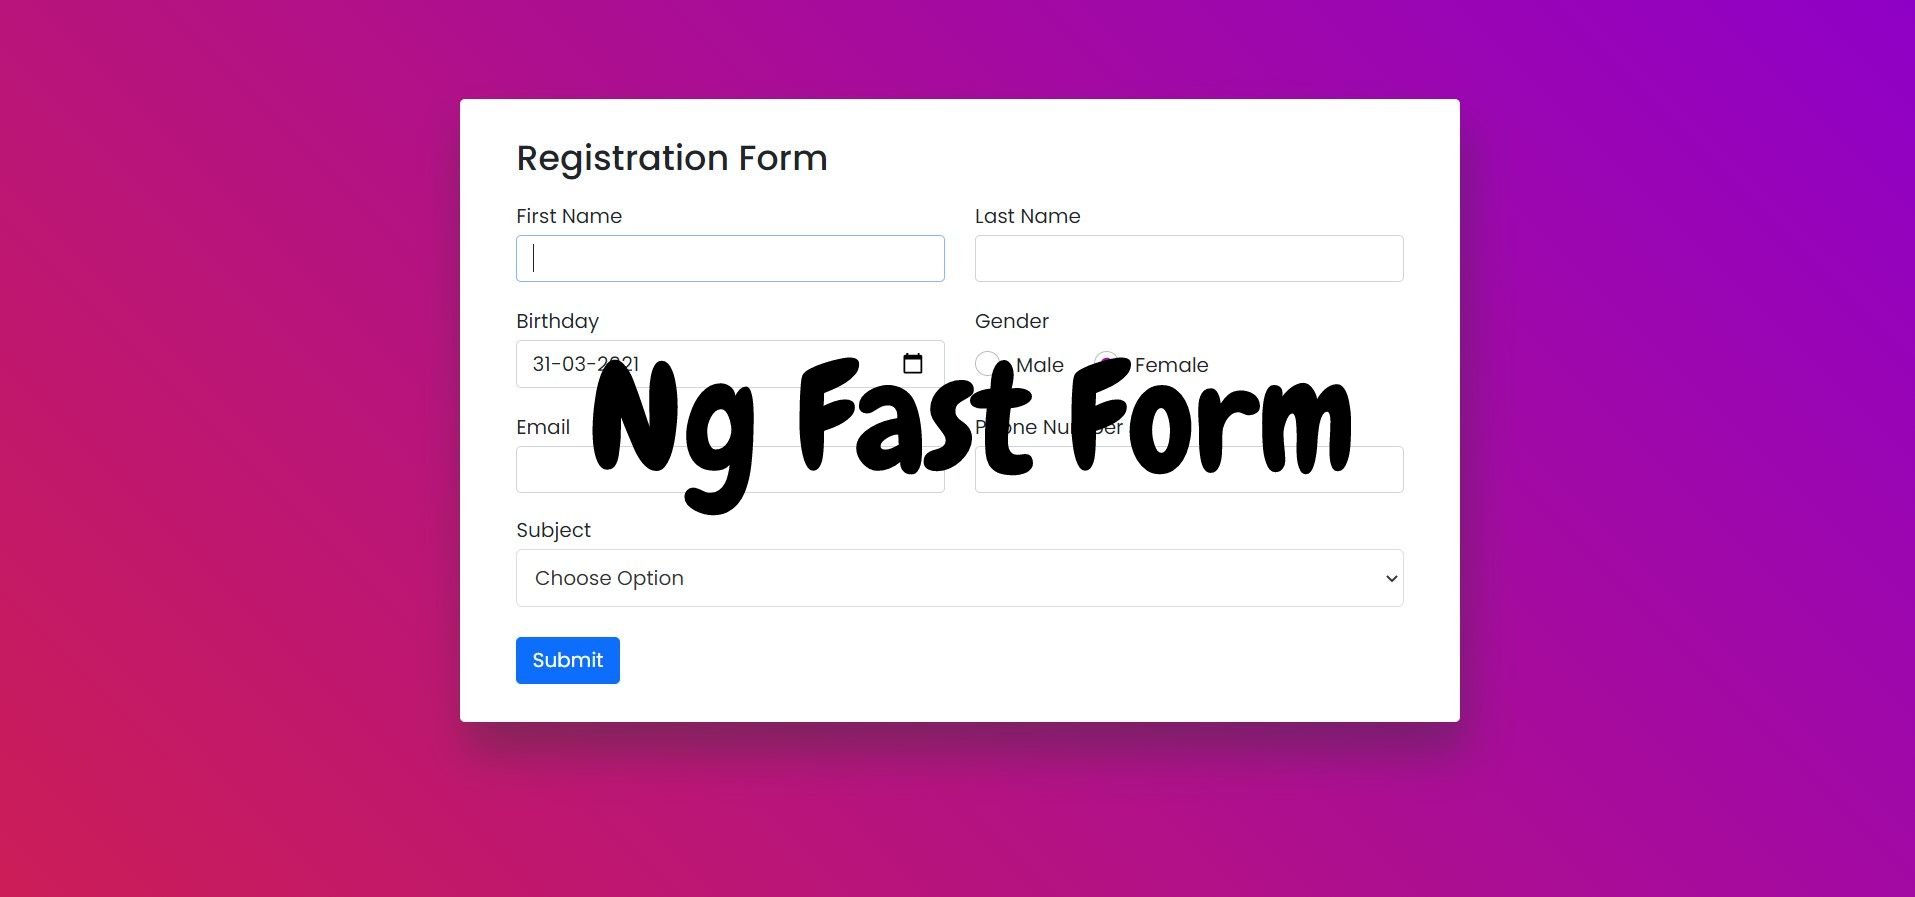
NgFastForm is a package which allow you to make quickly and easier your project form for Angular applications.
Features
- Create a form dynamically.
- Create input text/number/textarea/email/password
- Create a radio input.
- Create a select and checkbox.
Installation
Requirements
Our form use bootstrap, so you should install Bootstrap and Your angular project.
Bootstrap Installation
Note: that if you already have bootstrap on your project skip this step.
Run this command on your project:
npm install bootstrap bootstrap-iconsAfter Installation, go and add the following line to you Angular.json
"styles": [
              "src/styles.scss",
              "node_modules/bootstrap/scss/bootstrap.scss",
              "node_modules/bootstrap-icons/font/bootstrap-icons.css"
            ],
and
"scripts": [ "node_modules/bootstrap/dist/js/bootstrap.bundle.min.js"Now you are finish to install Bootstrap, we are going to install ng-fast-form package.
Ng Fast Form installation
npm i ng-fast-formAdd NgFastModule to your project
You should now add NgFastModule in you app.module.ts:
import { NgFastFormModule } from 'ng-fast-form';
.....
.....
.....
.....

 imports: [
    ..
    ..
    NgFastFormModule
  ],
And now you can run your project.
Usage/Examples
In the Component where you want to use NgFastForm, you are going to set an object named inputArray.
inputArray = [
    {
      id: 'form6Example1',
      type: 'text',
      placeholder: 'name',
      label: 'Your name',
      name: 'name'
    },
    {
      id: 'form6Example2',
      type: 'text',
      placeholder: 'enter you surname',
      label: 'Your surname ',
      name: 'surname'
    },
Let's give a few explanation: id: is the input id, make sure that it'is unique type: the type of input, placeholder: the input placeholder, name: give a unique name, that will help us to get input value.
And then in your html file add:
<ng-fast-form [ngInputDetails]="inputArray" [ngInputLayout]="'2-columns'" [ngSubmitText]="'SEND DATA'"></ng-fast-form>Explanation:
ngInputDetails: is for generated our inputs. ngInputLayout: Know that we have two type of input layout, the first is (1-column) with the input on a row. The second (2-columns), is with two input by rows. ngSubmitText: is by default assign to SUBMIT when you don't pass some text. It permit to give a text to the submit button.
How to add radio, select or checkbox input.
It is very simple, you just add to inputArray as much you want objects.
For radio
 {
      type: 'select-options',
      label: 'choice number',
      defaultSelectedName: 'Make a choice',
      name: 'select',
      options: [
        {
          name: 'first',
          value: 'first',
        },
        {
          name: 'second',
          value: 'second',
        },
        {
          name: 'third',
          value: 'third',
        },
      ],

      ```
In options array, you add as much you want the options.


For **Radio**

```bash

{
      type: 'radio',
      name: 'radio-value',
      header: 'Choice',
      radios: [
        {
          id: 'radio1',
          value: 'radio1',
          label: 'radio1',
          disabled: false,
        },
        {
          id: 'radio2',
          value: 'radio2',
          label: 'radio2',
          disabled: false,

        },
        {
          id: 'radio3',
          value: 'radio3',
          label: 'radio3',
          disabled: false,

        }
      ],
On radios array you add as much you want, the radio.
For Checkbox
  {
      id: 'checkbox',
      type: 'checkbox',
      name: 'checkbox',
      header: 'CheckBoxes',
    }
Get form data
It is too simple, to get data. Call form Component like this.
<app-form (ngFormData)=ngParentGetFormData($event) [ngInputDetails]="inputArray" [ngInputLayout]="'1-column'"></app-form>And add the following function to your class.
  ngParentGetFormData(eventData:any) {
    console.log(eventData)

  }
eventData: is all the form data value your are waiting for, so in this funtion, you can make what want. i.e send data to firebase, to laravel ....
🚀 About Me
I'm Kone Adama Pegnimin, an Ivorian Full Stack Developper. I'm currently work with AngularJS and React JS for web application and Ionic for mobile application.
Follow me on:
Facebook,
Instagram,
Youtube,
Linkedin,
Website,
GitHub.