nolita v2.2.0
Nolita
A web-enabled agentic framework by High Dimensional Research.
Interact with the web with an AI model of your choice and build quick runners, pipe into your scripts, or scaffold full-stack applications.
Nolita uses a sandboxed, on-device Chrome instance and supports a variety of AI models, with more on the way.
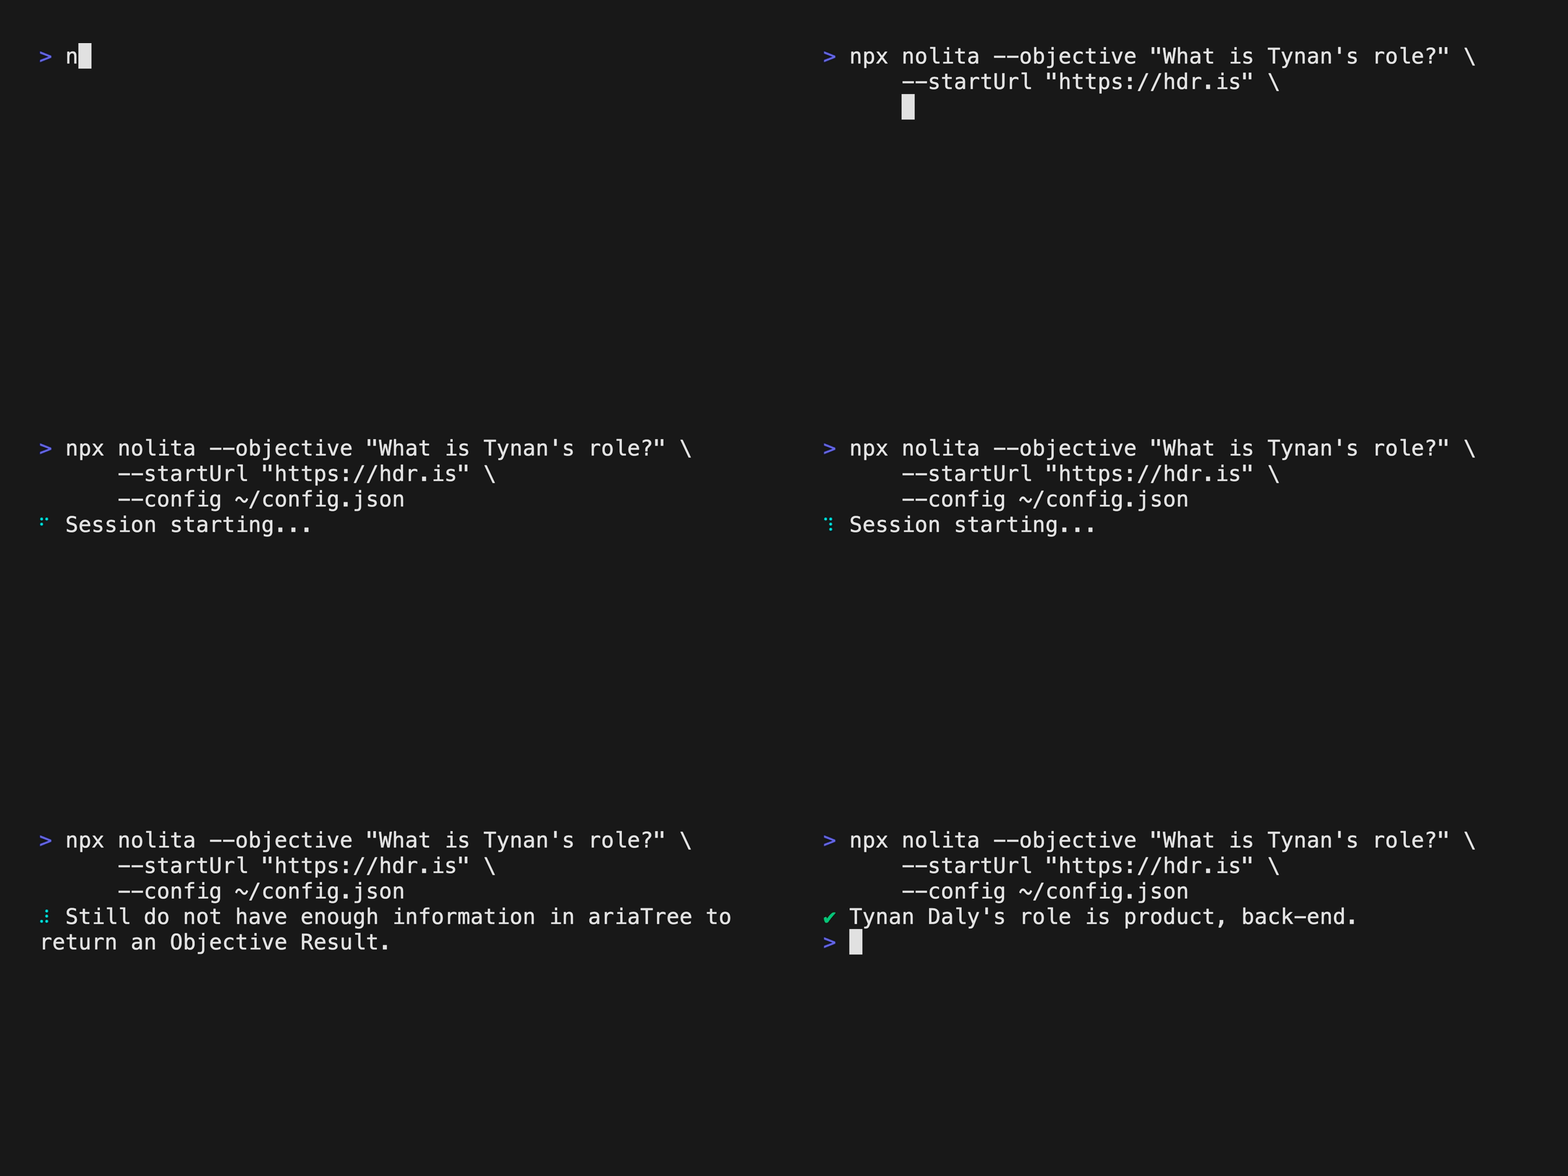
Use for quick tasks
If you if you have Node.js installed, it's as easy as running
npx nolita
If you don't include information, we will prompt you for it as we go. The flags you can provide to omit these steps include the following:
--startUrldictates where we start the session.--objectivespecifies what we want our agent to accomplish for us.--agentProvidersets who is providing the LLM for the task (currently supportinganthropicandopenai).--agentModelspecifies the model in question by the provider.--hdrApiKeytakes your HDR key for persistent memory integration, improving the performance and reliability of tasks.--headlessspecifies whether you want the browser to run in headless mode or not. We default totrue, but you can set it tofalseto see the browser run.--configtakes a JSON file with the previous flags, if you want to provide them. You can also specify an inventory of personal data to use for the objective, like usernames and passwords.
{
  "agentProvider": "openai", // or process.env.HDR_AGENT_PROVIDER
  "agentModel": "gpt-4", // or process.env.HDR_AGENT_MODEL
  "agentApiKey": "sk-*********", // or process.env.HDR_AGENT_API_KEY
  "inventory": [
    {
      "value": "student",
      "name": "Username",
      "type": "string"
    },
    {
      "value": "Password123",
      "name": "Password",
      "type": "string" }
    ]
}
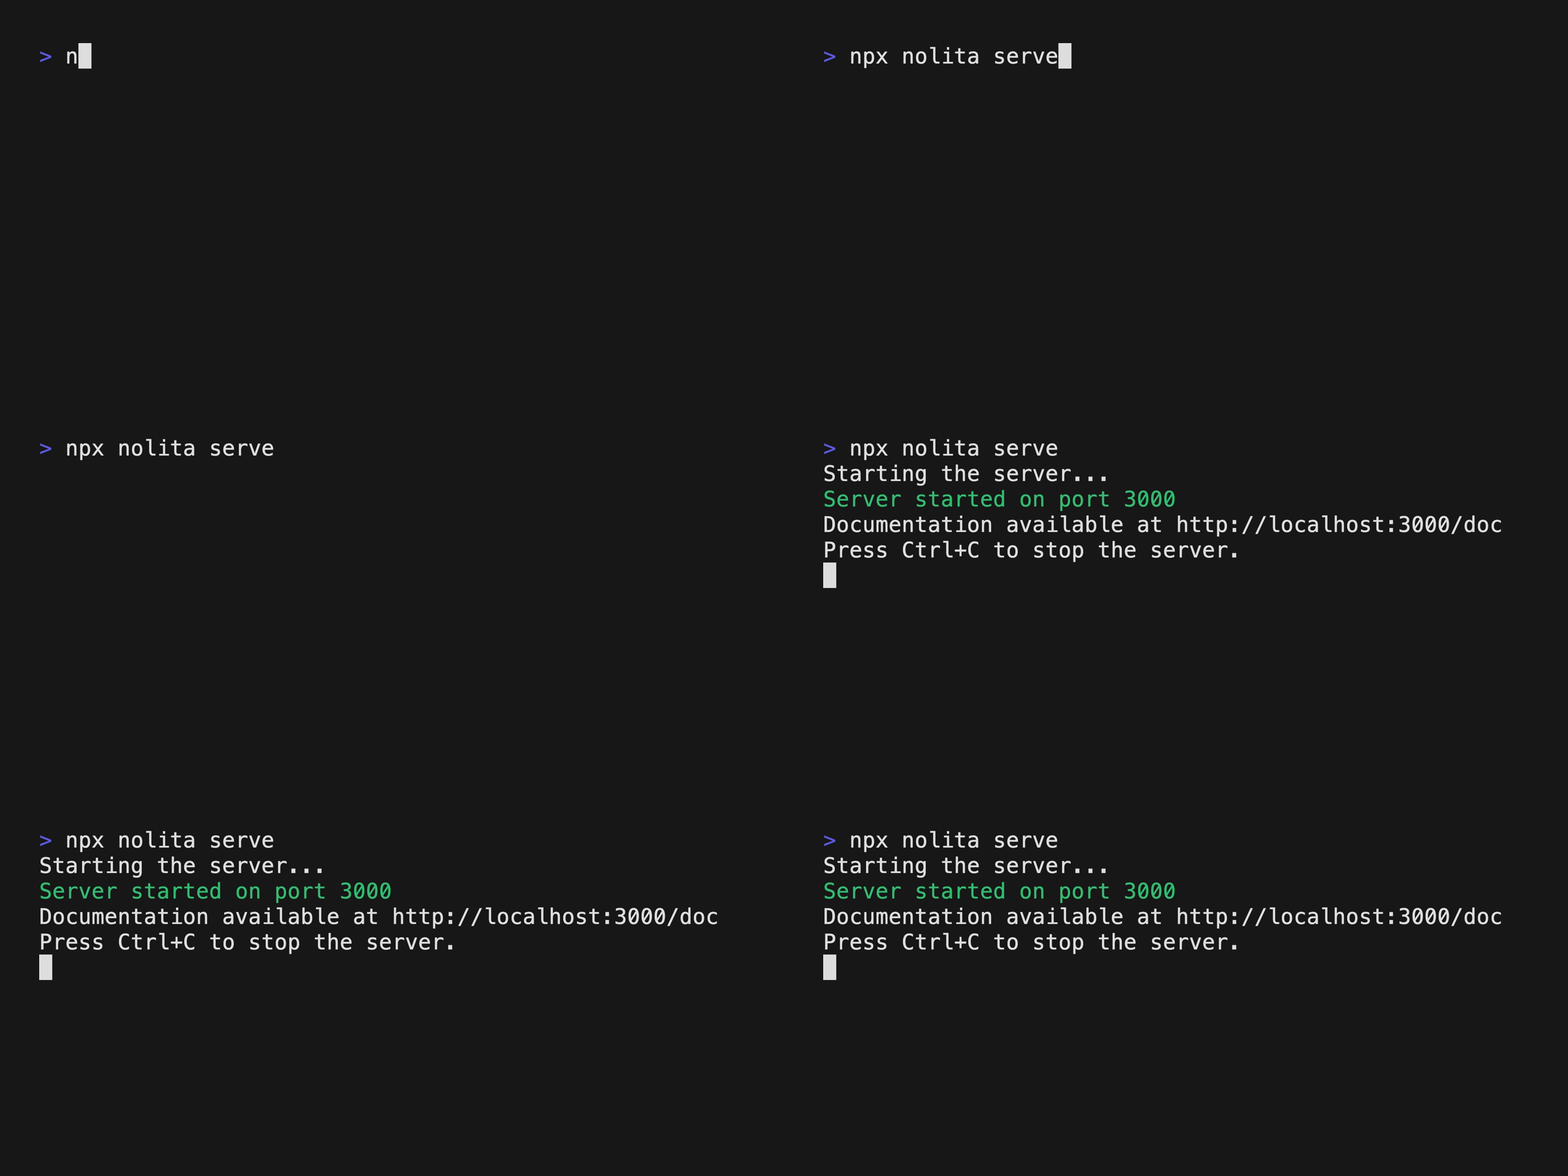
Use as part of your stack
npx nolita serve
Runs a local API for objective-first agentic navigation of a local Chrome instance.
The server is set up with all keys first initialized with npx nolita auth. After starting the server, you can see the /doc folder for the expected JSON payload.
Use --port to customize the port.
Build an app
npx nolita create
Bootstraps a template application built on Express, React, TypeScript, and the core Nolita framework for making a user-facing, web-enabled, agentic product. For more information on using the template, see its documentation.
How does it work?
Nolita drives a Puppeteer installation using local Chrome and parses the accessiblity tree, preprocessing ARIA nodes to add additional accessibility information when necessary.
At the core of the framework is a state machine between Puppeteer and your model that enforces action steps with Zod.
Since we enforce types at runtime, you can also customize the typed response you get from the navigation process! For more about that, see "Specifying types."
Documentation and examples
To read the complete documentation for Nolita, you can go to the docs folder in this repository or access docs.nolita.ai.
There are also various examples of usage in the examples folder.
Contributing
Before contributing to this project, please review CONTRIBUTING.
Building from source
If you want to work from this repo, you can build Nolita with pnpm:
pnpm i
pnpm run build
The build outputs to the dist folder.
Community server
To connect with others building with Nolita, feel free to join our Discord community.
Other licenses
By default, Nolita sends anonymised, abstracted telemetry to our collective memory, which is governed by its own license agreement and our privacy policy.
1 year ago
1 year ago
1 year ago
1 year ago
1 year ago
1 year ago
1 year ago
1 year ago
2 years ago
2 years ago
2 years ago
2 years ago
2 years ago
2 years ago
2 years ago
2 years ago
2 years ago
2 years ago
2 years ago
2 years ago
2 years ago
2 years ago
1 year ago
2 years ago
2 years ago
2 years ago
2 years ago
2 years ago
2 years ago
2 years ago
2 years ago
2 years ago
2 years ago
2 years ago
2 years ago
2 years ago
2 years ago
2 years ago
2 years ago
2 years ago
2 years ago
2 years ago
2 years ago
2 years ago
2 years ago
2 years ago
1 year ago
2 years ago
2 years ago
2 years ago
2 years ago
2 years ago
2 years ago
2 years ago
2 years ago
2 years ago
2 years ago
2 years ago
2 years ago
2 years ago
2 years ago
2 years ago
2 years ago
2 years ago
2 years ago
2 years ago
2 years ago
2 years ago
2 years ago
2 years ago
2 years ago
2 years ago
2 years ago
2 years ago
2 years ago
2 years ago
2 years ago
2 years ago
2 years ago
2 years ago