react-agent v0.1.5
React Agent
React Agent is a JavaScript library for your client store, server querying, and database management. It can be included in any React project without conflict with other state management tools or REST APIs.
React Agent is easy to learn.
Here's the basic idea: the client runs 'actions' that are defined on the server-side.
// client.js
run(‘setMessage’, { message: ‘Hello World’ })

// server.js
setMessage: {
    action: ‘INSERT INTO messages(text) VALUES(:message)’
}
These actions can be as powerful as you want -- i.e. CRUD operations, API calls, and authentication. Moreover, clients can subscribe to server-side actions so that they receive live updates.
React Agent includes offline-support to render optimistic updates and then synchronization on reestablished network connection. It also features time travel debugging.
Why use React Agent?
The popular conceptualization of state management stores state in two places: data on the client-side and data on the server-side.
To connect these, front-end and back-end developers usually write a lot of code such as HTTP requests, controllers, and routes. It can get complicated.

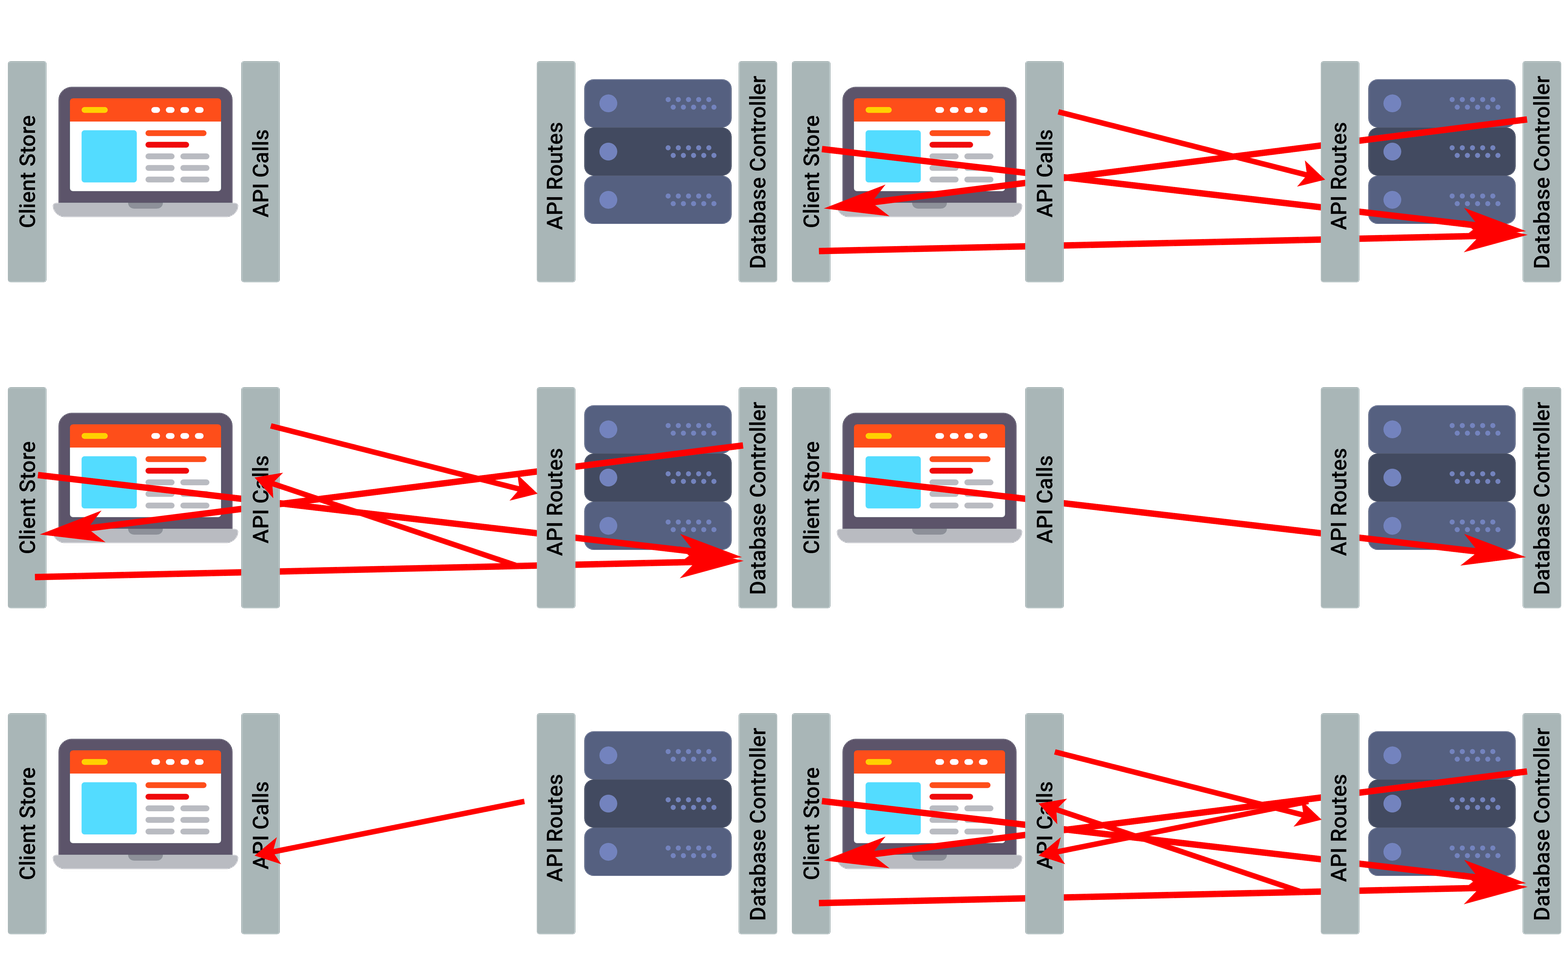
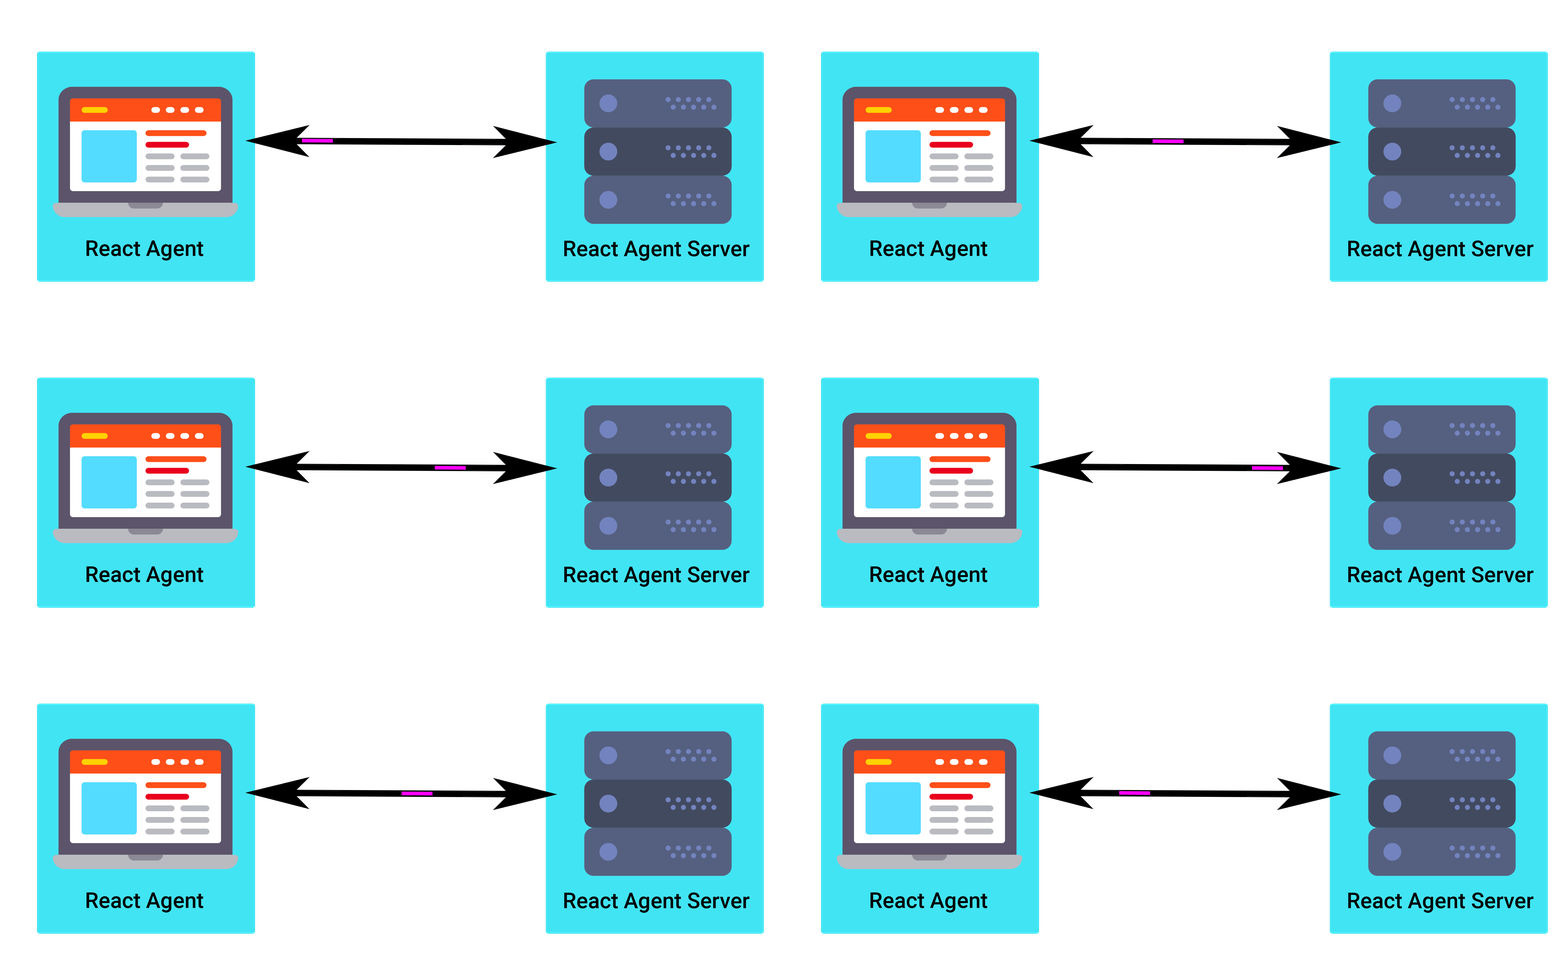
In contrast, React Agent serves as a communication channel between the client and the server. It abstracts state transfer to make it super easy to interact between the client and server.

Below is a client-side guide. Here's our full documentation.
Getting Started
This guide is focused on client-side usage of React Agent, although it includes necessary details to know about server-side usage. See React Agent Server for more information about server-side set-up.
Installing
Install the package:
npm install react-agent --saveHow to use
First, import React Agent into your highest level React component.
import { Agent } from 'react-agent'Then, wrap your main component with <Agent> to start React Agent when your app loads.
render(
 <Agent>
   <App />
 </Agent>
 , document.querySelector('#root'))
Optionally, you can 1) set an initial state for React Agent with store={ initialStore }. As we’ll see, the state set with React Agent is accessible from any component. And, 2) log in the console what's happening under the hood by including logger={true}.
const initialStore = {
 first: true,
 second: false,
 third: 'ok'
}

render(
 <Agent store={ initialStore } logger={true}>
   <App />
 </Agent>
 , document.querySelector('#root'))
Let’s get started on the fun part. Import React Agent into a React component.
import { get, set, run, emit, on, unsubscribe } from 'react-agent'There's six methods that make sense to learn. The first two are set and get, which manipulate state on the client-side, but don't interact with the server. The last four are run, emit, on, and unsubscribe, which are used for exchanging client and server-side state. To start, let’s use set to write to the React Agent store and get to return the values.
set and get
The set method takes a property/value pair as its parameters by comma seperation or as an object.
set('username', 'Billy')
set({ username: 'Billy' })
Multiple property/values pairs can be set by including them in consecutive order.
set('age', 28, 'active', true)
set({ age: 28, active: true })
The get method takes a property and returns the associated value.
get(‘username’) // returns ‘Billy’It is also possible to manipulate client-side state in a more complex way using set and get in conjunction. For example, let's say we want to add a new value to an array in React Agent's store. The array is stored as the value of the property allUsers.
allUsers = get('allUsers')
set('allUsers', [...allUsers, { user: Billy }])
First, we use get to assign the current value of allUsers to a variable. Then, we take advantage of the ES6 spread operator ... to easily add { user: Billy } to allUsers.
Since React Agent’s methods can be imported into any component, React Agent's store is now accessible from any component without ‘passing-down’ props. Under the hood, React Agent uses React’s virtual DOM for efficient rendering.
Note: while React Agent can be used as a store for state, it can also be used without conflict alongside other state management tools such as Redux or React component state.
run
Now, let's examine the four methods that communicate with the server. Since these methods interact with the server, but do not affect React Agent's store, they are often used in conjunction with get and set to update client state.
run can perform any action on the server-side. For example, it might execute a CRUD operation on a SQL database, or it might execute an API call.
run takes a key as its first argument, which corresponds to a matching key on the server-side. When a client calls run on a key, the server executes the action labeled by the matching key.
As its optional second argument, run takes an object to pass to the server's action.
run('addUser', { user: Billy })Here, we run the action addUser, which executes the action addUser on the server-side. That's all we need to do to add a user!
After the action is completed on the server, the promise returned by run either resolves or rejects. Then, the client can handle returned data, or catch an error.
run('getAllUsers')
  .then(data => {
    set('allUsers', data.users)
  })
  .catch(err => {
    console.log(err)
})emit, on, and unsubscribe
In addition to run, three other methods interact with the server: emit, on, and unsubscribe.
emit sends a state update to all clients who have subscribed to a key. Optionally, it takes an object as a second argument to pass to the server.
emit('updateMessages', { cookieID: 937985713 })on subscribes a client to a key. That is, if emit is called with the corresponding key, the server pushes state updates to all subscribed clients.
on('updateMessages', data => {
  set('allMessages', data.messages)
})
unsubscribe removes a client's subscription to a key so that they no longer receive state updates.
unsubscribe('updateMessages')Now, let's bring it together in one big example.
// The server will push any updates of 'getAllStudents' to the client.
on('getAllStudents', data => {
  set('allStudents', data.students)
})

// If a user adds Billy as a student, we optimistically update the client's store.
currentUsers = get('allStudents')
set('allStudents', [...currentStudents, { name: Billy }])

// Run the action 'addStudent' to update the server's database.
// If successful, emit an action to all subscribers of 'getAllStudents.'
// If error, revert the client's state to former value before optimistic update.
run('addStudent', { name: Billy })
  .then(() => {
    emit('getAllStudents')
  })
  .catch( err => {
    set('addStudents', currentUsers)
  })
Additional Methods and Features
Time Travel Debugging
React Agent uses Redux under the hood for time travel debugging. To enable this feature, pass devTools={true} to the <Agent> wrapper. Then, use Redux DevTools Chrome extension to travel through time.
render(
 <Agent devTools={true}>
   <App />
 </Agent>
, document.querySelector('#root'))
destroy
destroy is used to delete a property and its values from React Agent's store. You can pass in multiple properties to delete.
destroy('messages')
destroy('users', 'comments', 'messages')
getStore
getStore returns an object containing the current state of React Agent's entire store. Alternatively, call get with no arguments for the same result.
currentState = getStore()
currentState = get()
isOfflineCacheEmpty
isOfflineCacheEmpty returns a boolean indicating whether any actions sent to the server have not yet been sent back as a response to the client. This method can be useful to determine whether the client has unsaved changes. For example, say the network connection drops, but a user continues interacting with the site because of optimistic rendering. If isOfflineCacheEmpty is then called, it would return false.
isOfflineCacheEmpty() // returns true or falseIn fact, React Agent can alert a user that they have unsaved changes -- this feature is turned-off by default. If a user tries to navigate away from the site, it provides a pop-up warning. It uses isOfflineCacheEmpty under the hood. To turn on this feature, pass offlinePopUp={true} to the <Agent> wrapper.
render(
 <Agent offlinePopUp={true}>
   <App />
 </Agent>
 , document.querySelector('#root'))
run
run also accepts multiple keys as arguments in the form of an array. As its optional second argument, it takes an object which is passed to every action included in the array. In this configuration, run returns a promise, which resolves to an object containing the key of each action and its respective response from the server.
run(['addUser', 'addMessage'], { user: 'Billy', message: 'trapped in a simulation.' })
// returns { addUser: { id: 2956739 }, addMessage: { time: 2018-01-19T01:10:47 }}
Contributors
Authors
Tom Rosenblatt - https://github.com/tskittles
Eric Choi - https://github.com/eric2turbo
Henry Au - https://github.com/hhau01
Andrew Harris - https://github.com/didrio
License
This project is licensed under the MIT License - see the LICENSE.txt file for details.