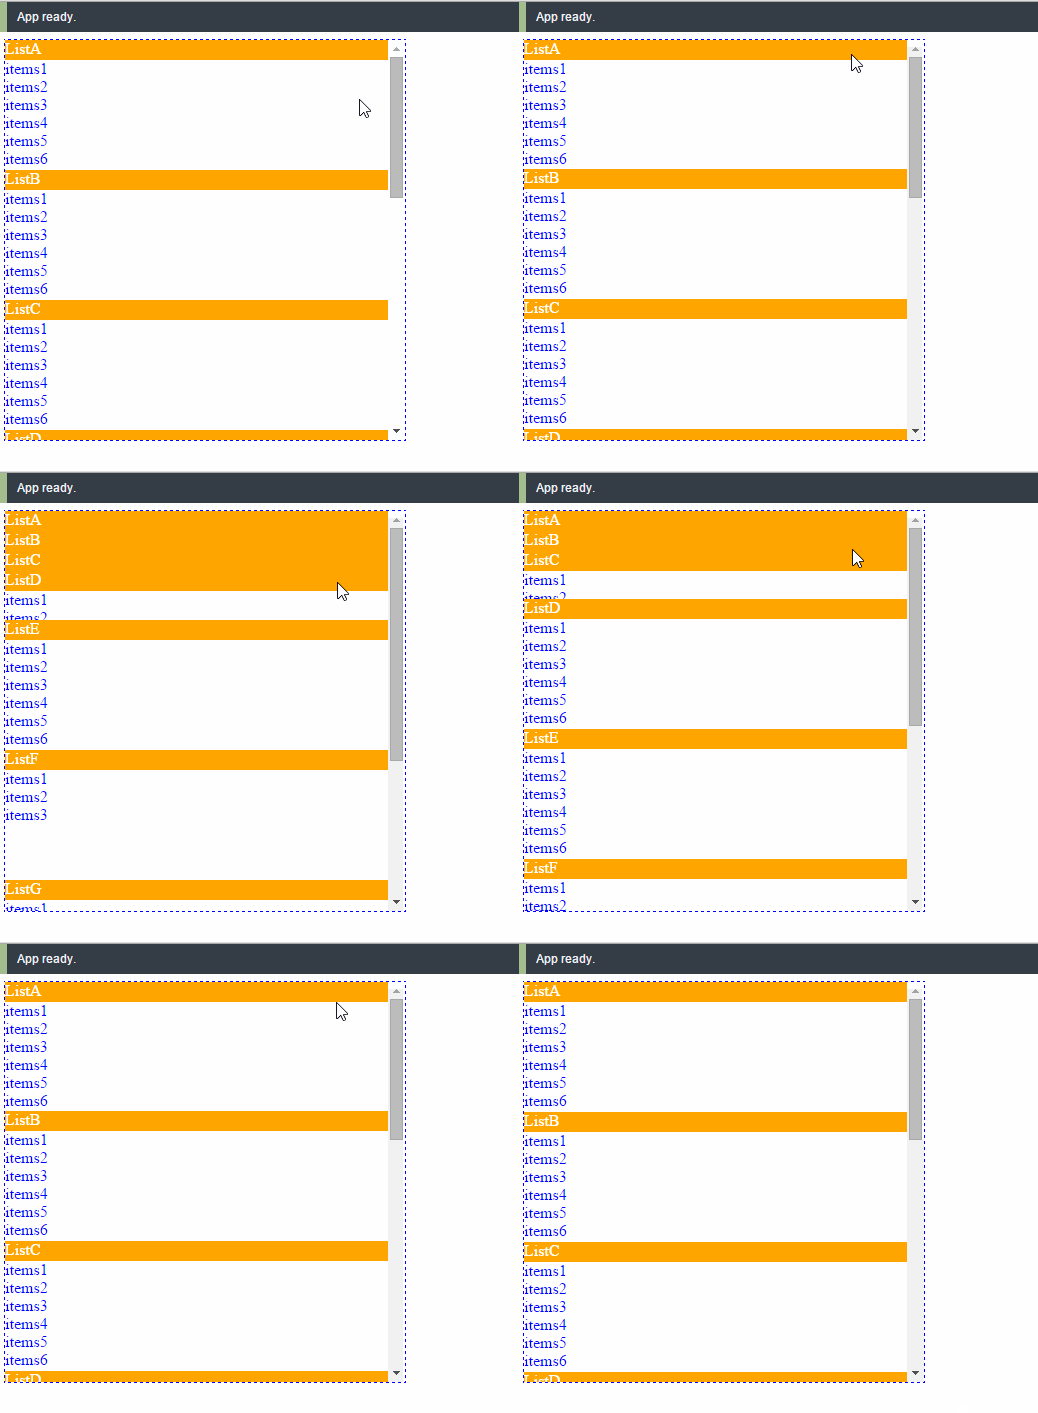
react-expandable-listview v0.6.1
React expandable listview
React expandable listview
<h2 align="center">Rend components or plain object in an expandable way!</h2>
Philosophy
You don't need jQuery to do this...
Installation
npm
$ npm install --save react-expandable-listviewDemo
http://cht8687.github.io/react-expandable-listview/example/
Example Code
https://github.com/cht8687/react-expandable-listview/tree/master/src/example
API
<ReactExpandableListView />
<ReactExpandableListView
        data={data}
        headerAttName="headerName"
        itemsAttName="items"
      />
The component accepts three props.
data: PropTypes.array.isRequired
- note that
isReactComponentis used to select if you want to render a react object or not.
Render plain object
const DATALIST = [
{
    headerName : "ListG",
    isOpened: true,
    isReactComponent: false,
    items : [{
      title : "items1"
    }, {
      title : "items2"
    }, {
      title : "items3"
    },{
      title : "items4"
    },{
      title : "items5"
    },{
      title : "items6"
    }],
    height: 100
  },{
    headerName : "ListH",
    isOpened: true,
    isReactComponent: false,
    items : [{
      title : "items1"
    }, {
      title : "items2"
    }, {
      title : "items3"
    }],
    height: 100
  }
];
Render react component
If you want to render a react component, for example, a menu object, you can set isReactComponent to true:
export default class Menu extends React.Component {
  static get menuItems() {
    return [
      {
        headerName: 'Products',
        isOpened: false,
        height: 100,
        isReactComponent: true,
        items: [
          (
          <Link
            to="admin/products/all"
            className="btn btn-default"
            activeClassName="active"
          >
            All
          </Link>
          ),
          (
          <Link
            to="admin/products/expired"
            className="btn btn-default"
            activeClassName="active"
          >
            Expired
          </Link>
          ),
          (
          <Link
            to="admin/products/submitted"
            className="btn btn-default"
            activeClassName="active"
          >
            Submitted
          </Link>
          ),
        ],
      },
      {
        headerName: 'Promotions',
        isOpened: false,
        height: 100,
        isReactComponent: true,
        items: [
          (
          <Link
            to="admin/promotions/active"
            className="btn btn-default"
            activeClassName="active"
          >
            Active
          </Link>
          ),
       ],
      },
      {
        headerName: 'Settings',
        isOpened: false,
        height: 100,
        isReactComponent: true,
        items: [
          (
          <Link
            to="admin/settings/all"
            className="btn btn-default"
            activeClassName="active"
          >
            Al
          </Link>
          ),
        ],
      },
    ];
  }

  render() {
    return (
      <div id="admin-menu">
        <ReactExpandableListView
          data={this.constructor.menuItems}
          headerAttName="headerName"
          itemsAttName="items"
        />
      </div>
    );
  }
}
Note height varible defines the height you want each list to be like.
You can set different height data to suit the content of each section.
headerAttName: PropTypes.string.isRequired
Variable name of header in your data object.
In above example, it's headerName.
itemsAttName: PropTypes.string.isRequired
Variable name which hold items data in your data object.
In above example, it's items.
Styling
The CSS is flexible, commented and made to be easily customized.
There is an CSS file in the root level you can include it in your project. CSS code.
Development
$ git clone https://github.com/cht8687/react-expandable-listview.git
$ cd react-expandable-listview
$ npm install
$ webpack-dev-server
Then
open http://localhost:8080/webpack-dev-server/License
MIT
