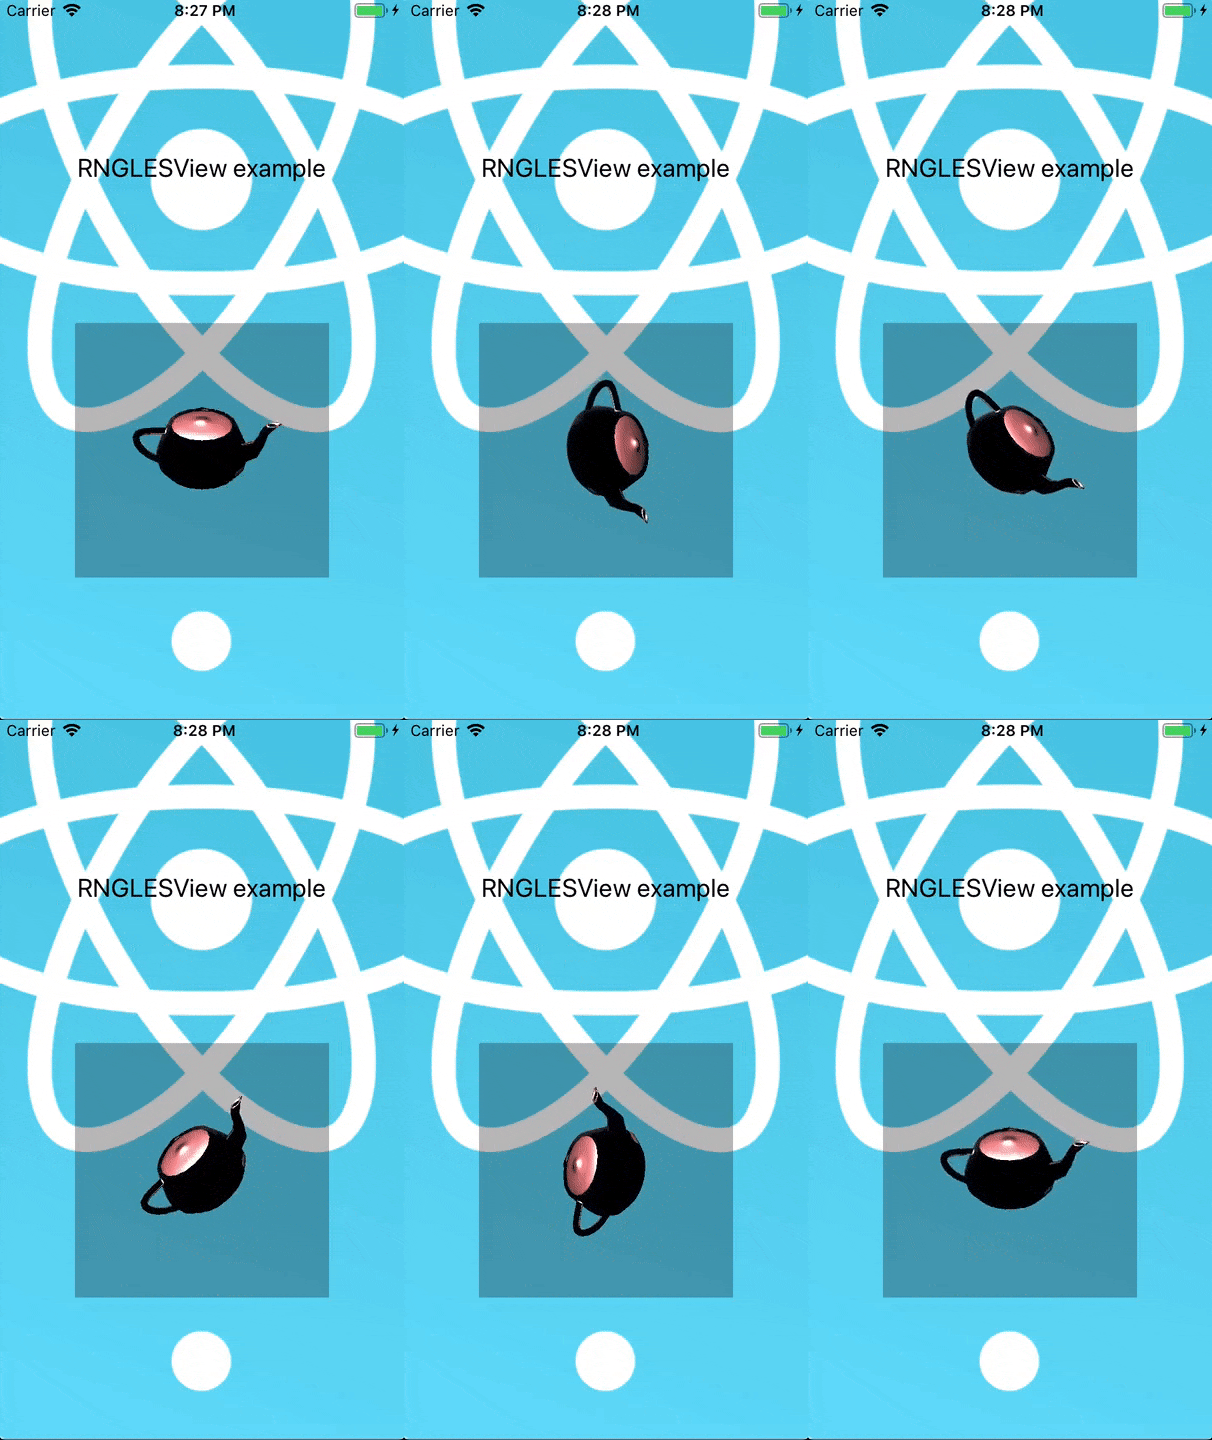
react-native-gles v0.1.0
react-native-gles
A <GLESView> component for React Native.
Tested on react-native >= 0.60.0, may work on older versions.

Getting started
Using npm:
npm install --save react-native-glesor using yarn:
yarn add react-native-glesManual installation
iOS
- In XCode, in the project navigator, right click
Libraries➜Add Files to [your project's name] - Go to
node_modules➜react-native-gles➜iosand addRNGLESView.xcodeproj - In XCode, in the project navigator, select your project. Add
libRNGLESView.ato your project'sBuild Phases➜Link Binary With Libraries - Run your project (
Cmd+R)<
Android
- Open up
android/app/src/main/java/[...]/MainApplication.java
- Add
import com.akshetpandey.rnglesview.RNGLESViewPackage;to the imports at the top of the file - Add
new RNGLESViewPackage()to the list returned by thegetPackages()method
- Append the following lines to
android/settings.gradle:include ':react-native-gles' project(':react-native-gles').projectDir = new File(rootProject.projectDir, '../node_modules/react-native-gles/android') - Insert the following lines inside the dependencies block in
android/app/build.gradle:compile project(':react-native-gles')
Configure your React Native Application
iOS:
- In XCode, in the project navigator, click on your project to open project settings,
Build Phases➜Link Binary With Libraries - Click on
+and addGLKit.framework - In
Build Settings, ModifyC++ Language Dialectand make sure its at leastC++14 [-std=c++14]
On Android
Android is a bit more complicated than iOS. You will have to setup NDK and a CMake based compile system to compile your c++ code. On the other hand, if you are planning to use this library there is a high chance that those are already setup. In which case jump to the next part.
Using this library with ndk-build is possible but not documented.
Setting up NDK and CMake
- Make sure you have an up-to-date Android NDK (needed to compile the Native C++ code) and that it's properly configured in ANDROID_NDK env or in
android/local.propertiesfile (e.g.ndk.dir=/usr/local/share/android-ndk). In
android/app/build.gradlemake the following additions:android { . . . defaultConfig { . . . externalNativeBuild { cmake { arguments "-DANDROID_ARM_NEON=TRUE", "-DANDROID_TOOLCHAIN=clang", "-DANDROID_STL=c++_shared" } } } externalNativeBuild { cmake { path "src/main/cpp/CMakeLists.txt" version "3.10.2" } } . . . }Create
android/app/src/main/cpp/CMakeLists.txtwith content# For more information about using CMake with Android Studio, read the # documentation: https://d.android.com/studio/projects/add-native-code.html # Sets the minimum version of CMake required to build the native library. cmake_minimum_required(VERSION 3.10.2) # Set compiler flags set(CMAKE_CXX_FLAGS "${CMAKE_CXX_FLAGS} -std=c++14 -fPIC") set(repoROOT_DIR ../../../../..) set(rnglesDIR ${repoROOT_DIR}/node_modules/react-native-gles) # Add source files to be compliled here # Path is relative to this CMakeLists.txt file set(SOURCE_FILES jniHelper.cpp ) # Specifies a path to native header files. # Path is relative to this CMakeLists.txt file include_directories(${repoROOT_DIR}/cpp/) include_directories(${rnglesDIR}/cpp/) add_subdirectory(${rnglesDIR}/android/src/main/cpp ../../../rnglesviewNativeBuildDir) # Creates and names a library, sets it as either STATIC # or SHARED, and provides the relative paths to its source code. # You can define multiple libraries, and CMake builds them for you. # Gradle automatically packages shared libraries with your APK. add_library( # Specifies the name of the library. YOUR_LIBRARY_NAME # Sets the library as a shared library. SHARED # Provides a relative path to your source file(s). ${SOURCE_FILES} $<TARGET_OBJECTS:rnglesviewNativeObject>) # Searches for a specified prebuilt library and stores the path as a # variable. Because CMake includes system libraries in the search path by # default, you only need to specify the name of the public NDK library # you want to add. CMake verifies that the library exists before # completing its build. find_library( # Sets the name of the path variable. glesv2-lib # Specifies the name of the NDK library that # you want CMake to locate. GLESv2) # Specifies libraries CMake should link to your target library. You # can link multiple libraries, such as libraries you define in this # build script, prebuilt third-party libraries, or system libraries. target_link_libraries( # Specifies the target library. YOUR_LIBRARY_NAME # Links the target library to the GLESv2 library # included in the NDK. ${glesv2-lib})Create
android/app/src/main/cpp/jniHelper.cppwith content. This is empty but helps Android Studio behave correctly#include <jni.h>Then in your main activity's class add
import com.facebook.soloader.SoLoader;

public class MainActivity extends ReactActivity {
	static {
		SoLoader.loadLibrary("YOUR_LIBRARY_NAME");
	}
	.
	.
	.
}
You already have NDK + CMake setup
- Find your
CMakeLists.txtfile - Before your
add_librarylines, include the RNGLESView project by addingset(repoROOT_DIR ../../../../..) add_subdirectory(${repoROOT_DIR}/node_modules/react-native-gles/android/src/main/cpp ../../../rnglesviewNativeBuildDir) - In your
add_librarycommand, modify it to include$<TARGET_OBJECTS:rnglesviewNativeObject>, for exampleadd_library( YOUR_LIBRARY_NAME SHARED ${SOURCE_FILES} $<TARGET_OBJECTS:rnglesviewNativeObject>) - Append the following in the appropriate place if it doesn't already exists.
find_library(glesv2-lib GLESv2) - In your
target_link_librariescommand. Add${glesv2-lib}. So it looks something liketarget_link_libraries( YOUR_LIBRARY_NAME . . . ${glesv2-lib}) - Make sure you are compiling in >= C++14. If you are unsure this may help
set(CMAKE_CXX_FLAGS "${CMAKE_CXX_FLAGS} -std=c++14")
Look at example/android/app/src/main/cpp for an example setup
Usage
Unlike a lot of react native libraries there are two parts here. First create a rendering code in C++, then use that code in JS
// cpp/RedColorScene.hpp
#pragma once

#include "GLESView.hpp"

class RedColorScene : public GLESView {
public:
    RedColorScene() noexcept;
    bool update(double timestamp);
    void draw();
private:
	float _red;
};
// cpp/RedColorScene.cpp
#include "RedColorScene.hpp"
#include "GLESViewFactory.hpp"
// This is important!!!
REGISTER_SCENE(RedColorScene)
RedColorScene::RedColorScene() noexcept : _red(0.f) { }
bool RedColorScene::update(double timestamp) {
_red += 0.01f;
if (_red >= 1.f) {
_red = 0.f;
}
return true;
}
void RedColorScene::draw() {
glClearColor(_red, 0.f, 0.f, 1.f);
glClear(GL_COLOR_BUFFER_BIT | GL_DEPTH_BUFFER_BIT);
}Then make sure that these libraries are included in the compilation target for the iOS and Android Projects
For iOS:
- In XCode, right-click on the project and select
Add files to "your_project_name", then add thecppfolder
For Android:
- In the CMakeLists.txt file, modify the source list to include
RedColorScene.cpp, for ex.set(SOURCE_FILES . . . PATH_TO_REPO_ROOT/cpp/RedColorScene.cpp )
Then finally in JS, you can create a GLES view that will render using your rendering code
import GLESView from 'react-native-gles';

// Within your render function

<GLESView sceneName={'RedColorScene'} />;

// You can also pass in all props that <View /> accepts and they should just work.
A more through example is available in the example folder.
6 years ago