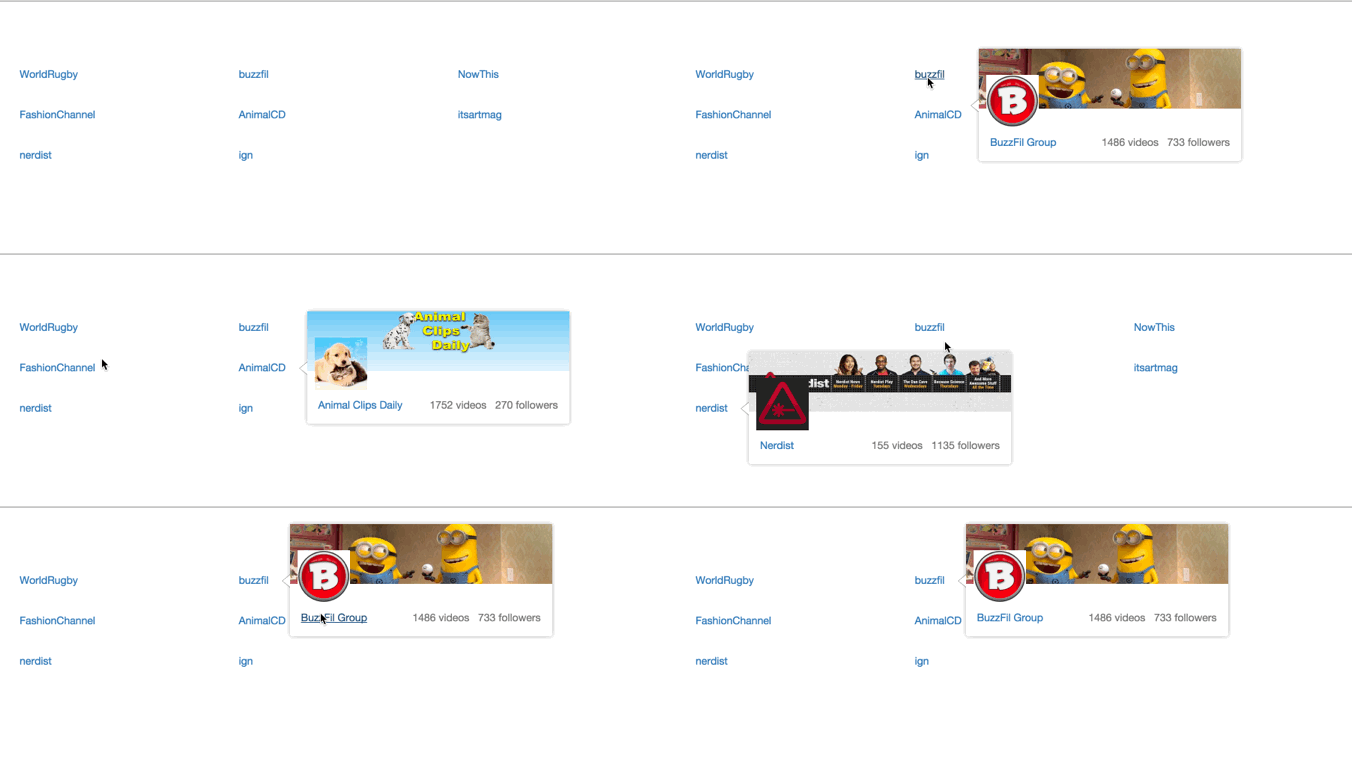
react-portal-tooltip-fork-pocketjoso v2.4.5
FORK OF React Portal Tooltip
⚠️⚠️ - This fork does not re-use a single tooltip in the DOM between different
instances of the component. It uses ReactDOM.createPortal instead of ReactDOM.render,
in order to keep the component instances in the same react tree. This allows tooltips
to contain things like Links from the React Router package.
⚠️⚠️ - This fork is not made to be re-usable, it also has some other hardcoded changes from the main repo, noticably in regards to css transitions.
Awesome tooltips.

Installation
$ npm install react-portal-tooltipWarning The versions 2.x on npm are compatible with React 16. Corresponding versions for older versions of React:
# For react v15
$ npm install react-portal-tooltip@1

# For react 0.14
$ npm install react-portal-tooltip@0.14

# For react 0.13
$ npm install react-portal-tooltip@0.13
Documentation and demo
http://romainberger.github.io/react-portal-tooltip/
Usage
import React from 'react'
import ToolTip from 'react-portal-tooltip'

class MyComponent extends React.Component {
    state = {
        isTooltipActive: false
    }
    showTooltip() {
        this.setState({isTooltipActive: true})
    }
    hideTooltip() {
        this.setState({isTooltipActive: false})
    }
    render() {
        return (
            <div>
                <p id="text" onMouseEnter={this.showTooltip.bind(this)} onMouseLeave={this.hideTooltip.bind(this)}>This is a cool component</p>
                <ToolTip active={this.state.isTooltipActive} position="top" arrow="center" parent="#text">
                    <div>
                        <p>This is the content of the tooltip</p>
                        <img src="image.png"/>
                    </div>
                </ToolTip>
            </div>
        )
    }
}
Props
active: boolean, the tooltip will be visible if trueposition: top, right, bottom or left. Default to rightarrow: center, right, left, top or bottom (depending on the position prop). No arrow when the prop is not sepecifiedalign: the alignment of the whole tooltip relative to theparentelement. possible values : center, right, left. Default to center.tooltipTimeout: timeout for the tooltip fade out in milliseconds. Default to 500parent: the tooltip will be placed next to this element. Can be the id of the parent or the ref (see example below)group: string, necessary if you want several independent tooltipsstyle: object, allows customizing the tooltip. Checkout the example for details.useHoverbool, default to true. If true, the tooltip will stay visible when hovered.
Parent prop
You can use an id or a ref to reference the parent:
id
<div id="hoverMe" onMouseEnter={this.showTooltip} onMouseLeave={this.hideTooltip}>
    Hover me!!!
</div>
<ToolTip active={this.state.isTooltipActive} position="top" arrow="center" parent="#hoverMe">
    <div>
        <p>This is the content of the tooltip</p>
    </div>
</ToolTip>
ref
<div ref={(element) => { this.element = element }} onMouseEnter={this.showTooltip} onMouseLeave={this.hideTooltip}>
    Hover me!!!
</div>
<ToolTip active={this.state.isTooltipActive} position="top" arrow="center" parent={this.element}>
    <div>
        <p>This is the content of the tooltip</p>
    </div>
</ToolTip>
Stateful ToolTip
If you only use the Tooltip for mouse enter / mouse leave, you may not want to handle the state yourself for all elements. In this case, you can use the stateful version which will do it for you:
Import the stateful version:
import { StatefulToolTip } from "react-portal-tooltip"Then create your parent and give it as a prop to the Tooltip:
const button = <span>Hover me to display the tooltip</span>

return (
  <StatefulToolTip parent={ button }>
    Stateful Tooltip content here!
  </StatefulToolTip>
)
StatefulToolTip takes the same props as ToolTip, plus a className prop that will be applied to the root element wrapping the parent (see the example).
Development
# clone
$ git clone git@github.com:romainberger/react-portal-tooltip.git

# install the dependencies
$ npm install

# go to the example folder, then install more dependencies
$ cd example && npm install

# start the development server with hot reloading
$ npm start

# to build run this command from the root directory
$ npm build
License
MIT


