1.0.0 • Published 4 years ago
rn-keyboard v1.0.0
rn-keyboard
This module shall provide you:
Customize Android/IOS soft keyboard by using React Native Component on both Android & IOS.
- On Android, we run a parallel activity & hide the default keyboard away.
- On IOS, we replace the default keyboard view with your custom keyboard view.
Custom Android Keyboard now show front of your modal. (Click here to see the discussion)
Deal with the flickering issue of Android Keyboard.
- Discussions about flickering issue: format value, numeric input. I have try the maxLength solution but I got no luck with issue Keyboard on Android 10 does not trigger. Therefore, this could be a solution to solve the issue.
Prerequisites
The specific React Native version must be satisfied to make your custom keyboard show up on Android & IOS.
- react-native >= 0.64.0
Installation
yarn add rn-keyboardResult
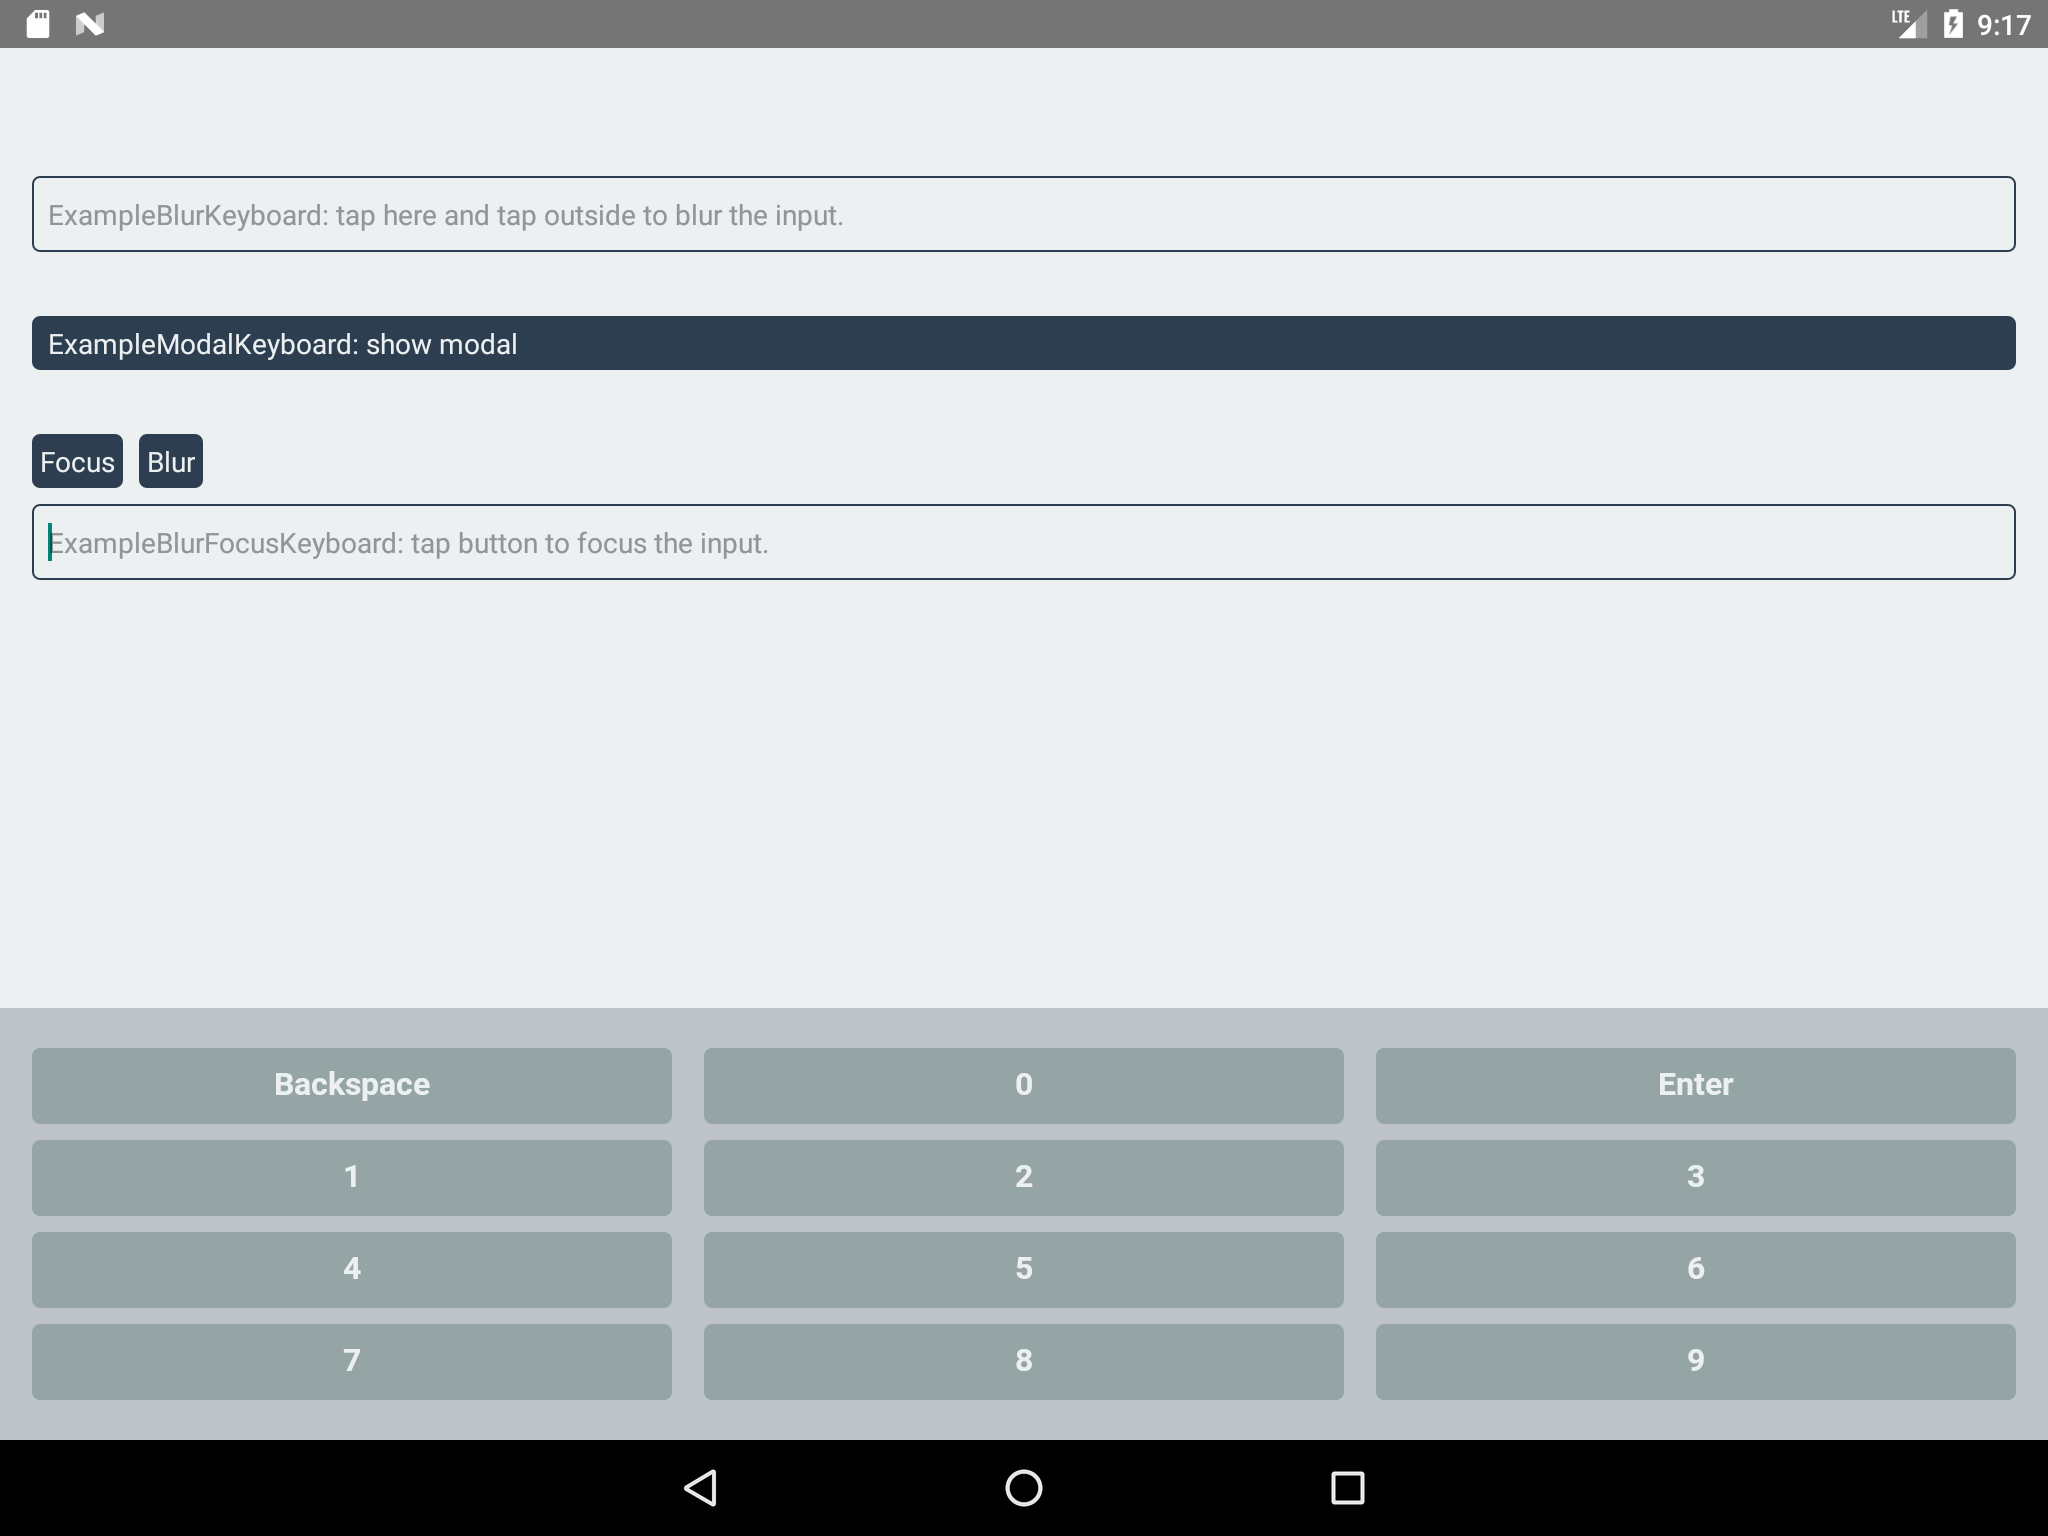
Android (Nexus 9)

IOS (IPhone 11, IOS 15.4)

Usage
Please add those lines to your index.js at root folder:
// index.js (root folder)

...
import RnKeyboard from 'rn-keyboard'; // <-- Import here

RnKeyboard.registerComponent(); // <-- Add this line
AppRegistry.registerComponent(appName, () => App);
Then, please register your keyboard at root App component:
// App.js (root container)
...
import RnKeyboard from 'rn-keyboard'; // <-- Import here
import CustomKeyboard from 'path/to/your/custom/keyboard/in/your/project';

const App = () => {
    React.useEffect(() => {
        RnKeyboard.registerKeyboard("Your custom keyboard type", CustomKeyboard); // <-- Add this to your root container's componentDidMount
    }, []);

    return (
        <>
            ...
            {/* Add this to avoid keyboard */}
            <RnKeyboard.Spacer />
        </>
    )
}
Then, create your own keyboard:
// CustomKeyboard.tsx (this is just an example)
import * as React from 'react';
import {
  StyleSheet,
  TouchableOpacity,
  Text,
  View,
  Dimensions,
} from 'react-native';
import RnKeyboard from 'rn-keyboard';

const width = Dimensions.get('window').width;
const buttonList = (() => {
  const result: string[][] = [
    ['Backspace', '0', 'Enter'],
    ['1', '2', '3'],
    ['4', '5', '6'],
    ['7', '8', '9'],
  ];
  return result.map((row, rowIdx) => ({
    rowIdx,
    buttons: row.map((label) => ({ value: label, label })),
  }));
})();

const RnKeyboardNumeric = () => {
  const insert = (type: string) => async () => {
    try {
      const inputId = RnKeyboard.getFocusId();
      switch (type) {
        case 'Backspace':
          await RnKeyboard.backspace(inputId);
          return;

        case 'Enter':
          await RnKeyboard.submit(inputId);
          return;

        default:
          await RnKeyboard.insert(inputId, type);
      }
    } catch (err) {
      /** @todo handle error here */
    }
  };

  return (
    <View style={styles.container}>
      {buttonList.map((row) => (
        <View key={`row-${row.rowIdx}`}>
          {row.buttons.map((button) => (
            <TouchableOpacity
              activeOpacity={0.9}
              onPress={insert(button.value)}
              key={`button-${row.rowIdx}-${button.value}`}
            >
              <Text>{button.label}</Text>
            </TouchableOpacity>
          ))}
        </View>
      ))}
    </View>
  );
};

const styles = StyleSheet.create({
  container: {
    flex: 1,
    backgroundColor: '#bdc3c7',
    paddingVertical: 16,
  },
});
Finally, you use our custom input in your custom screen to see your Keyboard show up:
// In your custom screen
...

const CustomScreen = () => {
  return (
    <>
        <RnKeyboard.Input
            rnKeyboardType={"Your registered custom keyboard type from App.js"}
            ... // TextInput props go here
        />
    </>
  );
};
Contributing
See the contributing guide to learn how to contribute to the repository and the development workflow.
License
MIT