vue-tree-dnd v0.2.0
About The Project
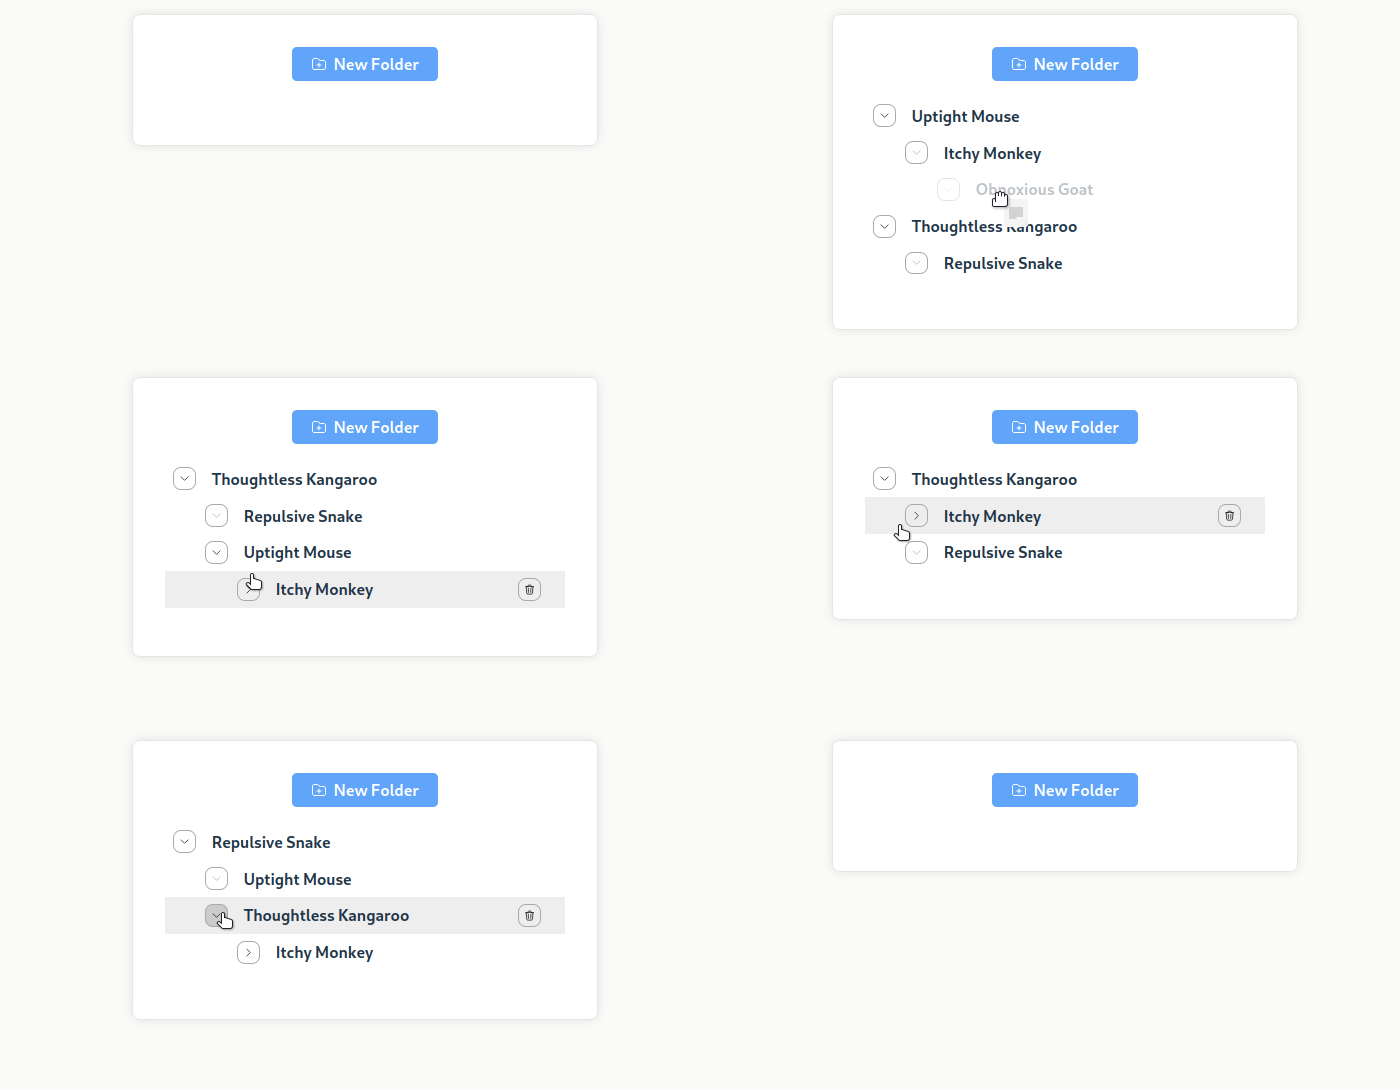
There are plenty of drag-n-drop libraries for Vue. None of them (that I found) support a file/folder-like structure that can create new levels of nesting. I created this library with this spec in mind:
- Support dynamic nesting
- Limit draggable options to what is possible
- Clearly indicate where items will be dropped
- Support collapsing nodes
Getting Started
To get a local copy up and running follow these simple example steps.
Installation
To install, use your favorite package manager and do the equivalent of:
npm install -S vue-tree-dnd@latestUsage
In Your.vue file, you can import and use the component:
<template>
    <VueTreeDnd
        :component="MyTreeItemRenderer"
        v-model="tree"
        @move="moveHandler"
    />
</template>

<script setup>
import { ref } from 'vue'
import VueTreeDnd from 'vue-tree-dnd';
import MyTreeItemRenderer from './my-tree-item.vue'

const tree = ref([
    {
        id: 1,
        name: 'Item 1',
        children: [
            {
                id: 2,
                name: 'Item 2',
                children: [
                    {
                        id: 3,
                        name: 'Item 3',
                        children: []
                    }
                ]
            }
        ]
    }
])
const moveHandler = (event) => {
    console.log(event)
}
</script>
API
Tree Data
Your tree data should conform to the following type:
type TreeItem = {
    id: number | string
    expanded: boolean
    children: TreeItem[]
}
Apart from these properties, you may include any other additional data. This will be passed into the ItemRenderer component.
Note: expanded is a required two-way bound property.
Move Mutation
type MoveMutation = {
    id: number | string
    targetId: number | string
    position: 'LEFT' | 'RIGHT' | 'FIRST_CHILD' | 'LAST_CHILD'
}
VueTreeDnd
| Prop | Type | Description |
|---|---|---|
| component | Component (Vue) | Vue component that will render the TreeItem (i.e., ItemRenderer). The component will receive the relevant node in the tree (with its children) as a prop. |
| v-model | TreeItem[] | The data to be displayed, conforming to the TreeItem type specified above. |
| locked | boolean | Whether the tree is locked. When true, nodes in the tree will not be draggable. |
| @move | (event: MoveMutation) => void | Handler for move mutation. Event will fire when node is dropped in a valid location. The syntax of the event data is given in MoveMutation. |
ItemRenderer
| Prop | Type | Description |
|---|---|---|
| item | TreeItem | The node in the tree that is being rendered. |
| depth | number | Depth of current node. It is ItemRenderer's responsibility to manage indention. |
| expanded | boolean | Whether the node is expanded (or collapsed). It is ItemRenderer's responsibility to indicate expanded state. |
| setExpanded | (value: boolean) => void | Callback to control whether the node is collapsed or expanded. It is ItemRenderer's responsibility to manage expanded. To toggle, call setExpanded(!expanded). |
Your ItemRenderer will be draggable but may perform any other actions you wish. For example, you may want to add a button to delete the node. You can do this by adding a delete method to your ItemRenderer component and using provide/inject from the component that imports vue-tree-dnd.
For example:
<template>
    <div :style="{ paddingLeft: `${1.5 * depth}rem` }">
        <button @click="setExpanded(!expanded)">{{ expanded ? "▼" : "▶" }}</button>
        <span>{{ item.name }}</span>
        <button @click="delete">X</button>
    </div>
</template>

<script setup>
import { inject } from 'vue'
const props = defineProps(['item', 'depth', 'expanded'])
defineEmits(['setExpanded'])
const delete = () => {
    const deleteHandler = inject('delete')
    deleteHandler(props.item.id)
}
</script>
Contributing
Contributions are what make the open source community such an amazing place to learn, inspire, and create. Any contributions you make are greatly appreciated.
If you have a suggestion that would make this better, please fork the repo and create a pull request. You can also simply open an issue with the tag "enhancement". Don't forget to give the project a star! Thanks again!
- Fork the Project
- Create your Feature Branch (
git checkout -b feature/AmazingFeature) - Commit your Changes (
git commit -m 'Add some AmazingFeature') - Push to the Branch (
git push origin feature/AmazingFeature) - Open a Pull Request
License
Distributed under the MIT License. See LICENSE.md for more information.


