xeokit-xkt-utils v0.0.1
xeokit-xkt-utils
JavaScript tools to generate .XKT files

Resources
Contents
Features
Support for Large WGS84 Coordinates
Using graphics APIs such as WebGL, graphics processing units (GPUs) internally operate on single precision 32-bit floating-point numbers.
Single precision values are generally said to have seven accurate decimal digits; therefore as your numbers become larger, the numbers are less accurately represented.
xeokit-xkt-utils improves the accuracy of the math executed on the GPU beyond the GPU's single precision
limitations by using relative-to-eye coordinates TODO
Compressed Geometry
Usage
Classes
xeokit-xkt-utils provides five javaScript classes from which we can build an
in-memory "document-object model" that represents the contents of an .xkt file.
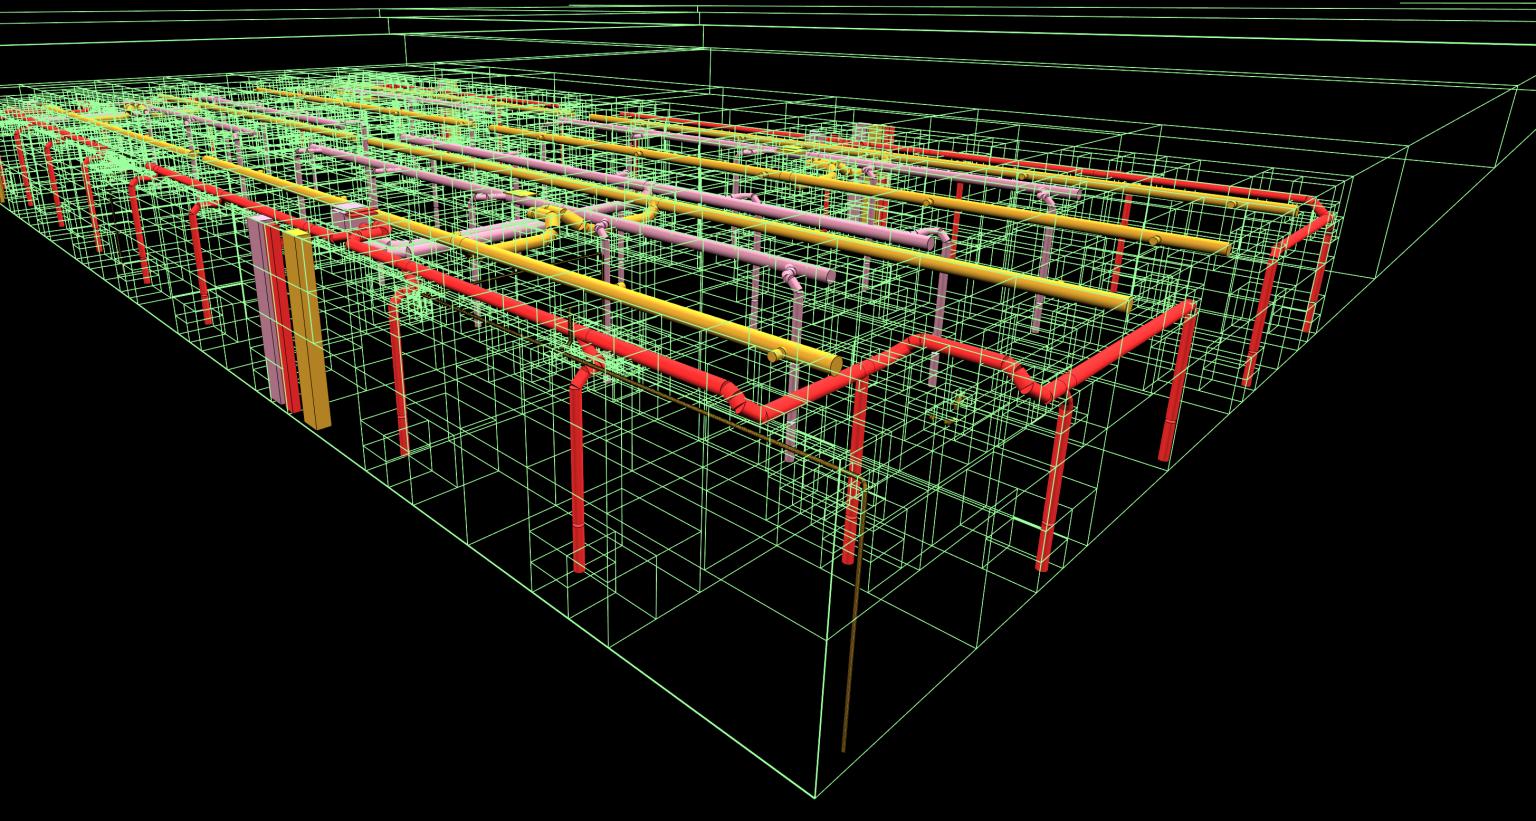
XKTModelrepresents an.xktmodel, providing methods through which we can create 3D objects within the model.XKTPrimitiverepresents an individual mesh, which has vertex positions, vertex normals, triangle indices, edge indices, an RGB color, and an opacity.XKTPrimitiveInstanceis an association class that represents the use of anXKTPrimitiveby anXKTEntity.XKTEntityrepresents a 3D object, which has a unique ID, and one or morePrimitiveInstances.XKTTilerepresents a box-shaped region within theXKTModel. EachXKTTilehas one or moreXKTEntitys, a World-space axis-aligned bounding box (AABB) that encloses theXKTEntitys, and a decoding matrix to de-quantize the vertex positions belonging to the primitives instanced by the entities.

Functions
xeokit-xkt-utils also provides functions for loading, serializing and testing XKTModels:
loadGLTFIntoXKTModelloads glTF JSON into anXKTModel.writeXKTModelToArrayBufferserializes anXKTModelto anArrayBuffer.validateXKTArrayBuffervalidates anArrayBufferagainst theXKTModelit was serialized from.
Building an XKTModel
In the example below, we'll programmatically build a simple XKTModel resembling this table:

const {XKTModel, loadGLTFIntoXKTModel, writeXKTModelToArrayBuffer} = require("./xeokit-xkt-utils.cjs.js");

const xktModel = new XKTModel();

xktModel.createPrimitive({
     primitiveId: "legPrimitive",
     primitiveType: "triangles",
     positions: [
         1, 1, 1, -1, 1, 1, -1, -1, 1, 1, -1, 1, 1, 1, 1, 1, -1, 1, 1, -1, -1, 1, 1, -1, 1, 1, 1, 1, 1, -1, -1, 1,
         -1, -1, 1, 1, -1, 1, 1, -1, 1, -1, -1, -1, -1, -1, -1, 1, -1, -1, -1, 1, -1, -1, 1, -1, 1, -1, -1, 1, 1, -1,
         -1, -1, -1, -1, -1, 1, -1, 1, 1, -1
     ],
     normals: [
         0, 0, 1, 0, 0, 1, 0, 0, 1, 0, 0, 1, 1, 0, 0, 1, 0, 0, 1, 0, 0, 1, 0, 0, 0, 1, 0, 0, 1, 0, 0, 1, 0, 0, 1, 0,
         -1, 0, 0, -1, 0, 0, -1, 0, 0, -1, 0, 0, 0, -1, 0, 0, -1, 0, 0, -1, 0, 0, -1, 0, 0, 0, -1, 0, 0, -1, 0, 0,
         -1, 0, 0, -1
     ],
     indices: [
         0, 1, 2, 0, 2, 3, 4, 5, 6, 4, 6, 7, 8, 9, 10, 8, 10, 11, 12, 13, 14, 12, 14, 15, 16, 17, 18, 16, 18, 19,
         20, 21, 22, 20, 22, 23
     ],
     color: [255, 0, 0],
     opacity: 255
 });

xktModel.createEntity({
     entityId: "leg1",
     primitiveIds: ["legPrimitive"],
     position: [-4, -6, -4],
     scale: [1, 3, 1],
     rotation: [0, 0, 0]
 });

xktModel.createEntity({
     entityId: "leg2",
     primitiveIds: ["legPrimitive"],
     position: [4, -6, -4],
     scale: [1, 3, 1],
     rotation: [0, 0, 0]
 });

xktModel.createEntity({
     entityId: "leg3",
     primitiveIds: ["legPrimitive"],
     position: [4, -6, 4],
     scale: [1, 3, 1],
     rotation: [0, 0, 0]
 });

xktModel.createEntity({
     entityId: "leg4",
     primitiveIds: ["legPrimitive"],
     position: [-4, -6, 4],
     scale: [1, 3, 1],
     rotation: [0, 0, 0]
 });

xktModel.createEntity({
     entityId: "top",
     primitiveIds: ["legPrimitive"],
     position: [0, -3, 0],
     scale: [6, 0.5, 6],
     rotation: [0, 0, 0]
 });
Once we've built our XKTModel we need to finalize it:
xktModel.finalize();Serializing the XKTModel to an ArrayBuffer
Next, we'll use writeXKTModelToArrayBuffer to serialize our XKTModel to an ArrayBuffer:
const xktArrayBuffer = writeXKTModelToArrayBuffer(xktModel);Validating the ArrayBuffer
Now we'll use validateXKTArrayBuffer to validate
the ArrayBuffer against our XKTModel. If this function
finds any errors, it will log them to the console and return false. Otherwise, it will return true to indicate that the ArrayBuffer is correct.
const xktArrayBufferValid = validateXKTArrayBuffer(xktArrayBuffer, xktModel);

if (!xktArrayBufferValid) {
    console.error("XKT array buffer is invalid!");
}
Loading the ArrayBuffer into a Viewer
Let's now create a Viewer and load the ArrayBuffer into it using an XKTLoaderPlugin:
const viewer = new Viewer({
    canvasId: "myCanvas"
});

const xktLoader = new XKTLoaderPlugin(viewer);

xktLoader.load({
    id: "myModel",
    xkt: xktArrayBuffer
});
The XKTLoaderPlugin can also load our ArrayBuffer from a file.
Finally, we'll fit the model in view:
viewer.cameraFlight.flyTo(viewer.scene);Loading glTF into an XKTModel
Let's use loadGLTFIntoXKTModel to parse glTF into an XKTModel.
We'll also use the classes and functions introduced in the previous examples to serialize the XKTModel to an ArrayBuffer, then validate the ArrayBuffer and load it into a Viewer.
utils.loadJSON("./models/gltf/MAP/MAP.gltf", (json) => {

        const xktModel = new XKTModel();

        loadGLTFIntoXKTModel(json, xktModel, {basePath: ""}).then(() => {

            const xktArrayBuffer = writeXKTModelToArrayBuffer(xktModel);

            const xktArrayBufferValid = validateXKTArrayBuffer(xktArrayBuffer, xktModel);

            const viewer = new Viewer({
                canvasId: "myCanvas"
            });

            const xktLoader = new XKTLoaderPlugin(viewer);

            xktLoader.load({
                id: "myModel",
                xkt: xktArrayBuffer
            });

            viewer.cameraFlight.flyTo(viewer.scene);
        });
    },
    (errMsg) => {  });
Using in node.js
In the example below, we'll load the contents of a glTF file, then
use loadGLTFIntoXKTModel to parse the
glTF into an XKTModel, then
we'll use writeXKTModelToArrayBuffer to serialize our XKTModel to an ArrayBuffer, which we finally write to an .xkt file.
const fs = require('fs');

const {XKTModel, loadGLTFIntoXKTModel, writeXKTModelToArrayBuffer} = require("./xeokit-xkt-utils.cjs.js");

const gltfPath = "./myModel.gltf";
const xktPath = "./myModel.xkt";

const gltfText = await new Promise((resolve, reject) => {
    fs.readFile(gltfPath, (error, gltfText) => {
        if (error !== null) {
            reject(error);
            return;
        }
        resolve(gltfText);
    });
});

const gltf = JSON.parse(gltfText);

const xktModel = new XKTModel();

loadGLTFIntoXKTModel(gltf, xktModel, {basePath: "./"});

const xktArrayBuffer = writeXKTModelToArrayBuffer(xktModel);

await new Promise((resolve, reject) => {
    fs.writeFile(xktPath, Buffer.from(xktArrayBuffer), (error) => {
        if (error !== null) {
            console.error(`Unable to write to file at path: ${xktPath}`);
            reject(error);
            return;
        }
        resolve();
    });
});5 years ago