@flipperhitbim/bimio v0.1.3
Hitbim-CLI (bimio)

Hitbim-CLI (bimio) is a powerful command line interface designed to streamline the development and distribution of Hitbim plugins and components.
For more information about terms and usages : Hitbim Developer Docs
Table of Contents
- Overview
- Installation
- Basic Options
- Usage
- Getting Started
- Real-Time Development
- Project Structure
- Command List
- Support
Overview
With Hitbim-CLI (bimio), developers can easily initialize projects, generate sample plugins and components, manage local development servers, and interact with the Hitbim services for registration, login, download, upload and more.
Installation
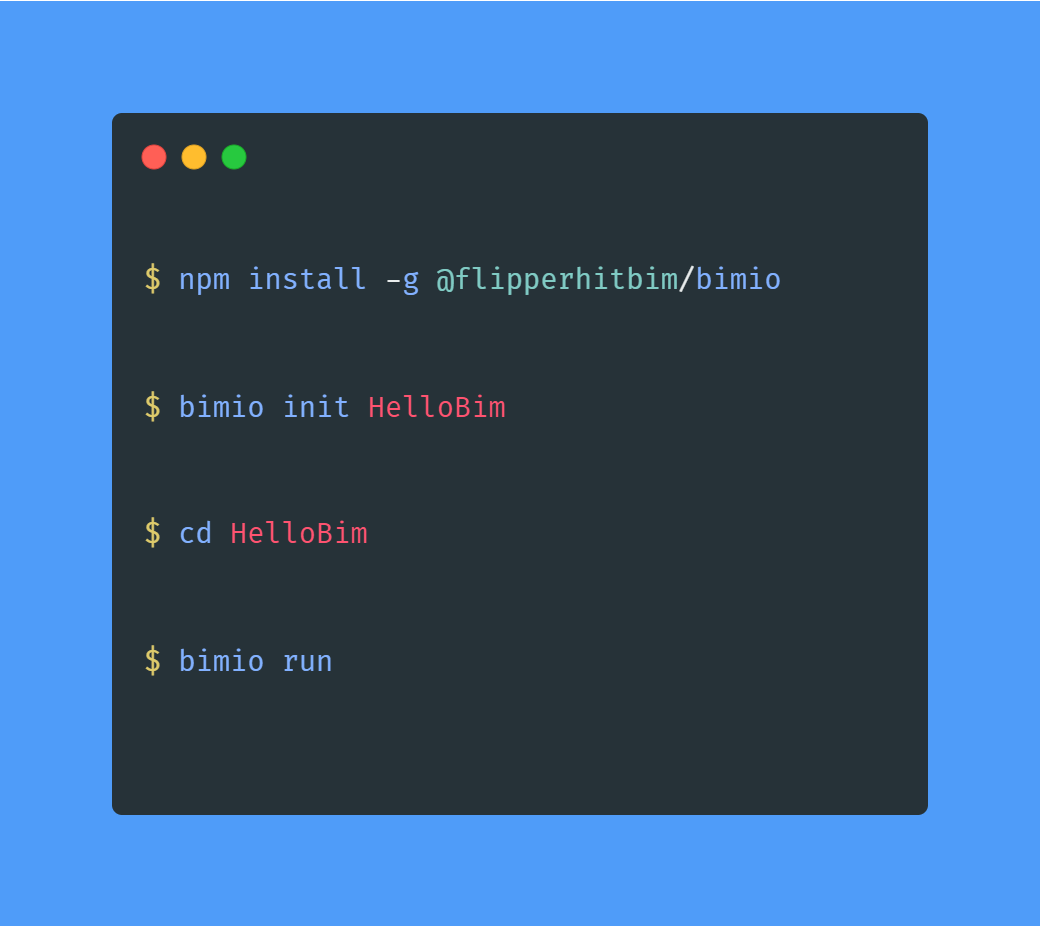
Install Hitbim-CLI (bimio) globally with npm:
Mac
sudo npm install -g @flipperhitbim/bimioWindows
npm install -g @flipperhitbim/bimioBasic Options
Hitbim-CLI (bimio) provides some basic options that can be used with any command:
-v, --version: Display currentbimioversion number.-da, --debug-all: Enable all debug info output.-ds, --debug-server: Enable server debug info output.-de, --debug-error: Enable error debug info output.-h, --help: Display help for command.
Example:
bimio [command] -ds -deThis will execute the given command with server debug info and error debug info output enabled.
Usage
Hitbim-CLI (bimio) can be used with the command 'bimio'. Here's the command format:
bimio [command] [options]Always feel free to use bimio --help or bimio -h to see a list of available commands and options!
Getting Started
For the first time, initialize your project with the 'init' command:
bimio init [projectName]Change your work directory:
cd [projectName]Then you can create plugins or components for your project:
bimio create --plugin [pluginNames...]
bimio create --component [componentNames...]
To run your project locally, use the 'run' command:
bimio runReal-Time Development

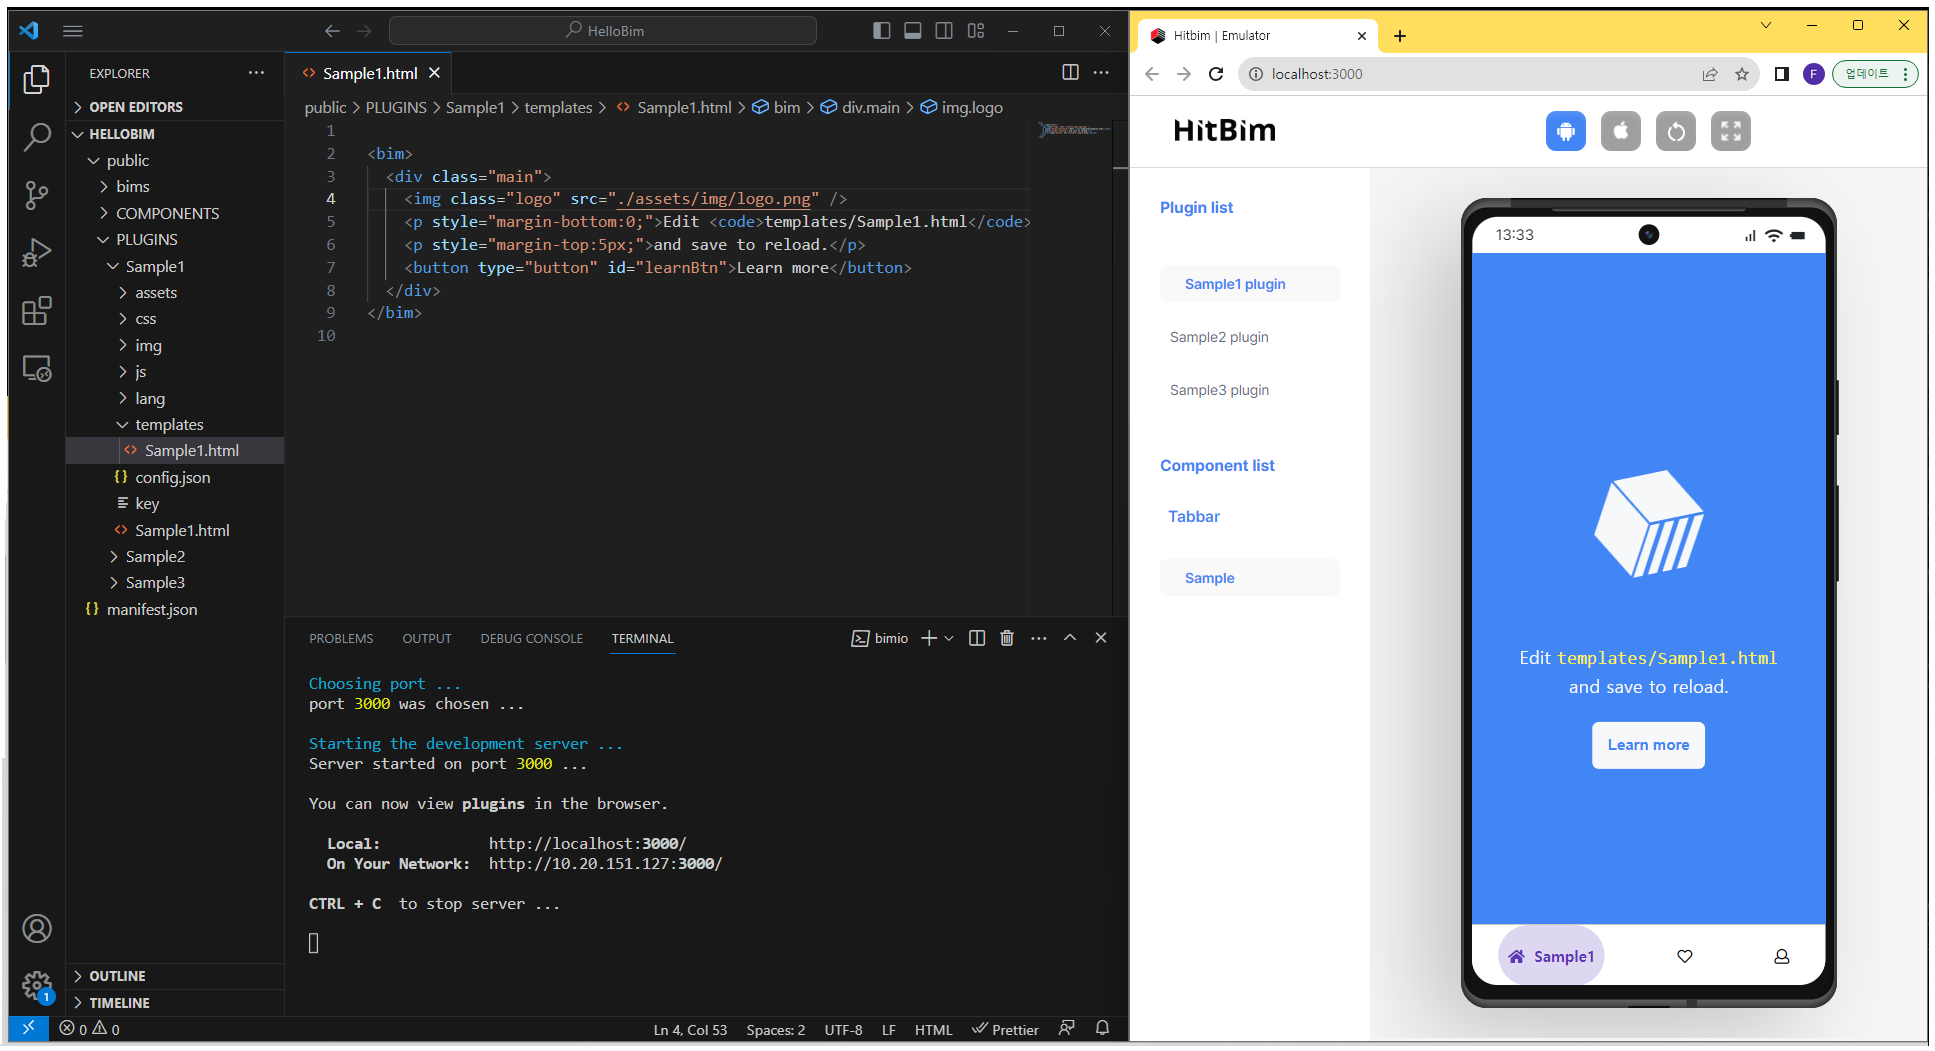
Using bimio alongside an Integrated Development Environment (IDE) like VS Code can drastically improve your development experience. Here's a suggested workflow:
Initialize and Run Your Project:
- Start by initializing your project with
bimio init. - Navigate to your project directory and run
bimio runto start the local development server.
- Start by initializing your project with
Open in an IDE:
- While the server is running, open your project in
VS Codeor your preferred IDE.
- While the server is running, open your project in
Dual-Screen Workflow:
- For an optimal experience, consider using a dual-screen setup. On one screen, keep your IDE open with the project files. On the other, have a browser window showing the live server.
Real-Time Feedback Loop:
- As you make changes to your plugin or component in the IDE, save the file.
- Switch to the browser window. Thanks to
bimio, you'll see the changes reflected instantly by refreshing, restarting of developer server is not needed. This allows for a smooth, real-time feedback loop.
Iterative Development:
- Continuously make changes, save, and check the live output. This iterative process helps in rapidly catching and rectifying issues, and viewing updates as they're made.
Project Structure
When you initialize bimio to create project, you're provided with a specific file and directory structure. Here's a breakdown of the generated structure and the responsibilities of each file and directory:
Directory Structure:
ProjectName
├─ manifest.json
└─ public
   ├─ bims
   ├─ COMPONENTS
   │  └─ tabbar
   │     └─ Sample
   │        ├─ assets
   │        ├─ css
   │        │  └─ tabbar.css
   │        ├─ js
   │        │  └─ tabbar.js
   │        └─ tabbar.html
   └─ PLUGINS
      └─ Sample
         ├─ assets
         │  └─ img
         │     └─ logo.png
         ├─ config.json
         ├─ css
         │  └─ Sample.css
         ├─ img
         ├─ js
         │  └─ Sample.js
         ├─ key
         ├─ lang
         │  ├─ en.json
         │  └─ kr.json
         ├─ index.html
         └─ templates
            └─ Sample.html
Key Files and Directories:
Below is a summary of the key files and directories created by bimio in the project structure, along with their respective responsibilities:
manifest.json: This is the metadata file that contains information about your entire project. It provides a general overview and configurations related to plugins and components.publicDirectory: This is the main directory where all your public assets, plugins, components, and other related resources reside.bimsDirectory: This directory holds assets and configurations related to bims. In the context of Hitbim,bimdenotes bothBuilding Information ModelingandBuilt-In Micro-services, representing the dual concept of constructing an app and incorporating built-in functionalities.COMPONENTSDirectory: The main directory that houses the extra UI components used in your project. Each sub-directory within this directory represents a specific component type.- Example:
tabbarSample: A sample instance of thetabbarcomponent. Each component type can have multiple instances, each tailored for specific purposes or variations.assets: Holds any static assets related to this specific instance of the component.css: Contains the CSS files specific to this instance.tabbar.css: The primary CSS file for thetabbarcomponent instance.
js: Contains the JavaScript files that define the behavior of this instance.tabbar.js: The primary JavaScript file for the component instance.
tabbar.html: The primary HTML file that provides the layout and structure for thistabbarcomponent instance.
- Example:
PLUGINSDirectory: This is where all the plugins for your project are stored.- Example:
Sampleassets: Holds static assets for the plugin, like images or other files.config.json: Configuration file for the plugin, defining its properties and behavior.css: Contains the CSS files specific to the plugin.js: Contains the JavaScript files defining the behavior of the plugin.key: File for plugin authentication and credentials.lang: Contains localization files, withen.jsonfor English andkr.jsonfor Korean.index.html: The main HTML interface file for the plugin.templates: Directory for pages of the plugin.
- Example:
This structure ensures a systematic approach to developing and managing plugins and components using bimio. Remember, while this structure provides a guideline, it's flexible and can be customized based on the specific needs and requirements of your project.
Command List
init
bimio init <projectName>Initialize a new project with the given project name. You must provide a project name.
create
bimio create --plugin <pluginNames...>
bimio create --component <componentNames...>
bimio create --plugin <pluginNames...> --component <componentNames...>
Generate a standard structure following Hitbim's architecture. This command generates sample plugins or components for your project. You must select either plugin or component. If you want, you can generate both at the same time.
run
bimio run --port <port>Run your project to see the preview. The default port is '3000'.
stop
bimio stopStop your running project.
signup
bimio signupRedirect you to the signup page for Hitbim Services.
login
bimio login --email <email> --password <password>Login to Hitbim Services. Email and password are required. If you are already logged in, it will display your current session information.
logout
bimio logoutLogout from Hitbim Services.
session
bimio sessionCheck whether the user is logged in or not, and show the user's information.
mylist
bimio mylist --plugin
bimio mylist --component
bimio mylist --all
Show your lists from Hitbim Services. You must select either plugin, component, or all.
download
bimio download --plugin <pluginId>
bimio download --component <componentId>
Download from Hitbim Services. You must select either plugin or component.
upload
bimio upload --plugin <pluginNames...>
bimio upload --component <componentNames...>
bimio upload --all
bimio upload --plugin <pluginNames...> --new
bimio upload --component <componentNames...> --new
bimio upload --all --new
Upload to Hitbim Services. You must select either plugin, component, or all. If you want to upload as new, use the '--new' option.
docs
bimio docsShow Hitbim Docs on your browser.
help
bimio help [commandName]Display help information for the specified command, or all commands if no command is specified.
Support
The current version of Hitbim-CLI (bimio) is fully supported on Long Term Support versions of Node.js, and requires at least v.10.