OpenBee — Build smarter AI teams.
OpenBee is an around-the-clock digital worker solution, dedicated to making AI Agents your 7×24 always-on assistant.
To learn more about the project, visit docs.theopenbee.com.


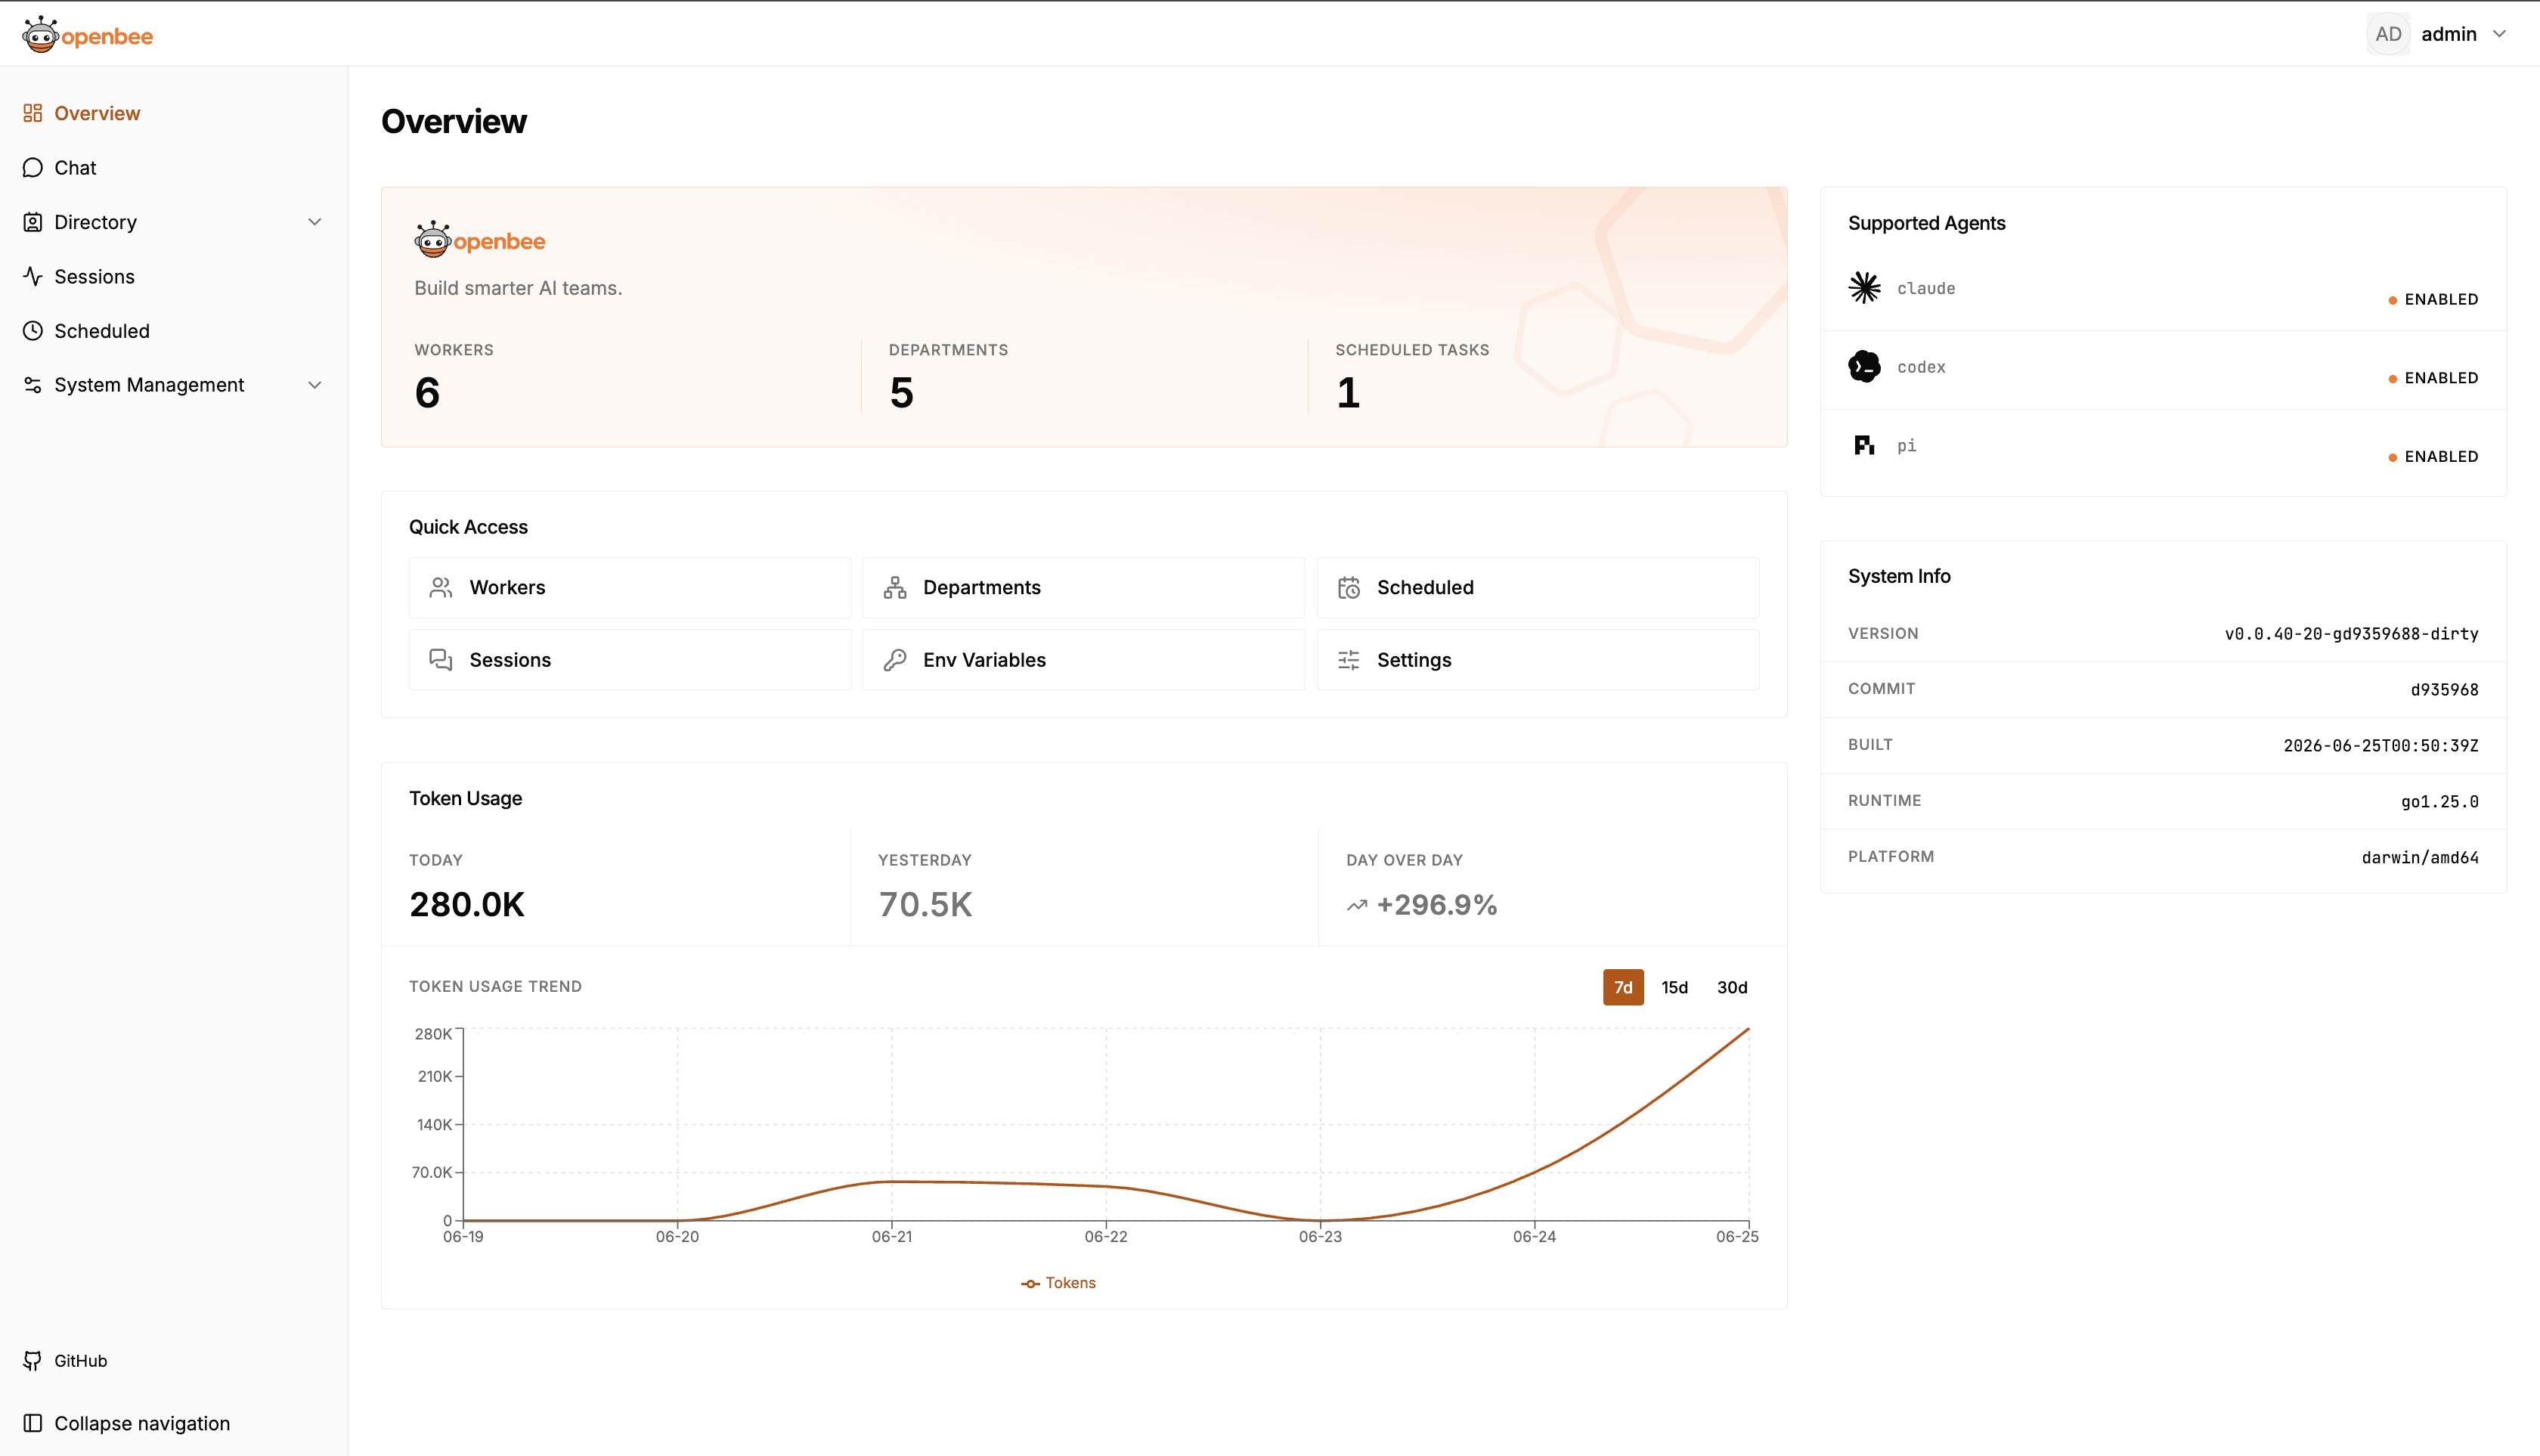
Screenshots
Quick Start
Step 1: Install
npm (Recommended)
npm install -g @theopenbee/cliThe platform-specific binary is downloaded automatically. Supports Linux / macOS / Windows (amd64 & arm64).
One-click Script
curl -fsSL https://raw.githubusercontent.com/theopenbee/openbee/main/install.sh | bashbrew (macOS) / scoop (Windows)
macOS (Homebrew):
brew install theopenbee/tap/openbeeWindows (Scoop):
scoop bucket add theopenbee https://github.com/theopenbee/scoop-bucket
scoop install theopenbee/openbee
Manual Binary Download
Visit GitHub Releases, download the archive for your platform, extract it, and place the openbee executable in your PATH.
Step 2: Generate a config file
openbee configThe wizard will guide you through:
- Agent executable path
- Platform(s) to enable (Lark / DingTalk / WeCom / WeChat / Telegram / Linear) and their credentials
- Advanced options (can be skipped to use defaults)
The config file is written to config.yaml in the current directory by default. Use -o to specify a custom path:
openbee config -o /path/to/config.yamlStep 3: Start the service
openbee server -dStep 4: Start using
- Open the Web Console (default http://localhost:8080) to manage Workers and view task status
- Send messages directly in any configured platform (Lark / DingTalk / WeCom / WeChat / Telegram / Linear) to interact with OpenBee
Star History
Community
- Bug reports / Feature requests → GitHub Issues
- Contributing → Please read the Contributing Guide. You must agree to the Contributor License Agreement (CLA) before submitting.