
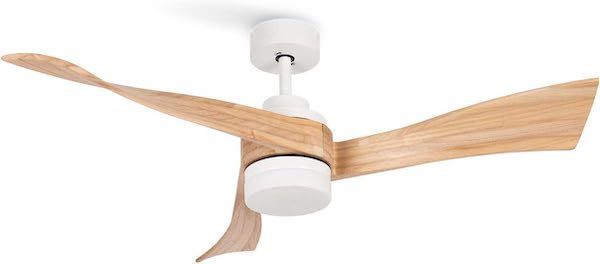
CREATE Ceiling Fan
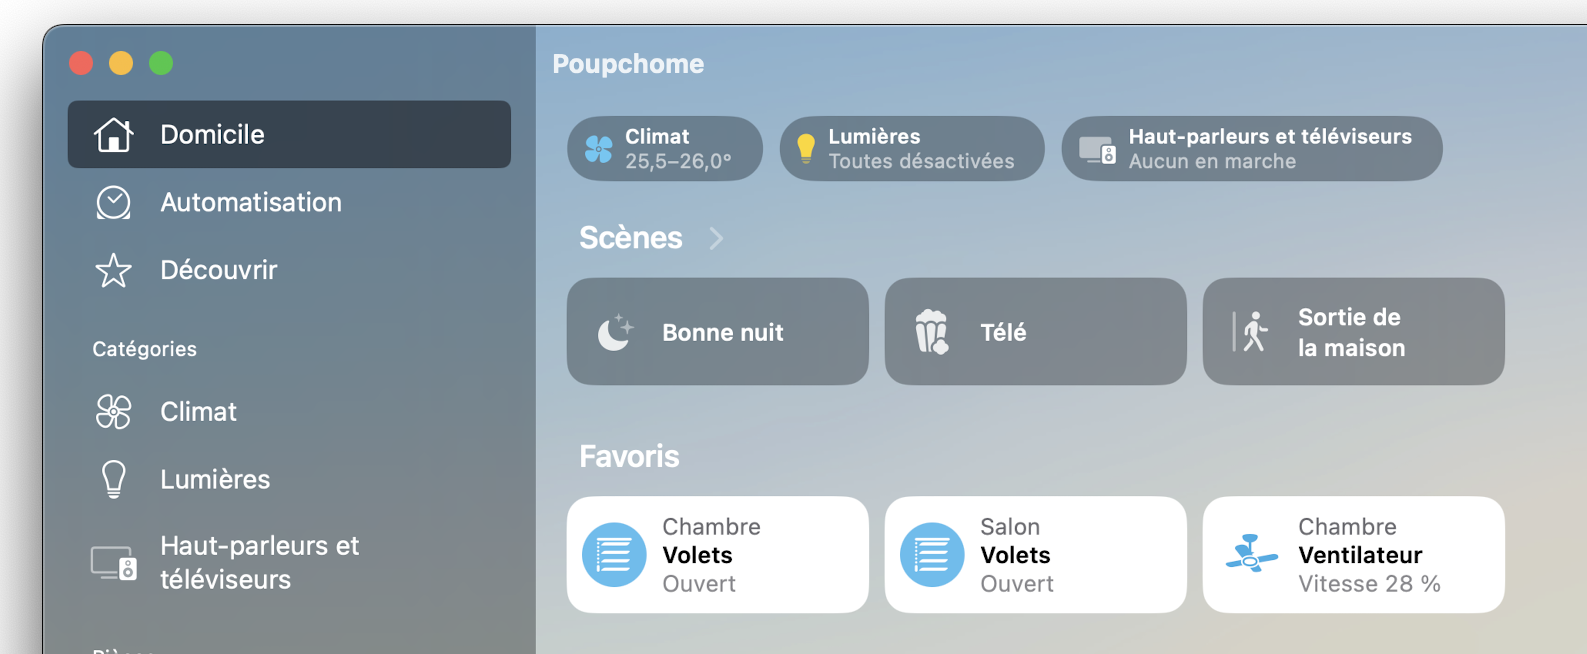
Control your CREATE Ceiling Fan from HomeKit.
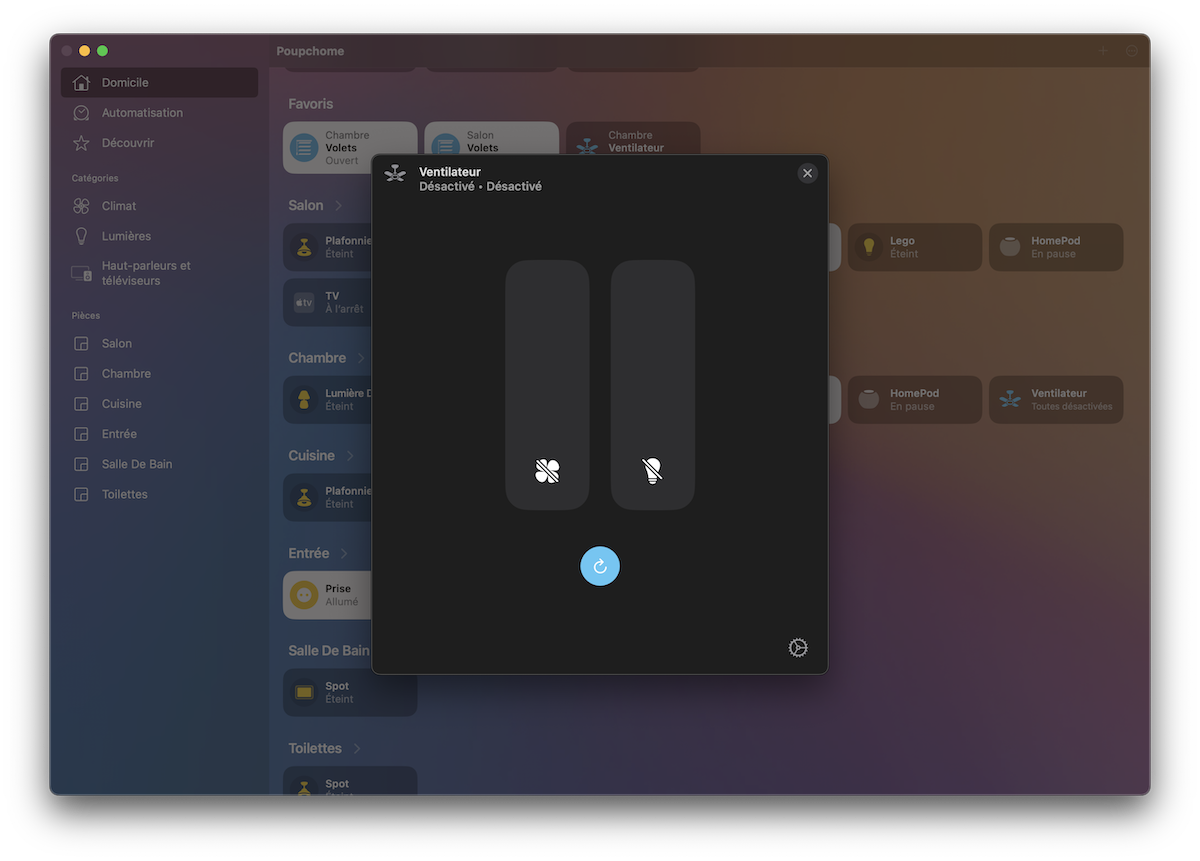
- Turn fan on/off
- Adjust fan speed (6 steps, shown as a slider in the Home app)
- Reverse rotation direction (summer/winter mode)
- Turn light on/off
- Momentary toggle tiles (tap to flip the fan/light state, automation-friendly)
Installation
Go to the Homebridge UI, Plugins screen and search for homebridge-create-ceiling-fan. Install the plugin and use the form to configure it.
Optional
Toggle tiles
The plugin exposes two extra momentary toggles, named Toggle and rendered with the Apple Home
fan and light-bulb icons. Tap the tile in the Home app (or trigger it from an automation) and the
plugin flips the fan or light state, then resets the tile back to OFF. Perfect for a single-press
"toggle" button on a HomeKit remote.
Set toggles: false on the device to hide them. Default is true.
{
  "platform": "HomebridgeCreateCeilingFan",
  "devices": [
    { "id": "…", "key": "…", "name": "Ceiling Fan", "ip": "192.168.1.100", "toggles": false }
  ]
}
Light
For fan models without a light, set light: false to hide the Lightbulb tile (and its toggle).
Default is true.
{
  "platform": "HomebridgeCreateCeilingFan",
  "devices": [
    { "id": "…", "key": "…", "name": "Ceiling Fan", "ip": "192.168.1.100", "light": false }
  ]
}
Configuration
To get your Id and Key ceiling fan, follow the instructions Getting your keys
Each device also requires a static ip address. Assign a fixed IP to each fan in your router (DHCP reservation) and add it to the config:
{
  "platform": "HomebridgeCreateCeilingFan",
  "devices": [
    { "id": "…", "key": "…", "name": "Ceiling Fan", "ip": "192.168.1.100" }
  ]
}
Thanks
- tuyapi
- @marsuboss