test-rock v1.0.0
webpack+antd+fetch 通讯
1. 引入安装fetch
import "whatwg-fetch"
import "es6-promise"
2. 在utils中配置fetch文件,定义了一个get请求和post请求的方法,因为内部是promise封装的所以返回的是一个promise对象,通过.then接收
具体代码
get 方法
export function get(url){
    return  fetch(url,{
        method:'GET',
        headers:{
            'Accept':'application/json,text/plain,*/*',
            'Content-Type':'application/x-www-form-urlencoded',
       },
       cache:"default",
       mode: "cors"
    }).then(function(response){
         // 捕获状态码和json数据
        if(response.status==200){
            // response 是浏览器请求报文, response.json()是经过json序列号后,接口返回的内容
            return response.json()
        }
    }).then(function(data){
            // data 是得到的结果
        return data
    }).catch(function(err){
      console.log(err,'err')   // 错误处理
    })
}
> post 方法
// 发送post请求
export function post(url,paramsObj) { return fetch(url,{ method:'POST', mode: "cors", headers:{ 'Accept':'application/json', 'Content-Type':'application/x-www-form-urlencoded' }, body: objParams(paramsObj) // body: "id=26" }).then(function(response){ if(response.status==200){ return response.json() } }).then(function(data){ return data }).catch(function(err){ console.log(err,'err') // 错误处理 }) }
> post 方法参数是body为"id=1&name=lisi"格式,但是我们通过会通过id:1,name:lisi , json传递 , 所以要对参数进行处理一下 , 转化一下格式objParams=(paramsObj)=>{ let result="", let item; for(item in paramsObj){ result += '&' + item + '=' + encodeURIComponent(paramsObjitem) } if(result){ result= result.substr(1) } return result }
 ######  3. 调用 , 将fetch.js 在页面中的使用,引用进来后调用

  > 处理 get 请求 ,例子:  对query参数处理,可以安装npm i stringify --save , 进行处理(id=1&lisi=2)格式,
  > 通过.then进行接收返回的结果
//查询列表
initList=(params)=>{
const list = get(`39.96.71.193:3390/api/blog/list?${stringify(params)}`)
list.then(res=>{
this.setState({
data:res.data||[]
})
})
}> 处理 post 请求 , 例子: 删除为例 , 将json参数传入
```
// 删除
handleDelete=(id)=>{
const paramsObj ={
id,
author:'lisi'
}
const result = post(`39.96.71.193:3390/api/blog/del`,paramsObj)
result.then(res=>{
console.log(res.data,'111')
if(res.data){
message.success('删除成功');
this.initList()
}else{
message.error('删除失败');
}
})
}
###### 4.webpack打包上线


安装依赖npm install  webpack-cli --save-dev
在package.json中加入
"scripts": { "test": "echo \"Error: no test specified\" && exit 1", "server": "webpack-dev-server --open", "dev": "webpack --mode deveplopment", "build": "webpack --mode production" }
执行 npm run build , 就会生成public的打包后的文件 , public 里面有index.html和bundle.js 两个文件,此时可以直接访问index.html 来访问网页了, 上线时只需要把public放到服务器即可
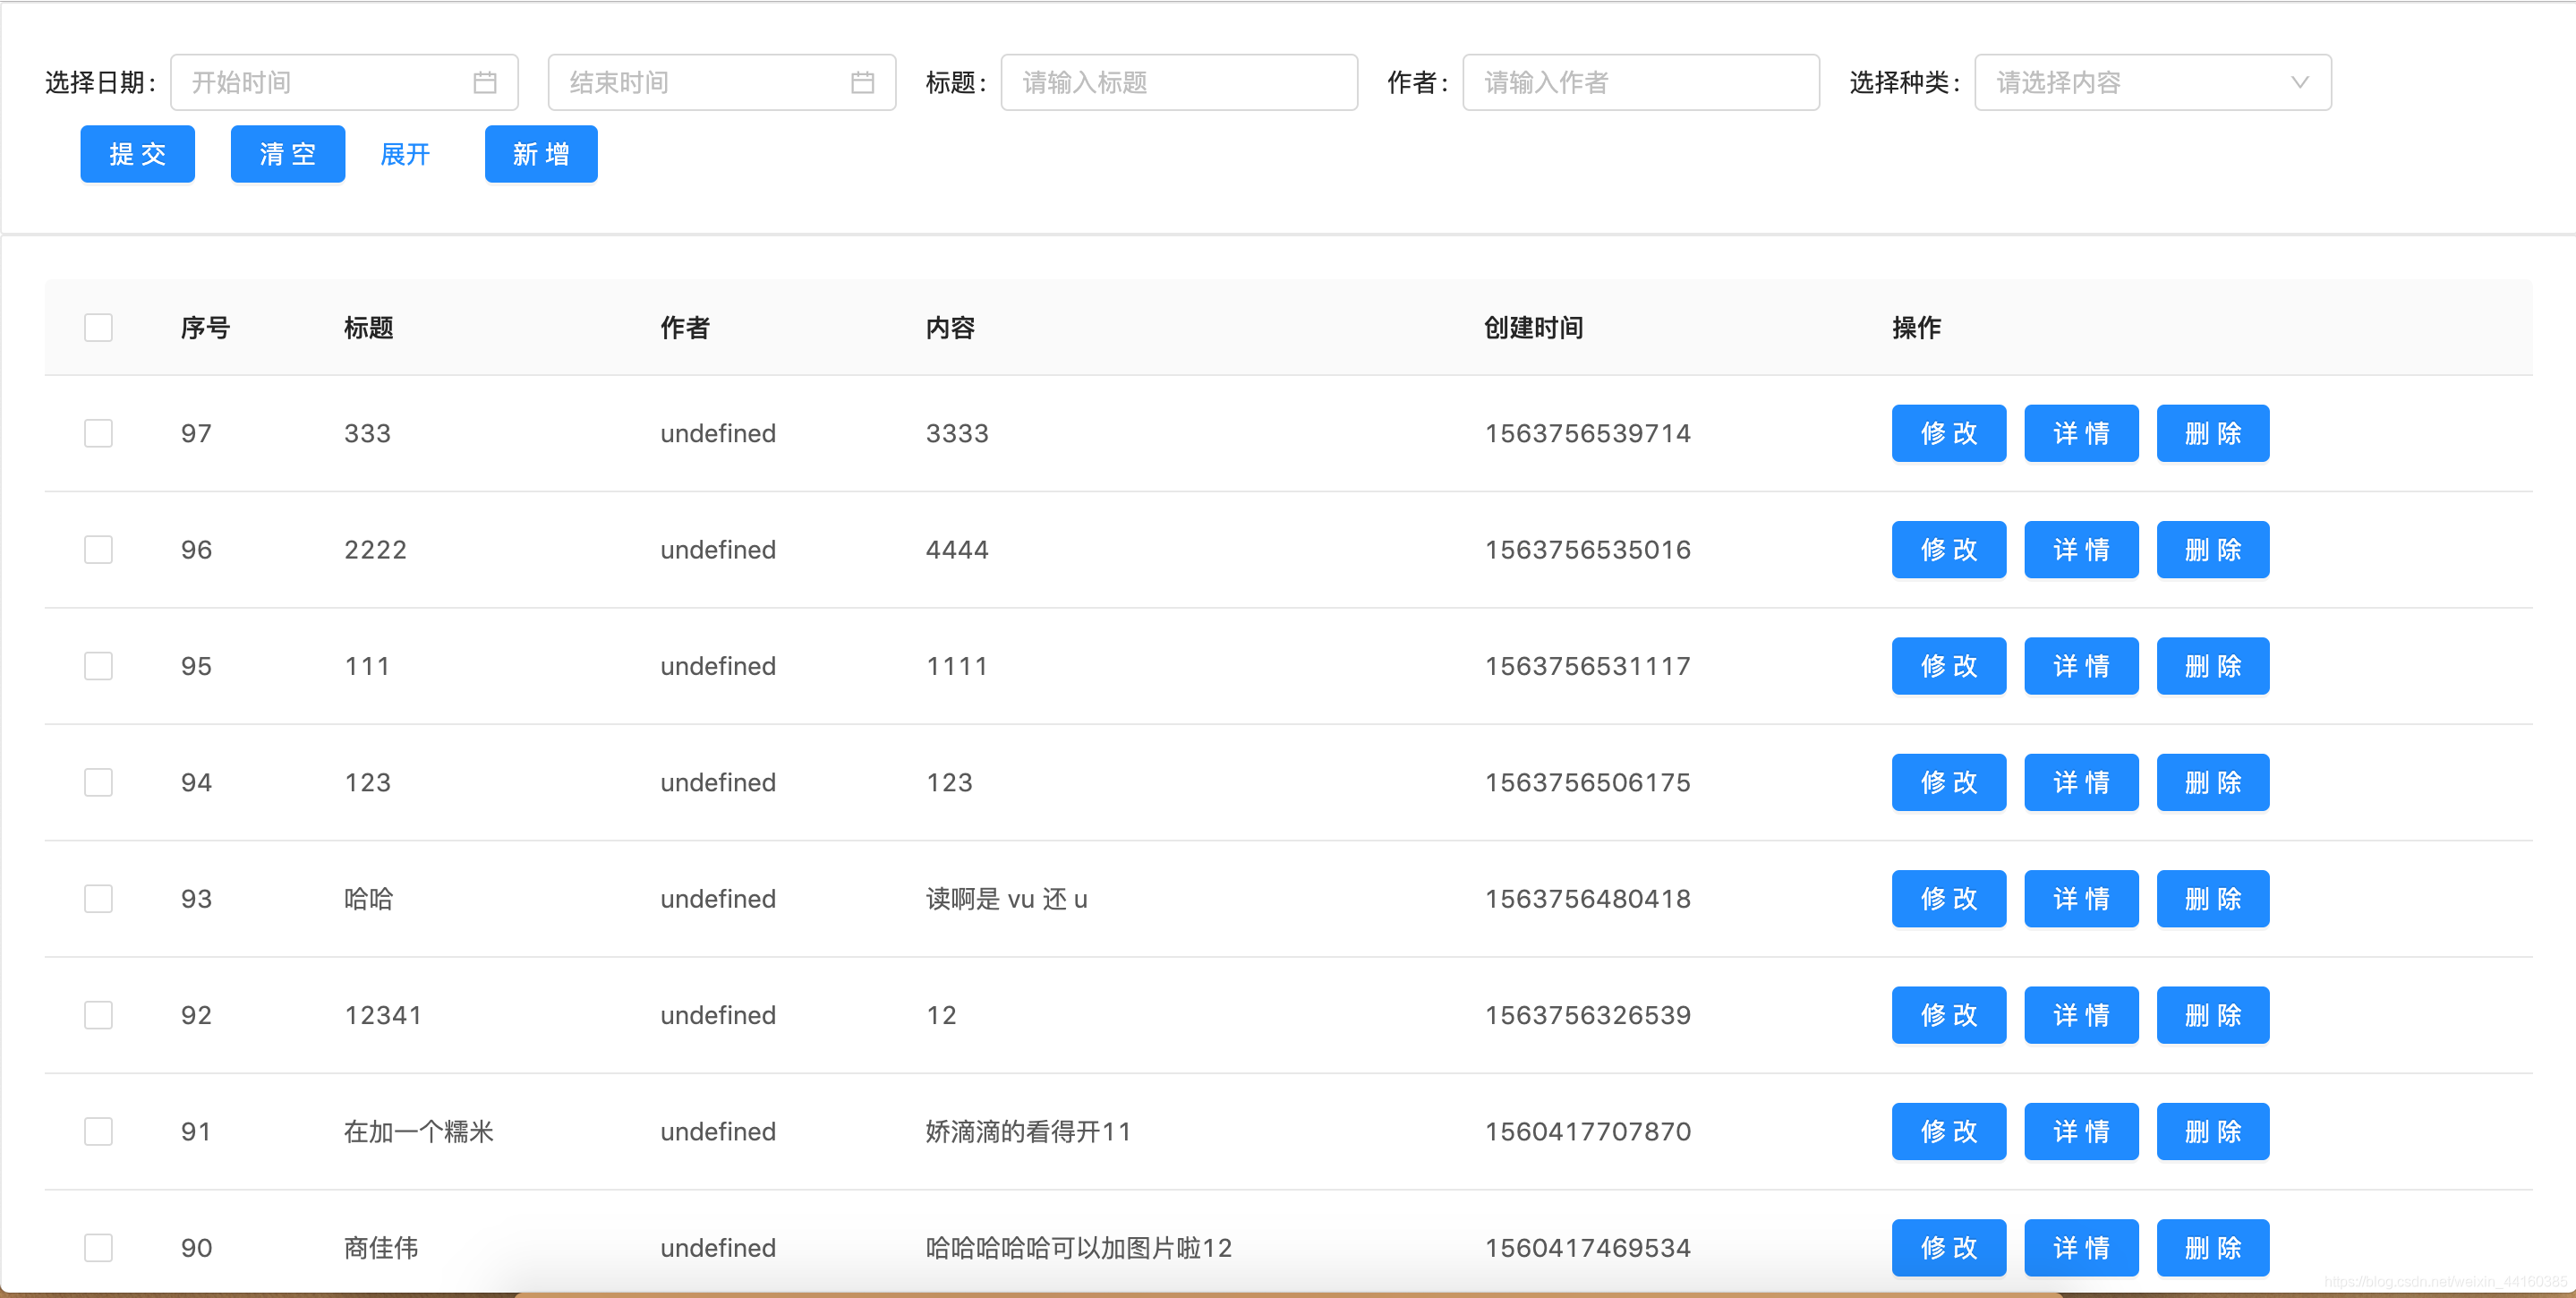
###### 5. 完成后的界面

>链接地址:
[网页地址](http://erp.rockshang.cn/)
> github 地址:
[github](https://github.com/s2265681/component)
3 years ago